Farmhouse Table Reveal + Plans

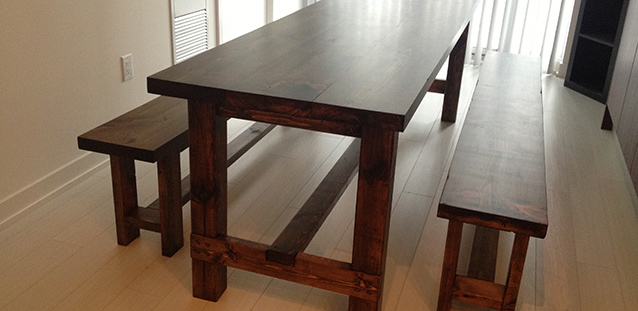
Aaaaand were done! Daniel and Adelle moved into their new place and took their newly finished modern farmhouse table and benches with them. Mind you as much as we will enjoy our garage space back, we will miss working with Daniel and Adelle on this project! It’s different working with friends than a spouse, it’s laid back and there (usually) isn’t any swearing involved. Throw in a piña colada or two, and it’s a party with work involved.

If you missed the beginning of the project, check out part one, two, three, and four.)

So without further adieu, here is the table!

Farmhouse Table

Farmhouse Table

Farmhouse Bench

It fits perfectly in their narrow condo, and the benches hide away completely when not in use, making this table able to function as stand in kitchen prep surface.

Farmhous Table

The deep stain color works great with their white walls and light floors.

The table also does a mean job of holding a glass of wine or two (we had to test the table out…come on!)

wineinsta

SPECS & PLANS:
The table is loosely based on the Ana White farmhouse table plans. (We changed size, removed the breadboard ends, and used dowels instead of screws for the table legs. ) For in depth instructions on how to assemble the table check out her plans here.

Farmhouse Table

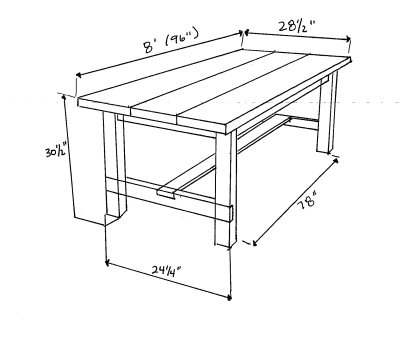
tableplan


Lumber Buy List:

5 – 2×4 @ 8′
3 – 2×10 @ 8′ (we used kiln dried pine from Downtown Lumber for the table top, it was worth the extra expense! If you cant find kiln dried pine, purchase spruce 2×12’s from your local hardware store, and rip down to 9 1/2″ wide removing the beveled edges while you’re at it (they will be huge crumb catchers if you leave them)
1 – 4×4 @ 10′ (if you cant find 4×4’s in untreated spruce or pine, use cedar)

Cut list:

4 – 4×4 @ 29″ (legs)
2 – 2×4 @ 78″ (long aprons)
2 – 2×4 @ 17 1/4″ (short aprons)
1 – 2×4 @ 85″ (stretcher)
2 – 2×4 @ 24 1/4″ (stretcher supports)
3 – 2×10 @ 96″ (table top pieces)

Instructions:

Cut all lumber to length.

With Kreg Jig set to 1 1/2″ material, drill one pocket hole every 8″ or so on one side of two of the table top pieces (the outside tabletop boards). Then attach the outside table top pieces to the center table top board with wood glue and 2 1/2″ pocket hole screws. (see our post on building the table top here.)

Drill Kreg Pocket holes on top and sides of all apron pieces. Make 2 holes on the ends, and a hole about every 8″ on the tops.

Notch out legs for the stretcher supports. Make notches 3 1/2″ high by 1 1/2″ deep positioned 6″ up from the bottom of the leg, and 19 1/2″ down from the top of the leg.

Notch out stretcher supports. Make one notch in the center of each stretcher support. Make notch 3 1/2″ wide by 1 1/2″ deep.

Assemble legs by attaching short aprons to legs (inset by 3/4″) then set stretcher support into leg notches, and attach with screws or dowels (see how we did the dowels here).

Attach long aprons to legs, with pocket screws.

Flip tabletop upside down, center legs upside down on the table bottom, and attach legs to table top with pocket hole screws.

Attach stretcher to stretcher supports with screws or dowel.

Sand, stain & finish as desired.

Farmhouse Bench

(for TWO benches, halve the amounts if you’re only making one)

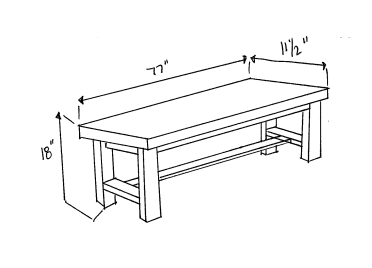
benchplan


Lumber Buy List:

7 – 2×4 @ 8′
2 – 2×12 @ 8′ (7′ if possible)

Cut List:

8 – 2×4 @ 16 3/4″ (legs)
2 – 2×4* @ 61″ (aprons) *= we ripped a 2×4 down to 2″ wide. You can also buy 2×3’s instead of 2×4’s
2 – 2×4* @ 6″ (short aprons) **= we ripped a 2×4 down to 2″ wide. You can also buy 2×3’s instead of 2×4’s
2 – 2×4 @ 61″ (stretchers)
4 – 2×4 @ 6″ (stretcher supports)
2 – 2×12 @ 77″ (bench tops)

Instructions:

Cut all lumber to size.

Drill pocket holes on apron pieces (Kreg set for 1 1/2″ thick material). Two holes on each end, and about every 8″ on the top. Drill two pocket holes on top of small aprons. Drill two pocket holes on each end of stretcher supports. Drill two pocket holes on each end of stretchers.

Attach stretcher supports to legs 3 1/2″ up from the bottom with 2 1/2″ pocket hole screws. Attach long aprons to legs with pocket hole screws.

Flip bench top upside down, and attach legs (also upside down) to bench using the apron pocket holes and pocket screws. Attach side aprons to bench top. Attach stretcher to stretcher supports.

Repeat for second bench.

Sand, stain and finish as desired.


SOURCE LIST: (one table + two benches)

Materials:

Lumber (see above)
Minwax oil based stain in Jacobean
Minwax wood conditioner
Polyurethane – Minwax Oil Modified in Satin
200 2 1/2″ Kreg pocket hole screws (Lee Valley)
Wood Glue
Foam brushes (Dollarama)
Rags
Sandpaper (150, 220 and 320)
Kreg Screws – Lee Valley & Home Depot

Tools Used:
Miter saw
Table saw *not necessary, you can get material ripped to size at the lumber yard
Circular saw
Square
Kreg jig
Drill
Palm & orbital sanders
Measuring Tape

Difficulty Level (on a scale of 1-5):

three out of five

Total Cost: $400 (Lumber $320, Screws $20, Finishing materials $60)
Time frame: Two weekends (one to build, one to finish)
Legs!

Daniel and Adelle move into their new place this weekend so we’ve been hustling to try to get their farmhouse table finished in time. When we left off, we had fabricated and stained the table top and one bench.

This past weekend we powered up and knocked out a second bench and got to making the farmhouse table legs. We lucked out and our local lumber yard carries untreated spruce 4×4’s. This will undoubtedly be the toughest material to track down if you’re building this project. The big box stores usually only carry 4×4’s in pressure treated and cedar. Neither of those is ideal for an indoor table, but if push comes to shove and you can’t find untreated spruce, go for the cedar.

The Table Plans
The Table Plans

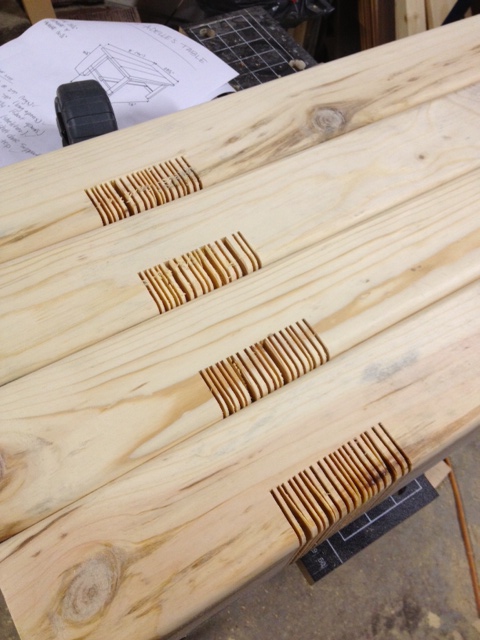
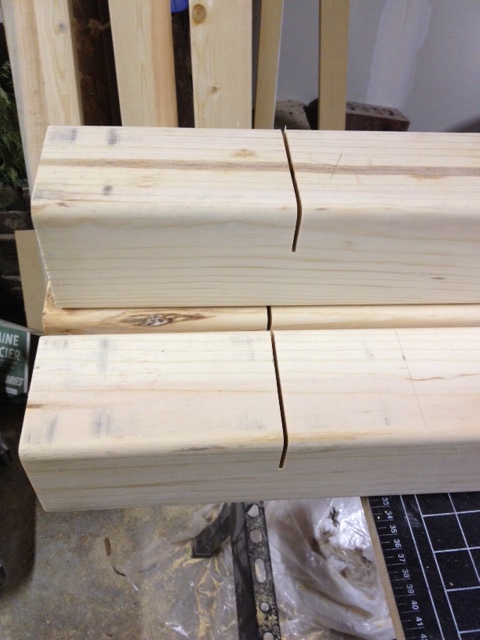
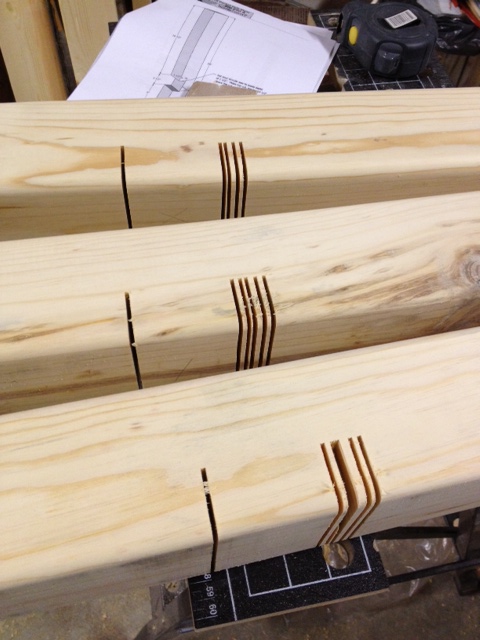
The legs consist of 4 4×4’s, two stretcher supports, a stretcher and four apron pieces (two short, and two long). The leg uprights need to be notched out for the cross pieces, and the cross pieces need to be notched for the stretcher. Good thing we got a new table saw right?! Right! The easiest way to notch is to make a bunch of kerf cuts. A kerf cut is a cut the width of the blade that usually doesn’t go all the way through the wood. (Kerf is actually the term for the width of the material removed by the blade.) For the notches we made a ton of kerf cuts close together and then banged out the little slices of wood. (you can also do this with a circular saw if you don’t have a table saw!)

We set the table saw fence for the first cut and the blade to 1 3/8″ high (we want the cross pieces to stick out 1/8″ from the leg posts to show off the notches, it will make more sense when its assembled.) We made the first cut on each post then the last cut. We then progressively made close cuts all the way in between.

kerf cut
First kerf cut made
kerf
First, last and some of the in between kerf cuts made
kerf
Kerf cuts finished

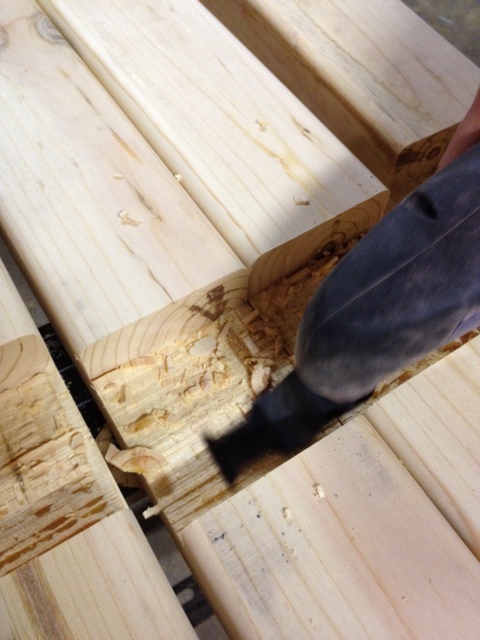
When we were done (and this does take a while!) we knocked out all the little slices of wood. We were left with a few nubs and errant wood slices, so we broke out the oscillating multi-tool and or made short work of them.

Cleaning up the kerf cuts with an oscillating multi-tool

Now, if you EVER see someone cleaning up their kerf cuts like this. DON’T take their advice! That is the most dangerous thing I’ve ever seen! Use an oscilating multi tool, or a chisel, or heck even a jig saw, but do NOT use a table saw like that. My fingers hurt just thinking about it. Eeeep.

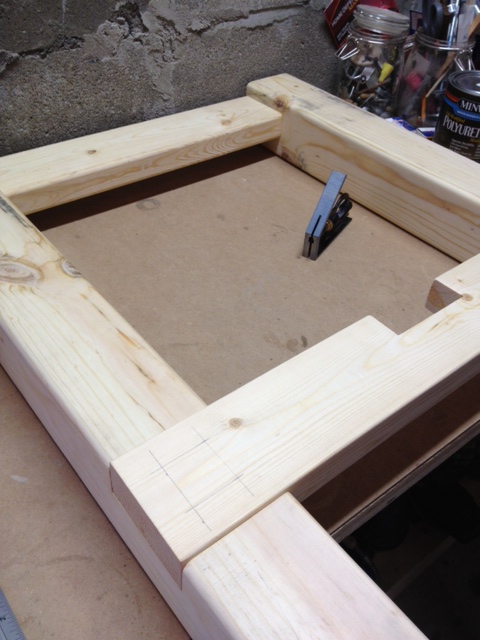
Now lets build some legs. We need to attach the aprons to the legs with pocket holes, then the stretcher support into our notches.

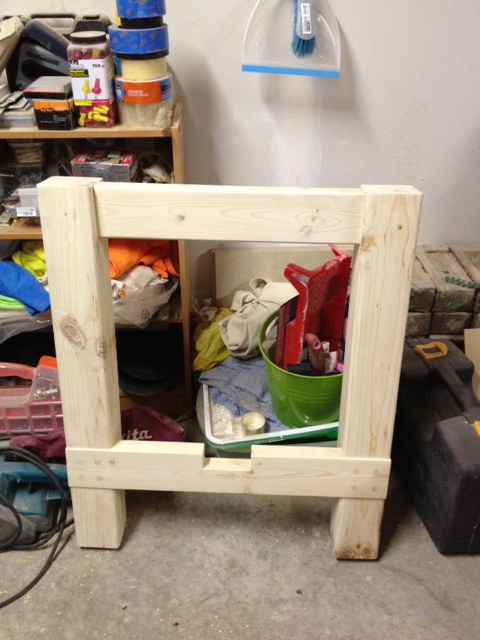
Legs assembled
Legs assembled

The easiest way to secure the stretcher support the legs would have been with screws. BUT if we used screws they would be visible on the front of the legs where the supports notched in. No way to use pocket holes there. I don’t like screws visible unless there is no other way.

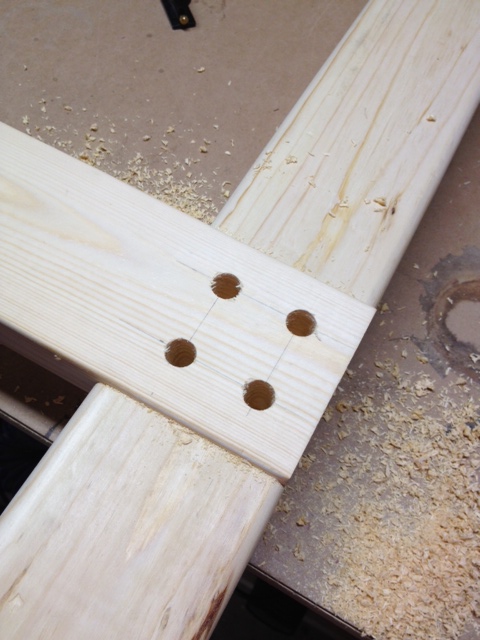
So out went the screws and in came 1/2″ dowels. We purchased a 6′ length of 1/2″ dowel from the hardware store and cut them down to about 3″ lengths. Then we took a 1/2″ spade bit and drilled four holes in a square pattern. We used a piece of tape to mark the bit depth, so that we didn’t drill too deep or too shallow.

dowel holes
Dowel holes drilled

We inserted the dowels with wood glue and let them dry. Once they were dry, we cut them down with a coping saw.

Dowels ready for sanding
Dowels ready for sanding (and yep, one hammer blow did miss its mark! Oops! We won’t say who’s it was!)

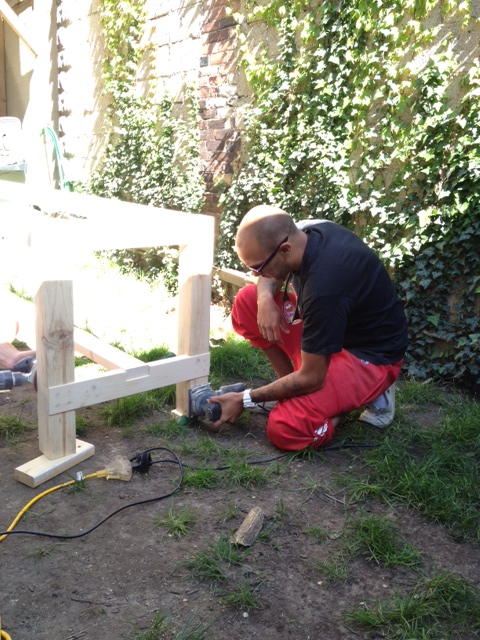
Now they were ready to be sanded flush. A few minutes with a power sander and they were looking faaaaantastic.

Dan sanding
Daniel sanding away
legs sanded
Legs sanded and ready for stain (I really need to clean the garage…)

While we were at it, we also sanded the long aprons, and the stretcher for the table. The table will remain in 6 pieces until its assembled in the new place.

Now it’s time for staining and polying all the pieces, and they will be ready to be assembled this weekend!

Farmhouse Table – Making the Table Top

We made some headway with Daniel & Adelle’s Farmhouse Table in the last week. We put in one solid days work on the weekend, as well as one weekday evening.

Our work was a bit all over the map, as there was four of us we decided it was best to go our separate directions and knock off different tasks. I will try to focus my posts on each specific topic, and today we’ll get down with how we made the table top.

The Table Plans
The Table Plans

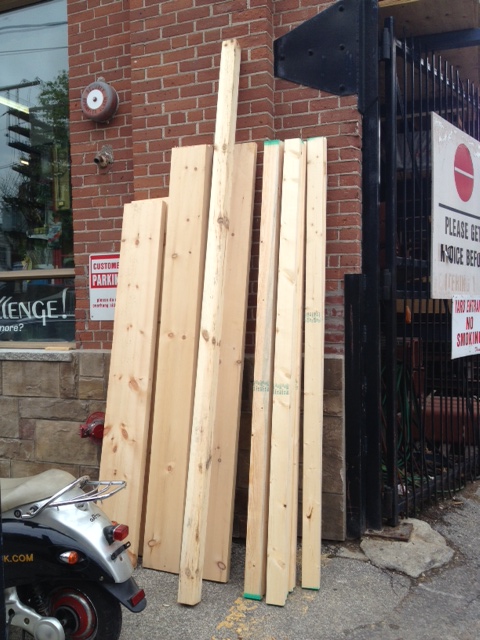
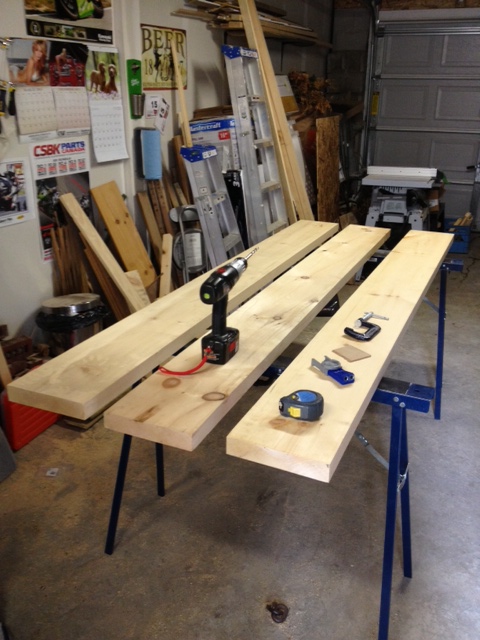
Bright and early we headed to the lumber yard, bought all the lumber & supplies, and rented a Zipcar van to get them all to the garage. We are using spruce for the legs & supports and gorgeous 2″ thick pine for the table and bench tops.

Lumber
Lumber purchased (and no, we did not plan to bring it home on that scooter)

We inspected the tabletop boards, and decided on layout. We attached the tabletop boards together using the Kreg Pocket Hole system, 2 1/2″ screws and glue.

boards
Deciding on board layout
marking
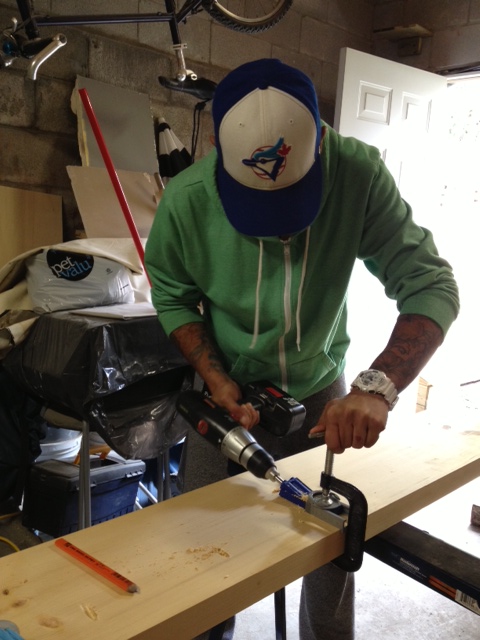
Daniel marking the Kreg pocket hole locations
pocket holes
Daniel drilling the pocket holes (Dan is now a Kreg expert)
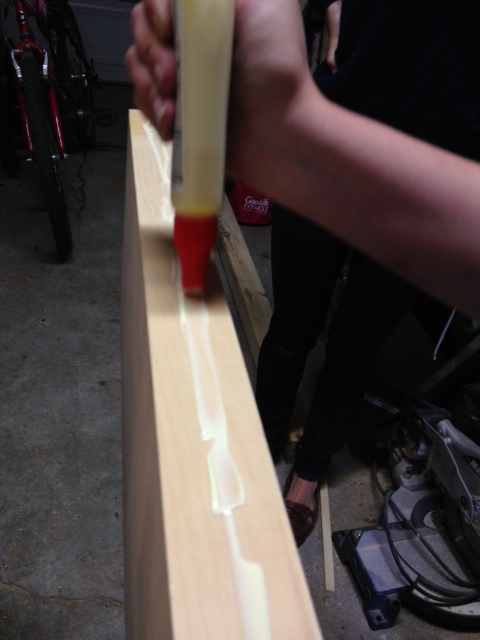
glue
Glue baby glue

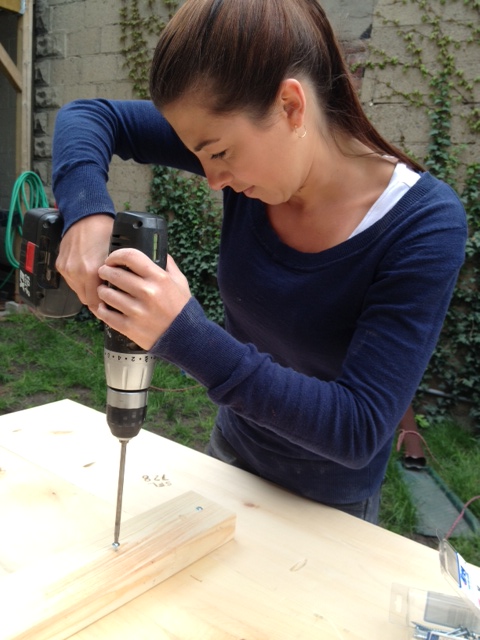
We added support pieces to the underside of the table to try to curb any warping the table may want to do (we are not using breadboard pieces on the table, so we wanted some extra assurance that things would stay put.)

cross supports
Adelle attaching supports under the table top

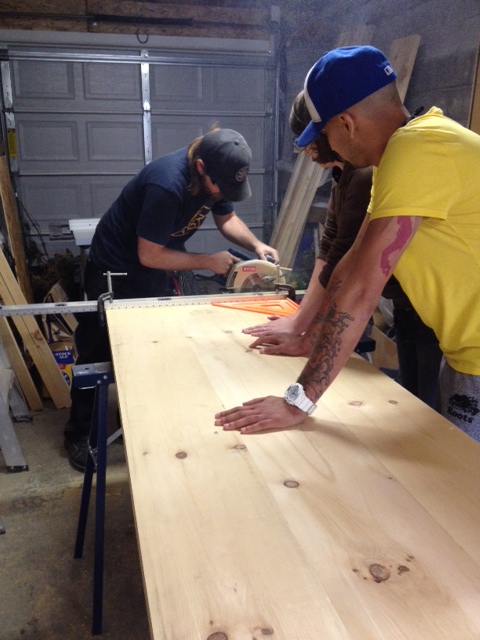
After that, we clamped on a guide (we used a level) and cut the ends flush on the tabletop with a circular saw. The poor saw had a bit of a tough time with the thick wood

Cutting ends
Cutting off the ends of the table top so everything is perfect

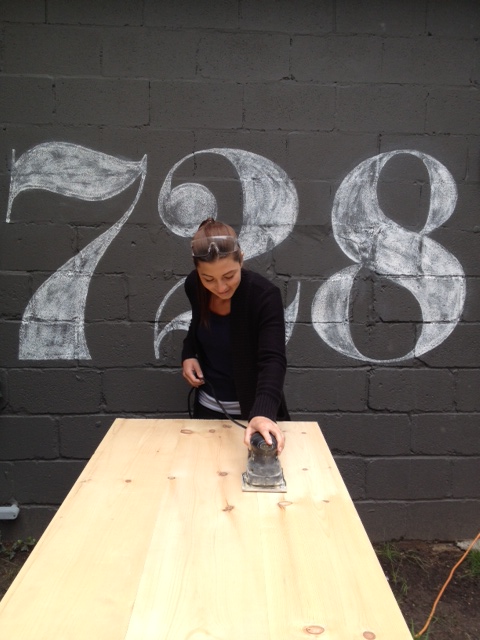
Sanded, sanded and sanded some more. While two people were power sanding, the other two were alternately cutting the rest of the lumber we needed, and hand sanding.

sanding
Sanding, sanding, sanding…

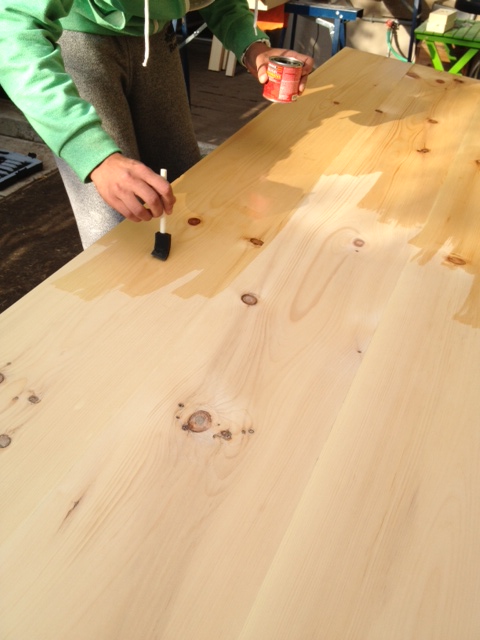
After we could just sand no more, we decided to give the table top a coat of wood conditioner, then a coat of stain.


wood conditioner
Applying wood conditioner
stain
One coat of stain applied

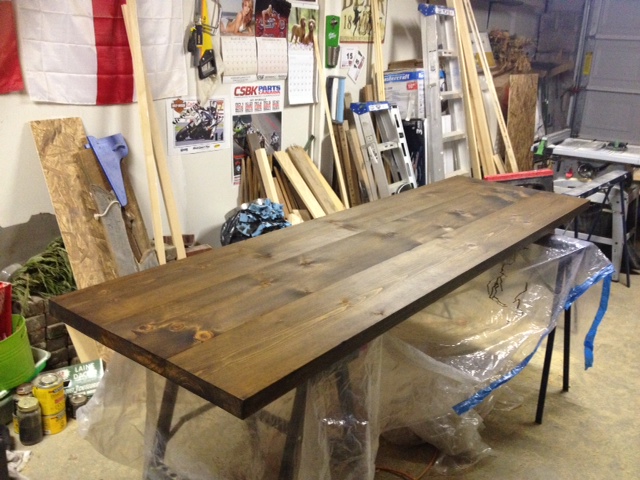
We let the stain dry, and applied a second coat a few days later.

Two coats of stain
Two coats of stain
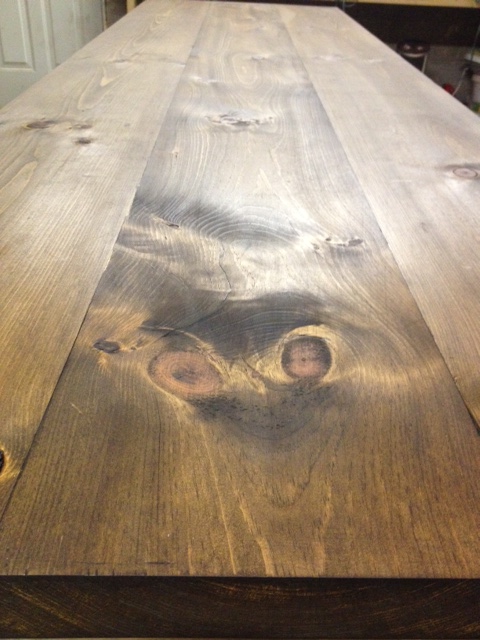
Details
Close up of the table top

The table top is now ready for poly, and we can move on to making its legs.

We are not going to assemble everything until we’ve moved it to Daniel & Adelle’s new place, as this huge table would never fit through doors assembled!

This weekend is a holiday weekend in Canada. I think we will be turning our attention to gardening, bbq’s and drinks on the deck. I fear we will not be very productive this weekend!

Any big plans for the weekend? BBQ’s, cottages, fireworks?

Project Modern Farmhouse Table

Our friends Daniel & Adelle are moving into a new place, and have asked us to help them build a table and benches for their dining space. We jumped at the opportunity. We love building things, we get to try some new techniques, and we get to help out friends. Win win situation.

They have been scouring the web for inspiration for the past few weeks, and decided on a modern farmhouse table and two benches. Their space is large, but narrow.  We took a basic farmhouse table, stretched it out to be 8 feet in length, and shrunk the width. We also designed skinny long benches that will tuck under the table on either side. The table has similar dimensions to an 8 foot long banquet table, and will be able to comfortably seat 8-10 people.

Want to see the plans?

The Table Plans
The Table Plans

My hand drawings just are not as pretty as CAD blueprints, but you’ve gotta work with whatcha got, right?!

Here’s the details:

  • The top is made from kiln dried pine 2×10’s, and the frame is made from spruce 4×4’s and 2×4’s. They decided to omit the “breadboard” ends seen on many farmhouse tables, and instead using three wider planks the length of the table.
  • The benches are similar to the table, except their tops are pine 2×12’s and the legs are 2×4’s.
  • The table and bench tops will be stained dark and polyurethaned, and the bases will be painted white.
  • We will be using the Kreg jig for quick and easy assembly.

The plan is for the four of us to work together and knock out as much as possible this Saturday.  I foresee having someone measuring everything, another person cutting, one operating the drill, and one sanding. Hopefully we can knock out this big (but fairly simple) project in a day!

I will check back in next week with our progress, and a full tutorial & cut list when we’re finished. Wish us luck! Do you have any big projects planned for this weekend?