Food food food. I love food.
I have a friend with a smoker. Every week he regales me with tales of delicious slow cooked smoked meat. Ribs, and pulled pork, chicken wings and sausages. My mouth waters and I cry a little inside, as I dont even own a charcoal grill, much less a smoker.
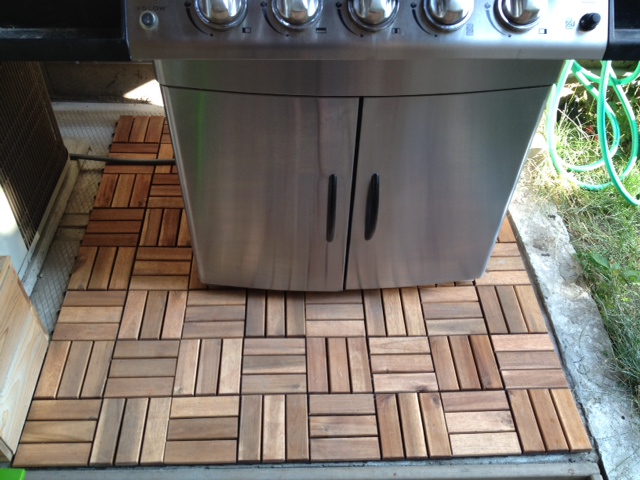
Now, dont get me wrong. We love our natural gas Napoleon grill. It’s a workhorse of a beast that happily cooks everything from steaks to Thanksgiving turkey. But I wanted more! I wanted smokey, barkey goodness! I wanted a backyard that smelled like a caveman firepit! I wanted a smoker.
Let’s think things through first though. Where would I PUT a smoker? How often would I drag it out, fire it up and patiently stoke it’s fire for hours? The answer is; not very often. Not that I’m lazy, but that’s a lot of work! So I set to finding a way to make Mr. Napoleon somehow smokey.
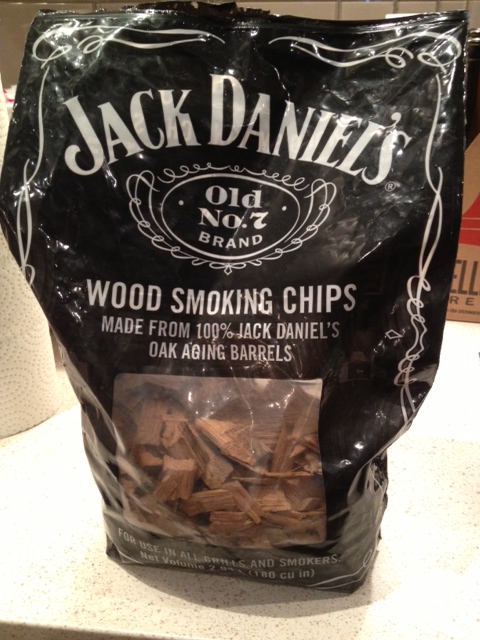
Napoleon makes smoker boxes for their bbq’s. (Which I may look into in the future.) For our first attempt at smoking however, my tools were some wood chips, water, and some tin foil.
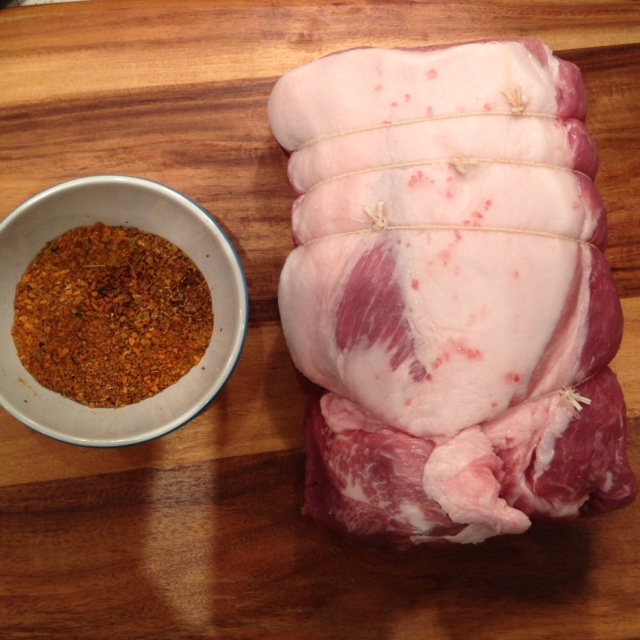
I got some delicious smelling Jack Daniels wood chips, as well a bag of plain maple chips, a pork loin, some of my favorite spices, and set to work.
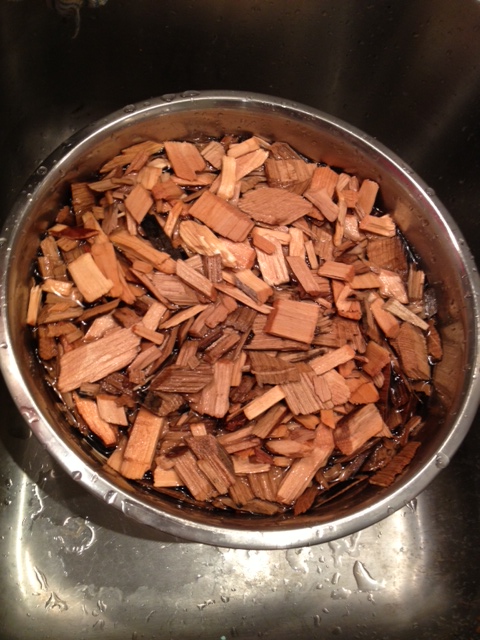
First up, we put a bunch of wood chips in a bowl of water, and let them soak for half an hour.
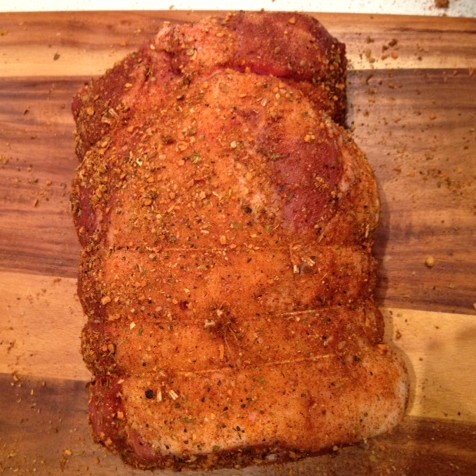
I mixed a concoction of dried spices with everything from garlic and sugar to chiplote and cayenne. I dried the pork with a paper towel then rubbed it all over with the spice rub. We fired up the bbq and let it get nice and hot.
Next it was time to make the smoke packets. I have seen several different versions, so I decided to make a traditional rectangular packet with a few holes poked into it, and one shaped like a cone, with it open at the top to let the smoke out (really just putting a pile of wood chips on some tin foil and then folding the tinfoil up around the sides into a chimney at the top.)
* Somehow in the excitement of smoking, neither El Granto or I got a photo. OOPS! Sorry 🙁
Next we placed the pork in the bbq on one side, and the smoke packets in the middle. We turned the burner under the pork off completely, and turned the burner under the smoke packets down to medium low (all other burners in the bbq off). This made the bbq drop to about 300 degrees.
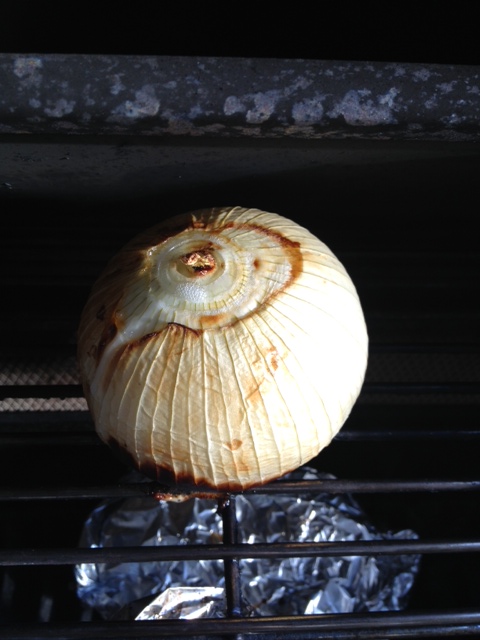
We closed the lid, and let it do its thing. Within an hour the backyard was smelling like delicious roasting meat and whiskey smoke goodness. We tried not to check on it too often (you loose the smoke!). After about 2 1/2 hours we swapped the smoke packets. When we put in the second batch of smoke packets, we also added a vidalia onion into the bbq to let it smoke with the meat, and with one hour of cooking left we added in a tin foil packet filled with new potatoes, garlic, fresh rosemary, olive oil & butter.
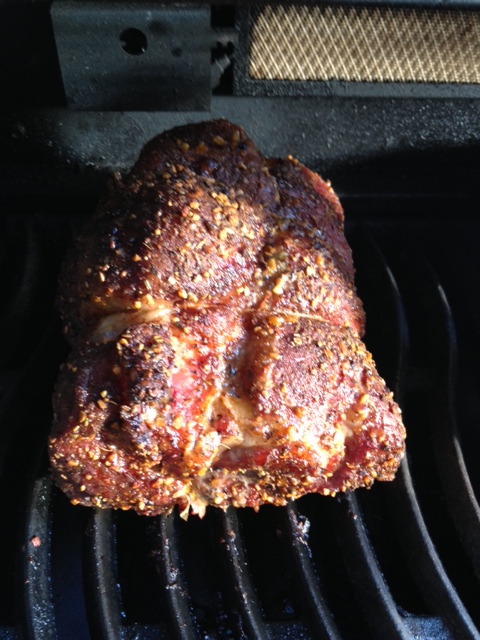
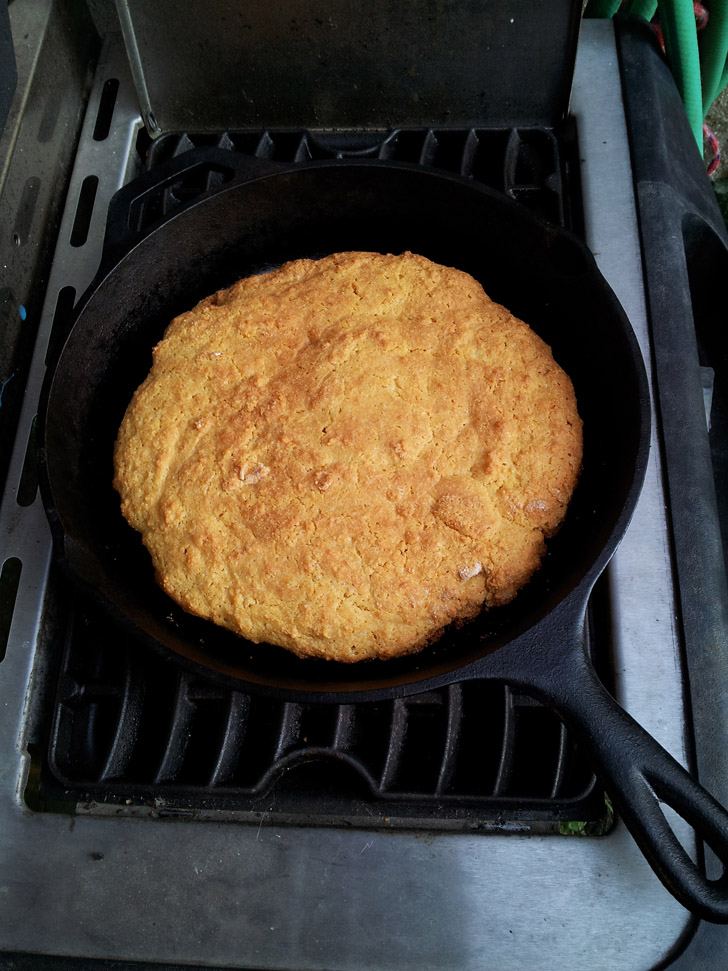
Mmmmmm. Now things were smelling amazing, and it was torture to wait for everything to finish cooking. After one more hour, we pulled the pork off to let it rest, then carved everything up and dug in.
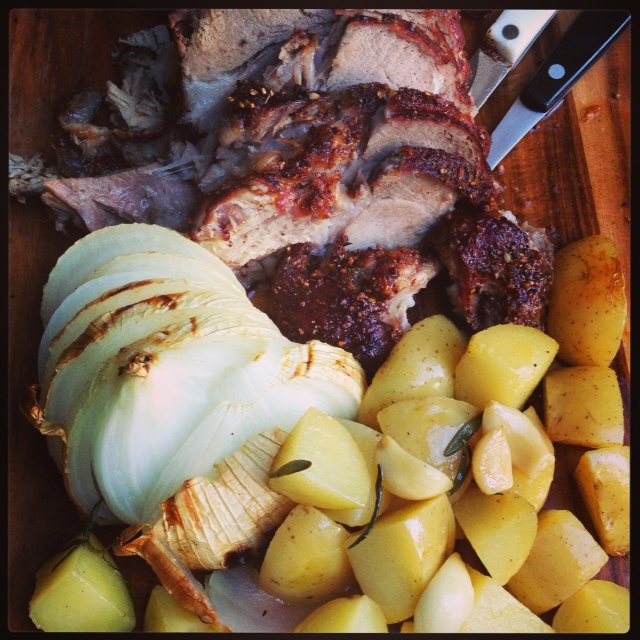
The verdict? An outstanding success! The meat smoked for five hours total. The bbq kept a steady temperature of about 300 degrees the whole time. The cone shaped smoke packets worked best, and we had a wonderfully smokey (but not overpowering or campfirey) taste. The rub which I was worried would be too overpowering, ended up mellow and wonderful. The barque was delish, and the fat cap on the roast was like butter. The smoked onion was juicy and wonderful, and the roast potatoes went beautifully with a chive sour creme.
Now I want to smoke everything. Whats on the menu this weekend? I’m thinking smoked beef tacos! Or chicken wings, or brisket, or sausages. I might just make it all…