We had so much fun doing the Fall Pinterest Challenge, that we jumped at the opportunity to do it again this time. The jist of the Pinterest Challenge is to stop just pinning ideas, and start creating. You’re supposed to DIY something from Pinterest. Whether it be a recipe, craft, home project etc.

I have a few pins over on Pinterest (only 2,555 or so…) so I had a good amount of things to choose from! I figured this was a good opportunity to knock something off the to-do list as well.
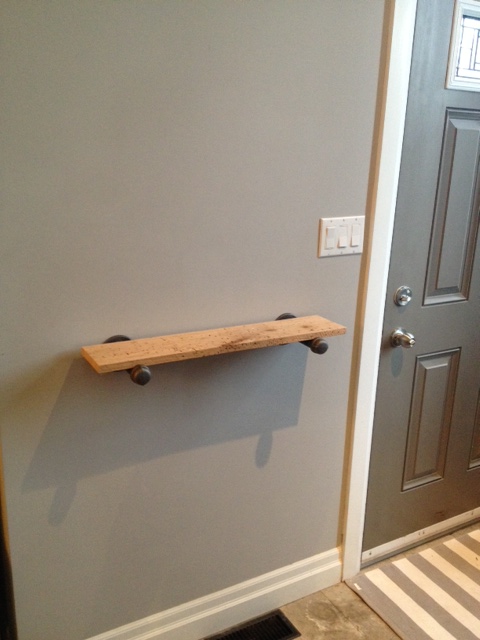
Our front door opens onto the dining room. We have built a coat rack, installed an Ikea wardrobe and we have a nice bench and mirror. The only thing lacking in the entry was somewhere to put your keys and mail, or to keep a coffee away from the dog while you’re tying your shoes pre-puppy walk. We don’t have a lot of space, so a traditional console table was going to be too big.

Here is our inspiration:
Source: restorationhardware.com via Kristen on Pinterest
If we love the shelf so much, why didn’t we just go buy one? errrr… The price for shelf + brackets was $240. Yep, for one lil shelf. Ouch. We just don’t roll like that.
So we made it (with our spin on it of course)
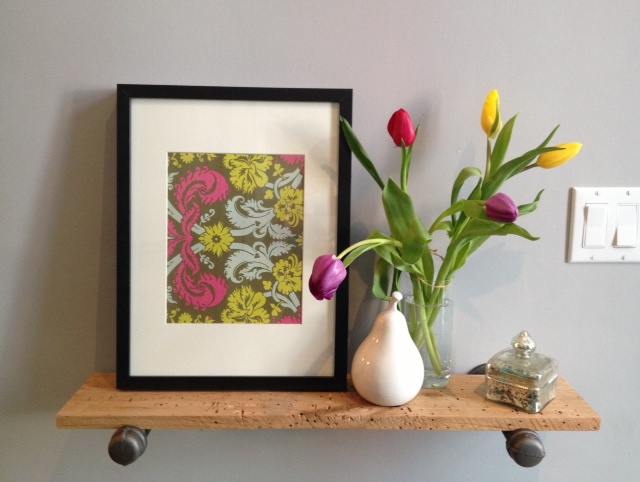
So how’d we do it?
Bought some 1″ gas line pipe (it matches our dining table!) from Home Depot.
Supply List:
- 2 – Floor Flanges
- 2 – 6″ Nipples (teehee)
- 2 – End Caps
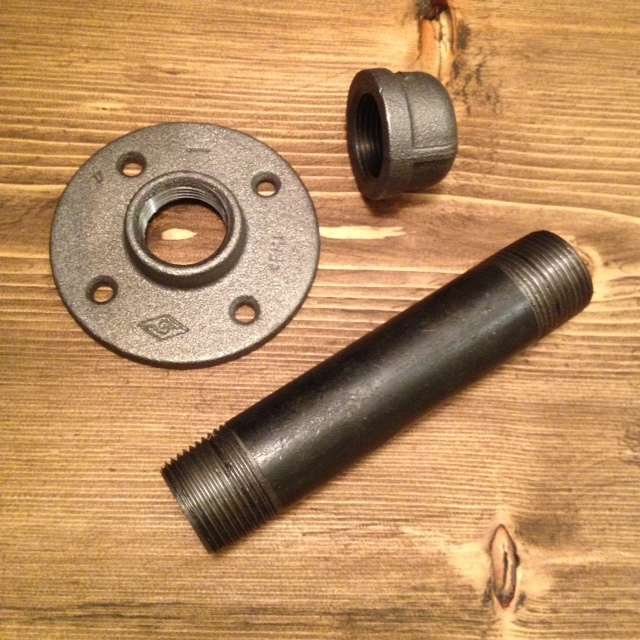
Assemble them all together and this is what you get:

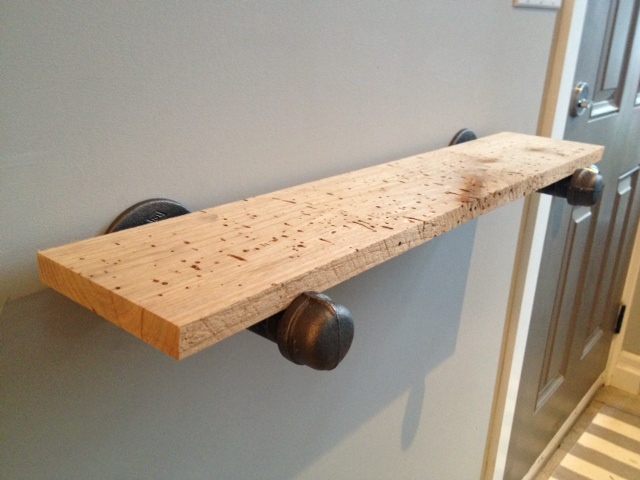
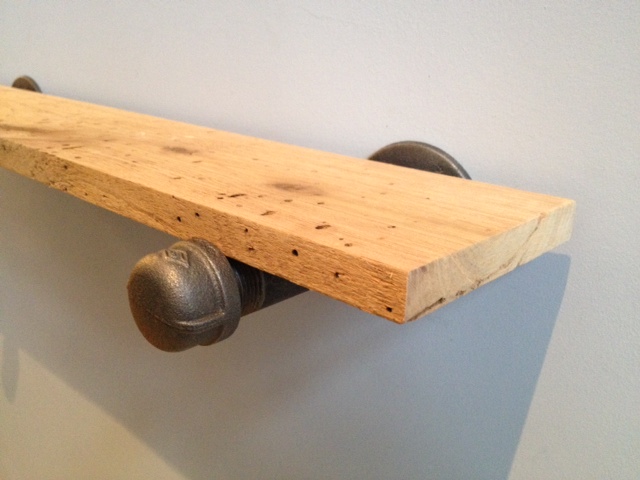
Now you need a shelf. We headed to the garage to check out what cool wood we had. We found some awesome worm eaten Butternut that El Granto had gotten for Christmas (yep we ask for building materials for Christmas). We loved the character of the butternut and decided it was the way to go.
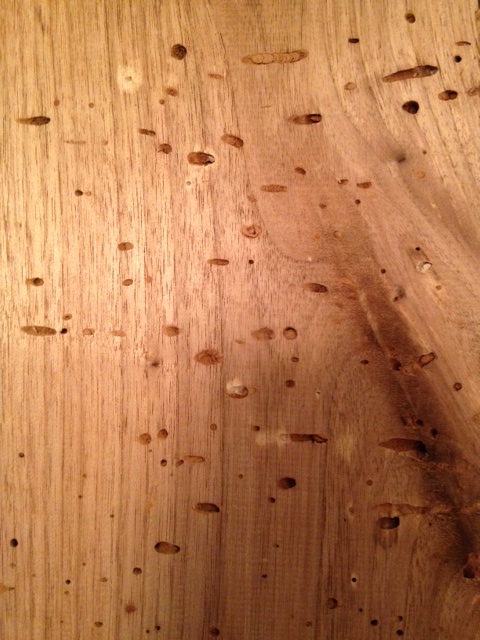
We cut the piece of wood 28″ long, and trimmed the width to 5.5″. This would enable the wood to sit on the pipe, but inside the edges of the end cap and flange. We wanted to be able to see the cool bracket. You can easily make the shelf wider by resting it on top instead of inset.
Next up, after deciding on placement and height (centered on the wall and 40″ off the floor) we went stud hunting, and found that we could hit one of our brackets into a stud. So we marked out the placement.
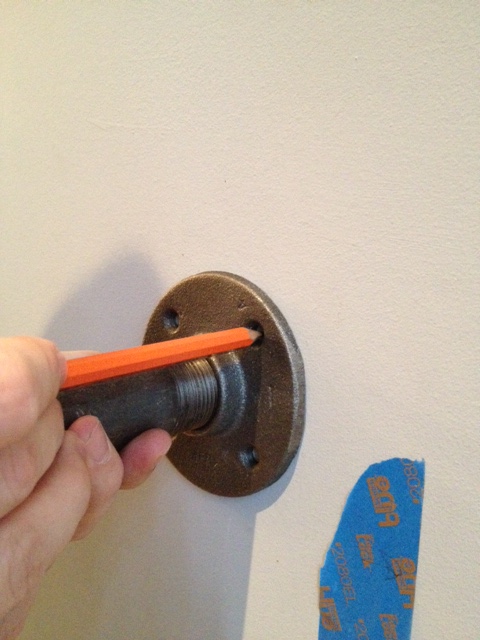
After the holes were marked, El Granto screwed the bracket into the studs.
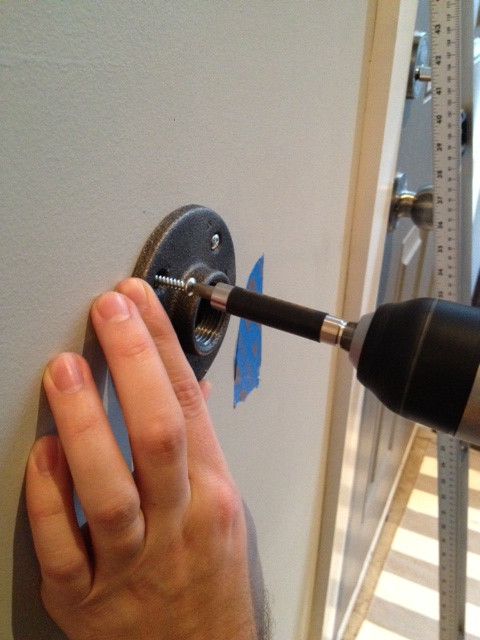
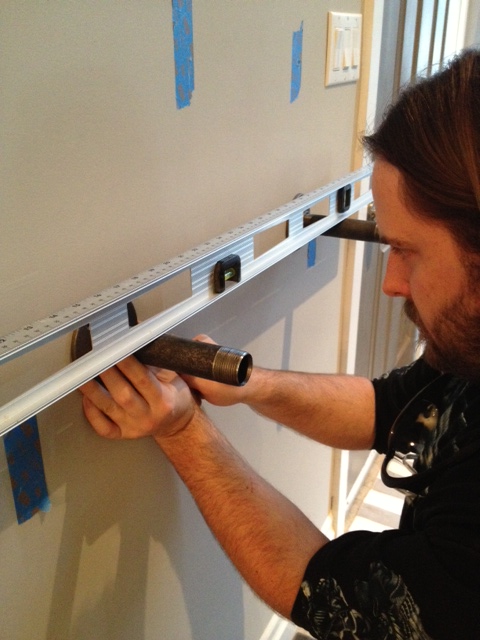
After the first bracket was attached, we attached the pipe nipple and used it to help us level the second bracket.
Next up we marked the second bracket, and used EZ Ancors to ensure the shelf would be attached to the drywall nice and sturdy.
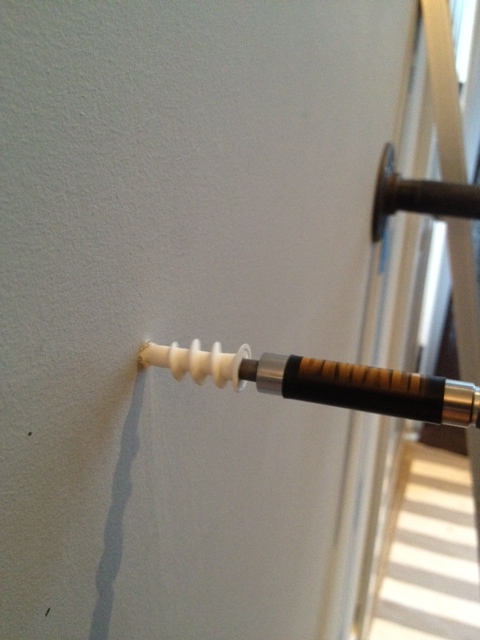
We then attached the other flange to the wall with screws into the wall anchors, and then screwed on the pipe nipple and end cap.
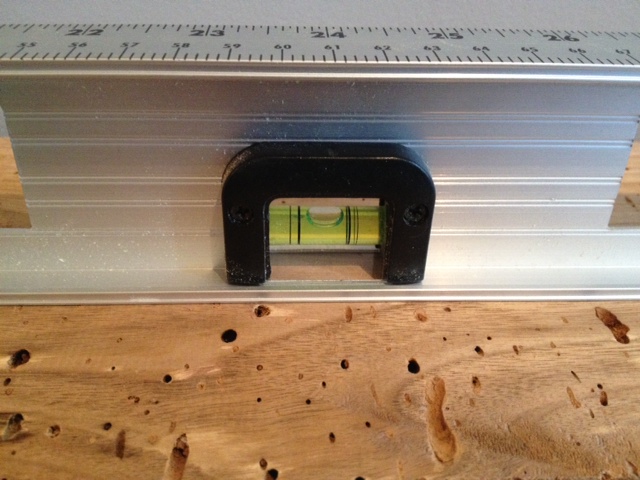
We gave our wood two coats of furniture wax and laid it on top of the pipe, screwing the end caps against the wood to hold it steady. Oh and it’s nice and level!
TA DA! What do you think of our DIY Restoration Hardware Shelf & Bracket?
Make sure you check out all the other awesome Pinterest Challenge projects, check out the hosts blogs too!
Sherry @ Young House Love
Katie @ Bower Power
Megan @ The Remodeled Life
Michelle @ Decor and The Dog
SOURCE LIST:
Materials:
1″ Gas Line Pipe (2 flanges, 2 end caps & 2 6″ pipe nipples) – Home Depot
Butternut Wood – Gift
Furniture Wax – Home Depot
EZ Ancors – Home Depot
Tools Used:
Miter Saw
Sandpaper
Dish Soap (to wash the pipes)
Drill
Level
Pencil
Difficulty Level (on a scale of 1-5):
Total Cost: $16



Just ordered my pipes! How should I clean them to keep from rusting??
If you clean the pipe with dish washing detergent won’t pipe rust? Black iron pipe is shipped with an oil coating to prevent rust. Removal of the coating will cause the pipe to rust very quickly. I would think that the pipe would need to be sealed with something (varathane?) after the coating is removed.
Our table is several years old, and no rusting! If you dont clean it, your dinner guests would be awfully mad when their clothes are ruined.
We painted our pipes after washing with dawn. They look great!
These are amazing!! I loved the RH shelves as well and was going to purchase them for our living room but now I am so excited to give this a try! I was looking to make the shelves a little larger though, both in width and length…do you think it is possible??
You can totally make them wider and longer! I would probably add another shelf support mid way for long shelves though. You can get Home Depot to cut pipe to any length you like (for a small fee). So the world is your oyster!
Awesome!! This truly is a great DIY!! Btw…loved your post on Playa Cabana! Going there next week, now I really cannot wait!
Thanks! You’re going to love Playa Cabana! Mmmm,now I want tacos…
I just stumbled across your blog and it is fantastic. I have the same Billy Bookcases and have wanted to dress them up. Thanks for the fantastic demo.
Love this! What a great hack! I shared your project over on my blog today: http://www.everafterblueprint.com/?p=7251
Thanks for the share Andrea!
Wow! Great job guys! Love how this one turned out. I’m totally with you on RH. Love the look, but just CANNOT justify the prices – especially when you consistently prove how easy it is to get the same look with a little time, patience & elbow grease (or furniture wax)! 😉
That looks so great! My bf is obsessed with decorating his place with stuff from Renovation Hardware. Totally sending him this post 🙂
We love the vintage industrial looks of RH as well but just can’t justify those prices when it takes so little time and money to just do it yourself.
I’ve been eyeing shelves like these for our kitchen. Yours turned out so cool looking. Nice job!
Thanks we love them! We’re thinking about using the same idea on our coffee bar!
Now that you’ve had it up and loaded with stuff, are you concerned about the end caps being enough to hold the wood in place? Any thoughts on how to secure it to the supports a little more permanently? I love the look of this and want to try it myself, I’m just worried about my cats trying to jump on it and the wood popping free.
We had considered this, but in our application we were not worried about kiddos or animals knocking it over, so the tension of the end caps is enough to keep it in place. However you could either drill a hole through the pipe and screw into the wood, or use something like plumbing strapping or a tube clamp to attach the bottom of the shelf to the brackets.
You could also put a line of construction adhesive on the top edge of the pipe to affix it to the underside of the board.
Very nice. Looks better than the original. Seriously!!
Thanks! We’re happy with how it turned out!