Three weekends of sore muscles and standing on ladders are over, and we are now the proud (and tired) owners of a reclaimed tin ceiling. We first showed you how we prepped the ceiling, then how we prepped the tiles, today you finally get to see the finished product.
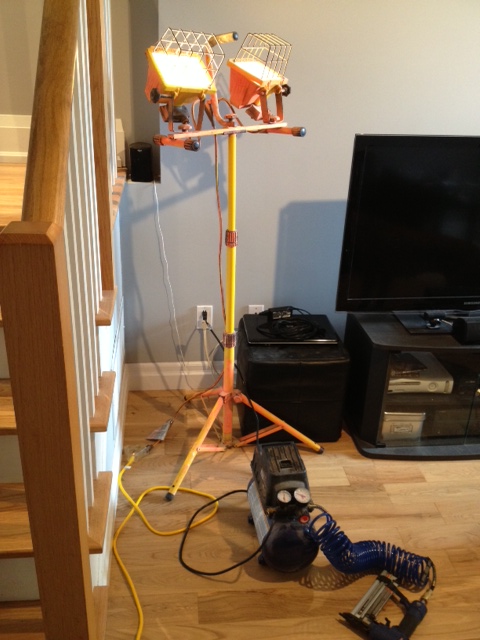
It was a bigger project than we anticipated. Anything where you’re working on the ceiling is exponentially harder. If we were to do it again, we would rent some scaffolding, as moving ladders around was a pain. We did borrow a work light from our neighbours, which was a necessity.
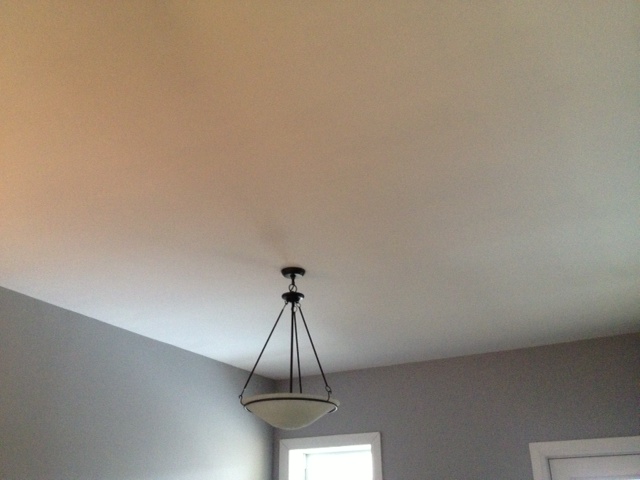
This is what the ceiling looked like before.
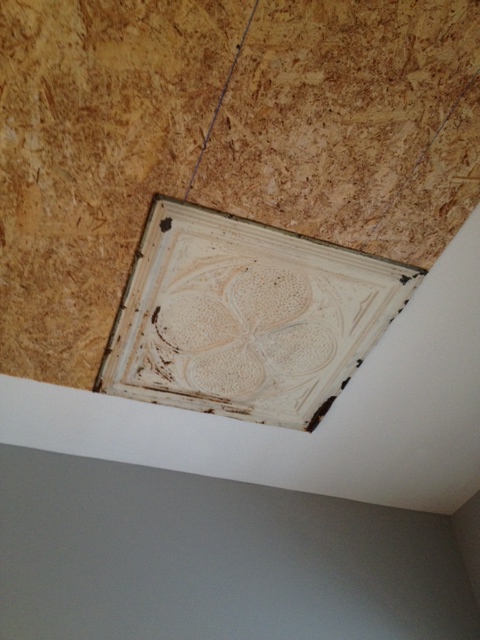
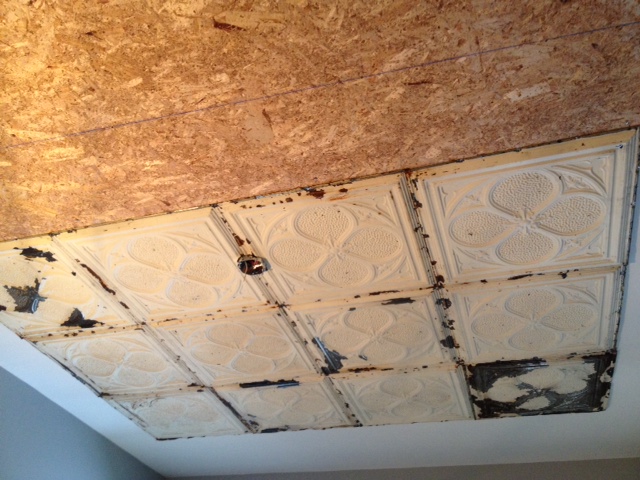
This is what we started with on installation day.

When installing the tiles you need to decide where you enter the room the most. The tiles overlap, so you want to make sure the edges overlap away from where you see the ceiling from most. We enter the living room from the hallway so we started the tiles at the corner farthest from the entryway (kitty-corner to the hallway).
The tiles overlap and have little notches where they fit in together. We figured this was enough to be able to line up the tiles properly, but once you’re standing on the ladder with the tile over your head, it’s much harder. We wish we had laid out a chalk line grid, it would have made the installation quicker and preventing one crooked tile that moved when I was nailing it. (arg)
After the first tile is up, we continued along that row to the end, then started the next now. Your arms get very tired, so this process ended up taking us two weekends to get done.
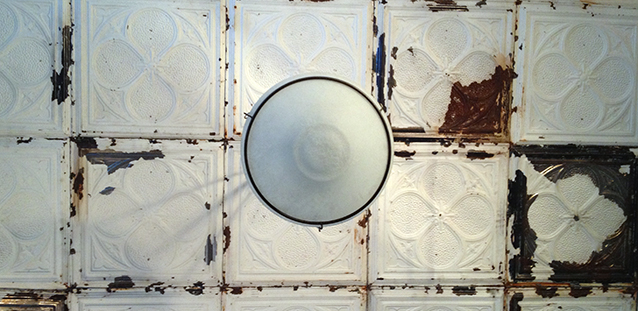
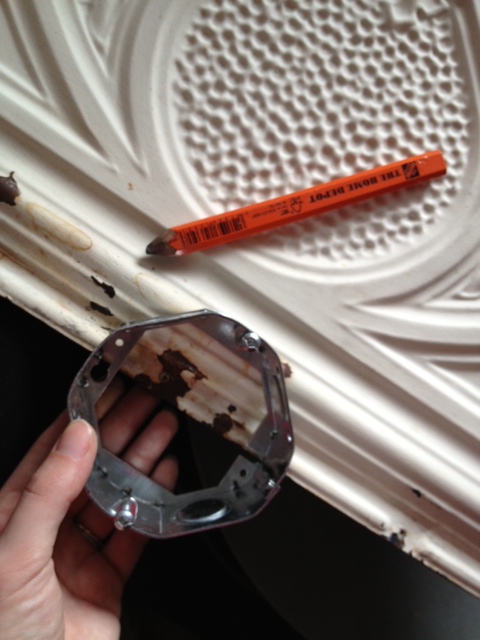
When we got to the middle of the ceiling we needed to deal with the electrical box. We had planned the tiles so that the light ended up in the middle of two tiles. We just needed to cut a half circle out of each tile around the light, and it should work perfectly. We traced the shape of the electrical box onto the tiles that needed to be cut.
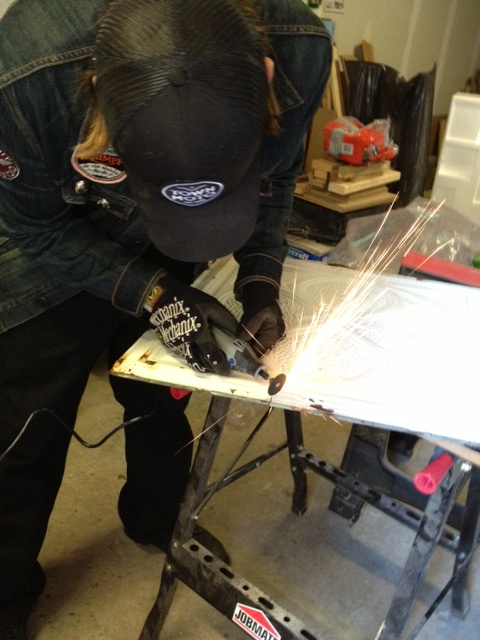
Then headed out to the garage and El Granto cut the tiles with a metal cutting blade on his Dremel. (We could have used tin snips, but the curve is a bit tricky and the Dremel is waaaay easier.)
After the tiles were cut, we added an extension box onto our ceiling electrical box so that it would allow us room for the plywood and the tin tile. The box is easy to install (again the power is still OFF to this room!)
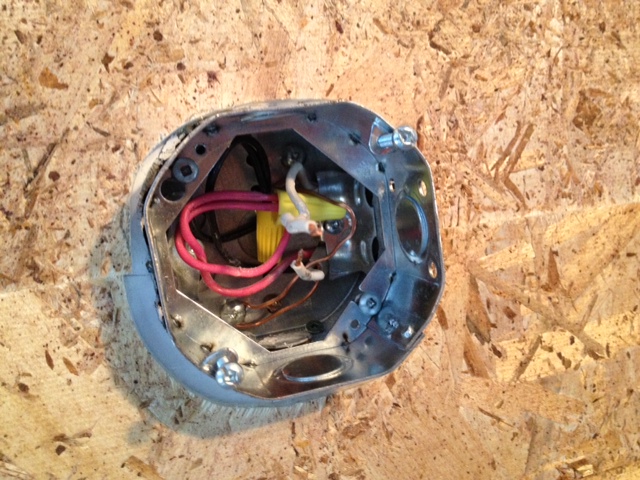
After the box was up we installed the cut tiles around it.
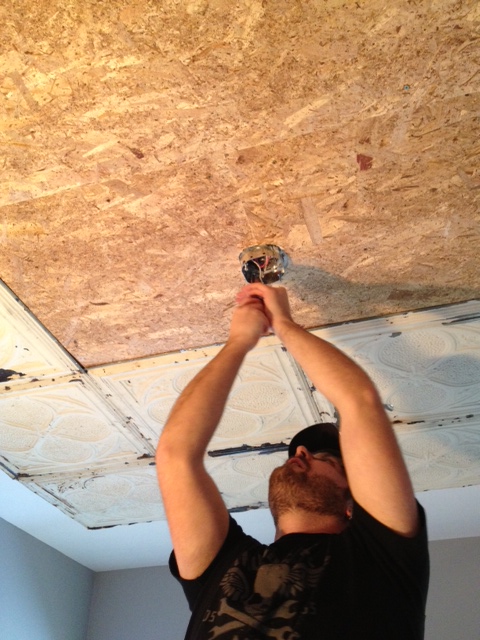
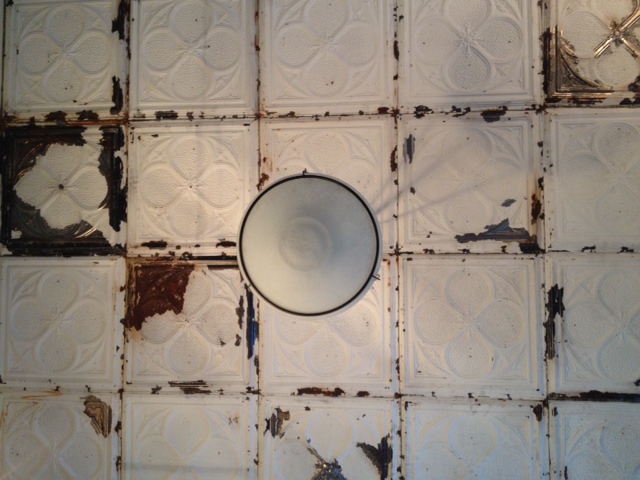
Then re-installed the light fixture.
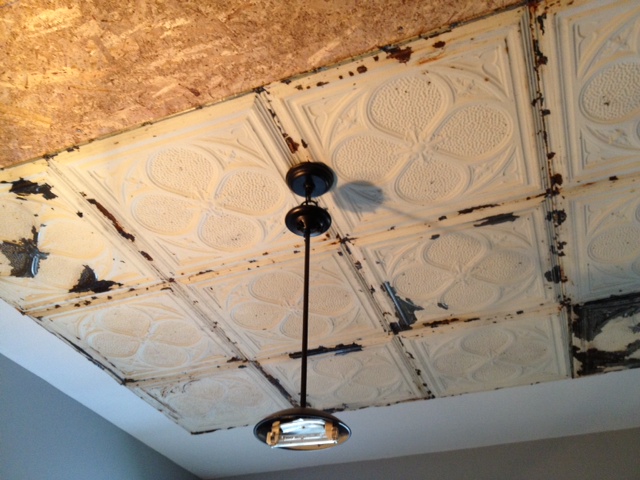
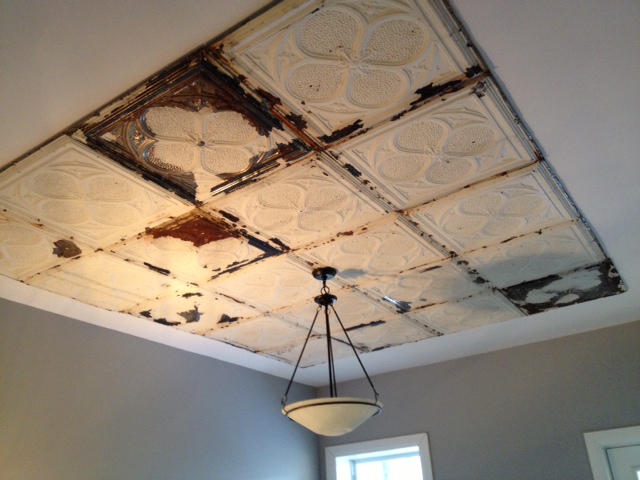
We then installed the remainder of the tiles. The result is a very eclectic ceiling, but we love it. Some of the tiles are much more worn than others. We tried to make the layout look random, but still balanced. We would like to add some panel molding around the edges, but that will have to wait until we have access to a truck or van.
Without further adieu, here is the finished product.
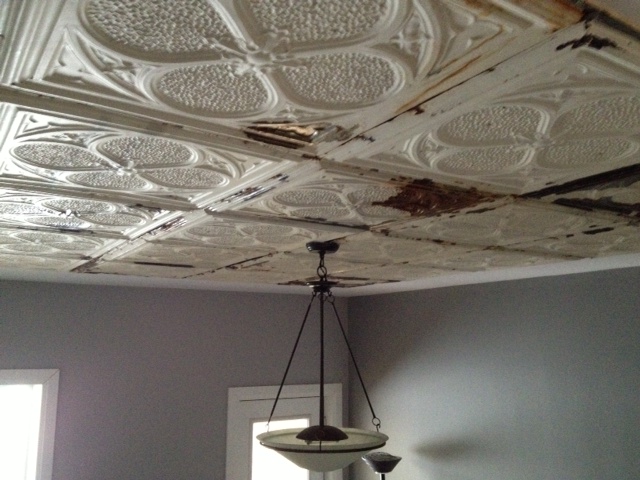
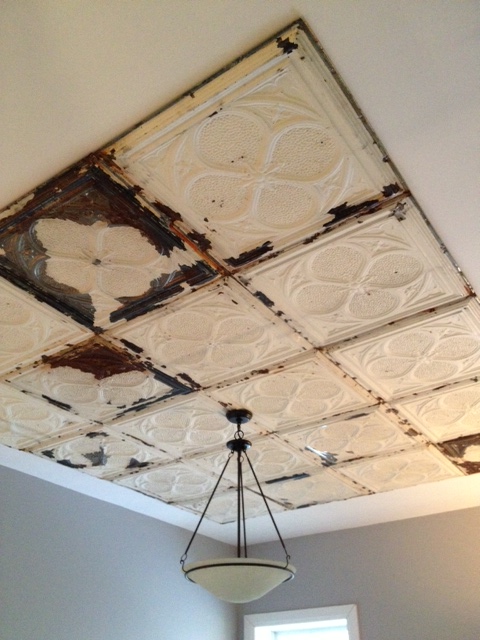

The living room is starting to come along now. Next up, we need to trim out the tin ceiling, and swap out the light fixture for a more elaborate chandelier. A few more big projects and it will hopefully start looking more like the period building it once was.
SOURCE LIST:
Materials:
20 2′ Square Reclaimed Tin Ceiling Tiles – Aberfoyle Antique Market
3 4×8 Sheets of 3/8″ chipboard – Rona
Round Electrical Box Extender – Home Depot
Screws – Home Depot
Brad Nails – Home Depot
Clear Coat – Canadian Tire
Tools Used:
Drill
Compressor & Brad Nailer
Ladder(s)
Work Light
Chalk Line
Dremel
Difficulty Level (on a scale of 1-5):
(Really it deserves about a 3.5 it was just a pain as you are standing on a ladder working over your head)
Total Cost: $430
Wow!!!!!!