BIG Milestone today kids! This is our 100th post!
So we made the dining table, then we finished the table, and now we’re making a quick and easy (and cheap) bench to go along with it.
Left over from our table offcuts, was a 2×12 piece of wood just about 6′ long. El Granto decided to surprise me and make a matching bench to go along with our table. The bench will add a lot more seating (you can squeeze a truck load of people around a bench when necessary.) It also reduces the amount of chairs we have to have, and a bench can be tucked close into the table and not take up a ton of room.
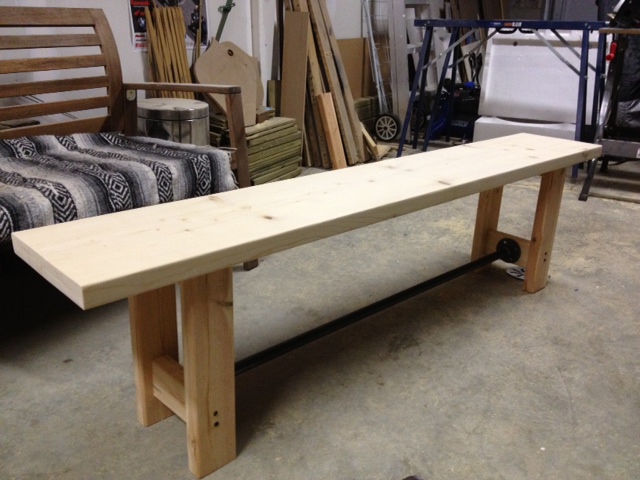
Here’s the shopping and cut list for what you need to make a 68″ long, 11 1/2″ wide and 18″ high wood & pipe bench.
Shopping List
(leftover 2x12x6′ from the table project)
2 – Premium 2×4’s
2 – 3/4″ Flanges
1 – 48″ precut piece of 3/4″ black pipe
8 – 1″ wood screws
Cast Iron Square Nails (Optional)
Wood Cut List
1 – 2x12x68″‘ spruce
4 – 2x4x16 1/2″
4 – 2x4x6 1/2″
Pipe Cut List
You don’t need any custom cut pipe. Use your 48″ precut piece as is. Woot!
Assembly
Pre-sand your pieces of 2×4 (these will be the bench legs, and once assembled are a bit more of a pain in the ass to sand.) While you’re at it, sand the bench top as well. Start at a 60 grit or so, then work your way up to 220.
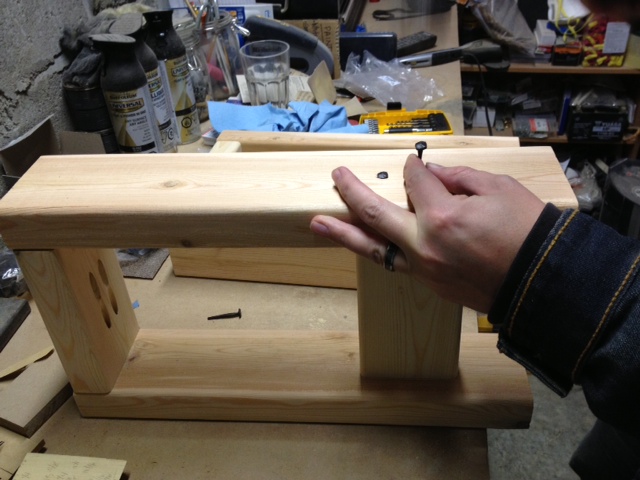
Assemble bench legs using your attachment method of choice. We decided to go with the Kreg Jig pocket hole system, but you can easily use dowels & glue. El Granto got a bit carried away in the assembly process, and forgot to take any pics until it was all done (oops!).
Here’s a shot of one set of legs, where El Granto is adding some decorative square nails. You can see how we used the pocket holes to attach the top support piece, we also used pocket holes below the bottom vertical support piece. The bottom support piece is vertical because we are going to attach our pipe cross beam there.


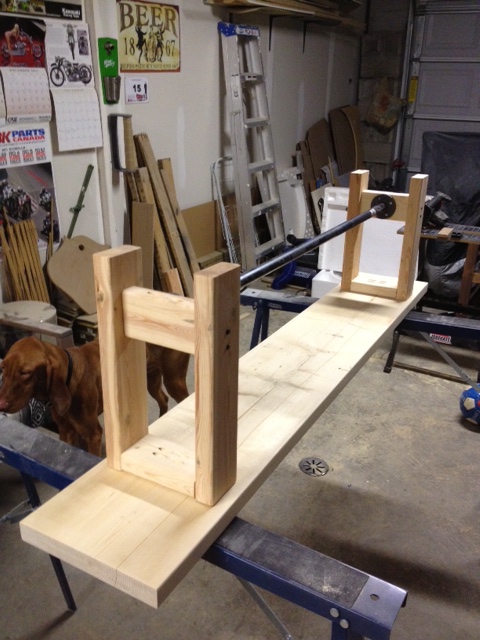
After the legs are assembled, attach the flange to one set of the legs, then attach the pipe and the second flange and screw the other flange to the other set of legs.

Flip the bench top upside down, and place your upside down legs on top, and screw legs into bench top using 2 1/2″ screws.


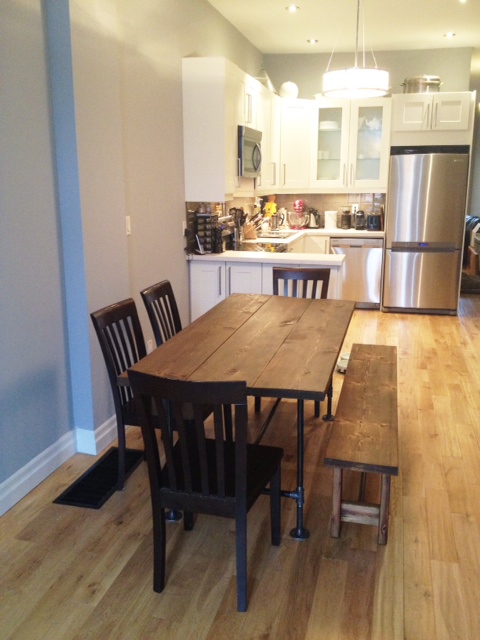
After the legs were attached, we took the bench inside to start the finishing process. We stained and oiled it to match the table.


We now really need some new chairs. In the interim, I think I will give the ones I have a coat of paint. I am leaning towards turquoise or red. Eventually I would really love some Tolix chairs or some Emeco navy chairs. The dining room also desperately needs some high impact art, as does the area over my kitchen cupboards.
SOURCE LIST:
Materials:
2 – Premium 2×4’s – Home Depot
1 – 3/4″x4′ black pipe – Home Depot
2 – 3/4″ Floor Flange – Home Depot
2×12 spruce – Rona
1″ wood screws – Home Depot
Varathane stain in Chocolate – Home Depot
Varathane wood conditioner – Home Depot
Pure Tung Oil – Lee Valley
Square Nails – Lee Valley
Tools Used:
Miter Saw
Kreg Jig
Measuring Tape
Hammer (for decorative nails)
Drill
Difficulty Level (on a scale of 1-5):
Total Cost: $16 (bench top wood, and finishing materials were left overs from the table project)
It doesn’t really help someone trying to replicate your design if you don’t list an actually cost. Most people don’t have the necessary materials lying around as you did. There’s no way this build is 16 dollars for most people.
Hi Dan,
The table and the bench were made together as a set. You can reference back to the table post for the cost of the lumber. http://www.storefrontlife.com/diy-pipe-wood-table-pt-1/ Although your cost will change dramatically based on the type of lumber and finishing supplies you choose. The fixed cost (the pipe) was listed in the project.
I was looking for DIY tutorials on how to make industrial wood and pipe bar stools when I came across your site and I LOVE it!
I recently built a {another Restoration Hardware Hack}…but now I want to build this one too! Great table! Great site!
I love Restoration Hardware hacks! (Well I love Restoration Hardware in general, but usually cant afford it!)
That’s one messy garage.