Our entryway, dining room and kitchen are all one great big open concept room. As soon as you walk in the front door you can see straight to the back of my kitchen. Its nice because the storefront window allows in a lot of natural light, and the open concept high ceiling space makes everything look a lot bigger than it actually is. Since moving into the house we have done very little to the main floor. The main reason being that anything we did would either cost a lot, or impact the whole main floor (i.e. we have one 60 foot long wall that runs from the front door to the back door, going through every room on the main floor except the powder room. So you cant just paint the kitchen or the dining room, you literally are painting the whole first floor.)
We have big plans for the space, we want to create a coffee bar in the dining room, replace the sink, faucet and countertop in the kitchen (and backsplash if I get my way). We just made a new dining table and bench. I have some art projects in the design stage, and a lot of projects for the livingroom.
In the interim I wanted to get the dining room ready for my holiday guests and for Christmas dinner. There is a chimney wall that juts out in the kitchen (see it behind the table in this shot).

I decided to give it a bit of a focal point, and paint it with black chalkboard paint. That way I can feature a menu board for dinner parties etc.
To start out I sanded down the wall to remove any imperfections and to make it as smooth as possible. Then I coated in one coat of primer.
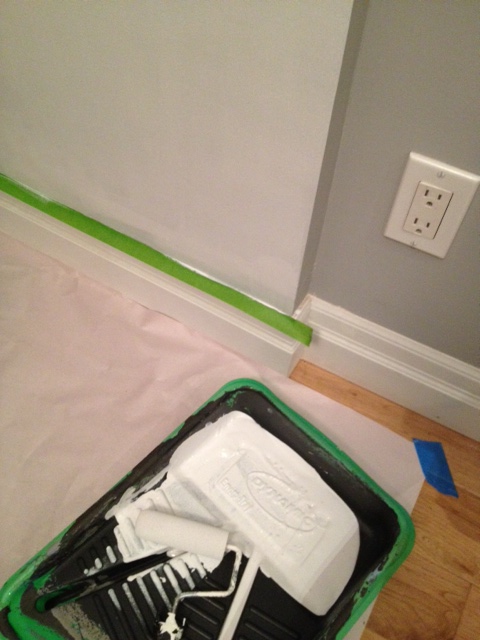
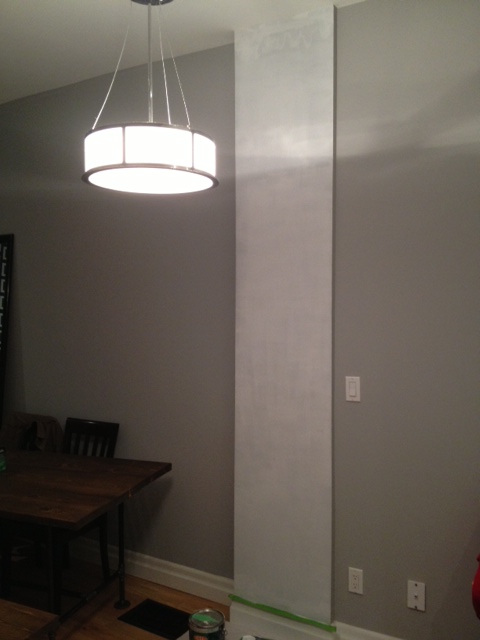
I sanded the primer than applied one coat of chalkboard paint. I started to get a bit worried at this point as it didn’t cover well at all…
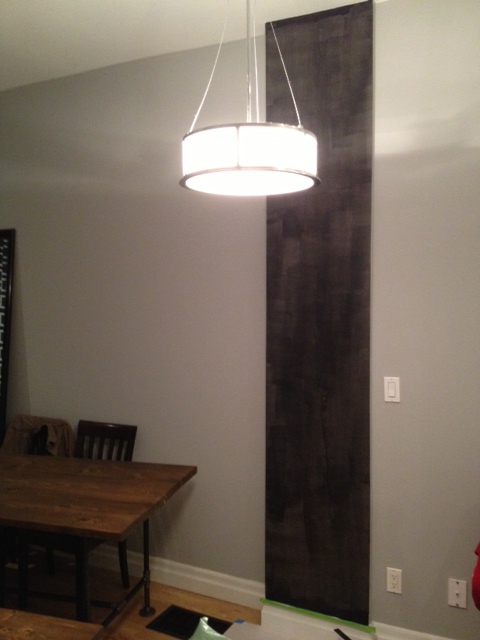
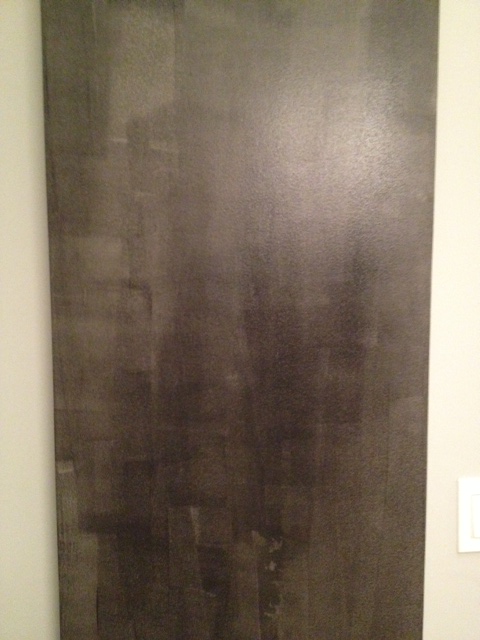
After a second coat it was started to look much better, but it still needed at least one more coat. I sanded at this point to try to make it as smooth as possible (chalkboards work best when they super smooth!)
So after sanding and a third coat of chalkboard paint I was starting to get the result I was looking for.
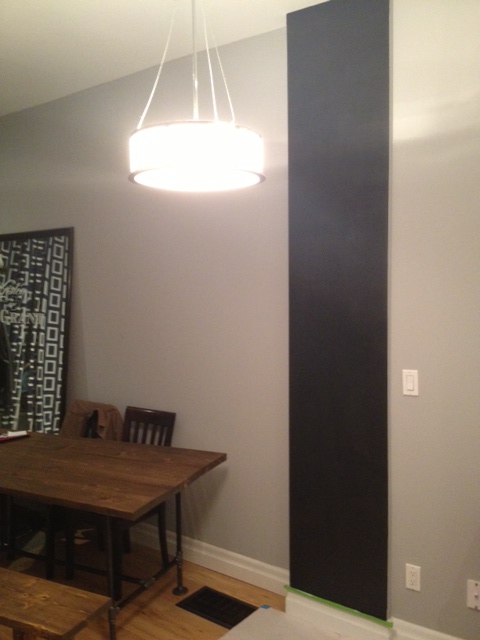
After this I gave it one more sand and what I thought would be the final (4th) coat. However after it dried it was even rougher than before. Eep! So once again I sanded and sanded and sanded some more then I painted a coat sideways instead of up and down. After that, I sanded and painted two more coats. Yes that’s right, if you’ve been counting you’ll know that we’re up to seven coats of paint. At this point I still wasn’t convinced it was smooth enough, but gave up because I had had enough of this project…and i deemed it “good enough”. Having never worked with chalkboard paint before I am not sure if I was just being anal retentive, or if you can actually get a perfectly smooth effect on a wall.
Once it had dried for three days, we covered the whole wall in a coat of chalk (rub the side of a piece of chalk over the whole wall.) Consider this like seasoning a cast iron pan. Then rub off with a dry cloth, and you can use your chalkboard wall. Just don’t wipe it with a wet cloth for at least a week.


Check back tomorrow to see how I designed my Holiday Chalkboard Menu!
***UPDATE*** Here’s the Menu

SOURCE LIST:
Materials:
Rust-oleum Chalkboard Paint in Black – Canadian Tire
CIL Primer – Home Depot
Tools Used:
Paint brush, tray & roller
Difficulty Level (on a scale of 1-5):
Total Cost: $20