To me, hardware on cabinets is like jewelry. The finishing touch, a hint of sparkle, a bit of shine. Shopping for hardware is like buying the final accessories to go with a fab outfit.
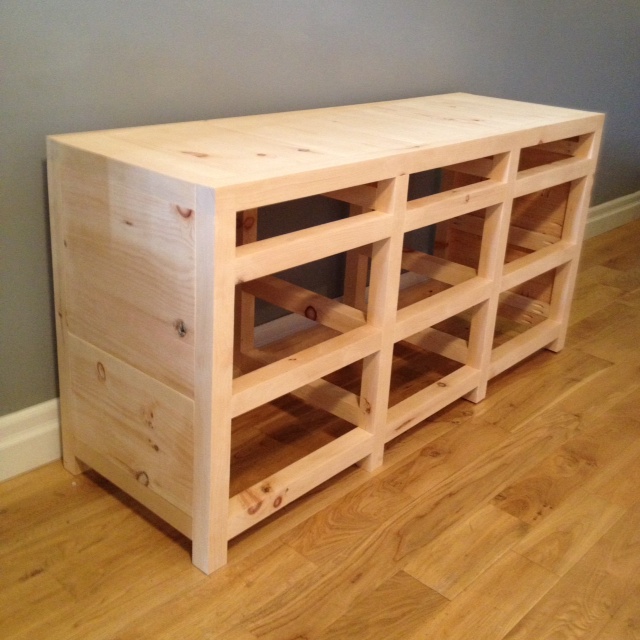
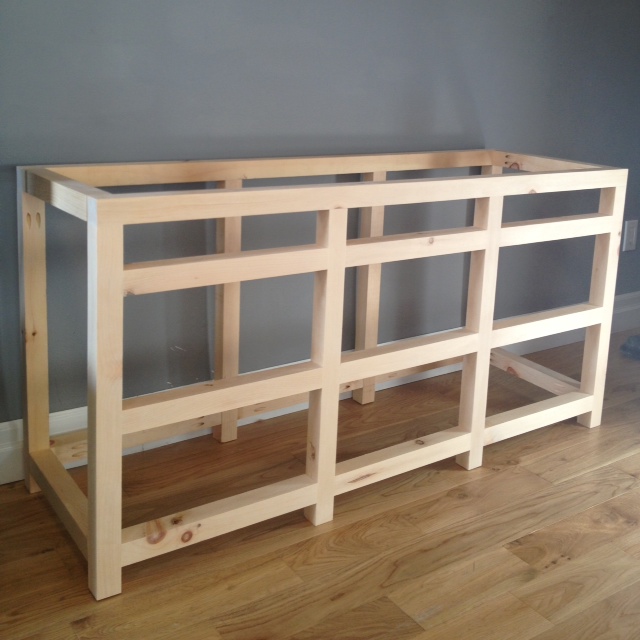
So, I am very excited that we’re at a point where we need some hardware for the Printmakers Media Cabinet project.
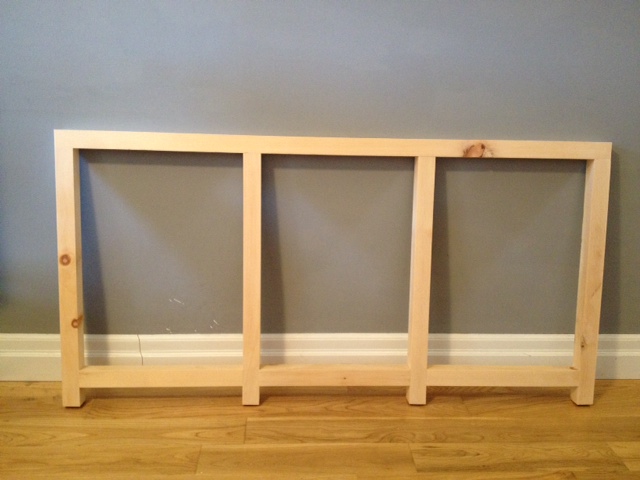
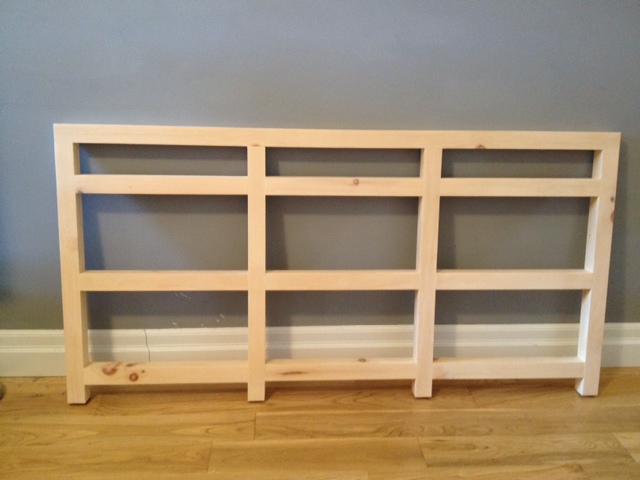
The plans call for the following hardware:
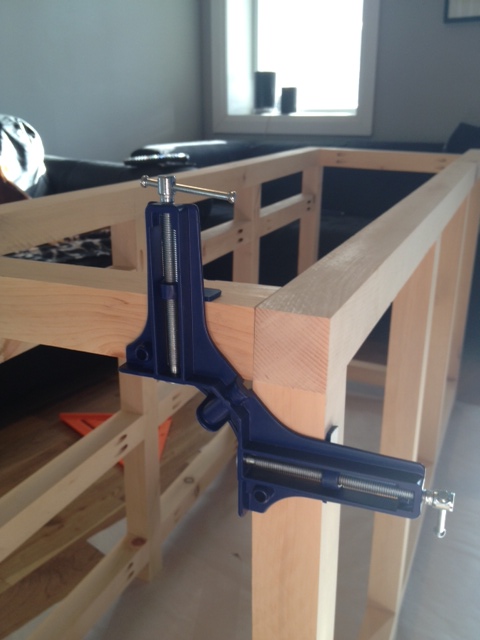
- 3 pair of inset or concealed hinges
- 3 cabinet clips (to keep the doors closed)
- 6 lid stops (3 – right, 3 – left)
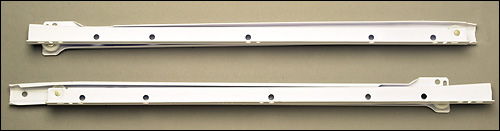
- 3 sets 14” drawer slides
- 15 – drawer pulls
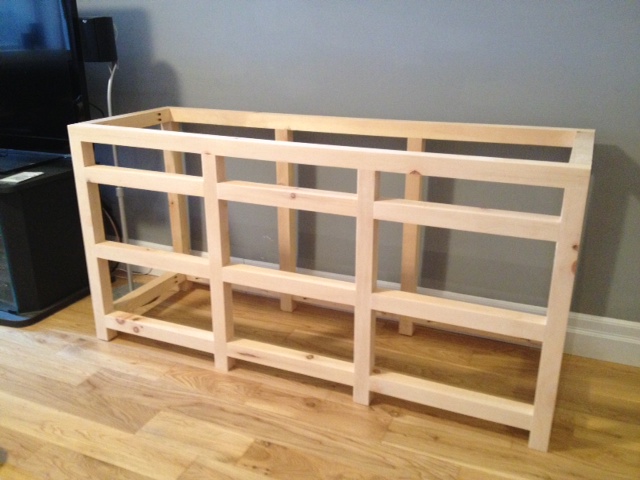
That’s a lot of hardware… As the cabinet is a faux printmakers cabinet, it looks like it has 15 little drawers (printmakers cabinets used to have tons of shallow drawers to hold metal and wood type and plates). So we need 15 drawer pulls, and traditionally for a printmakers cabinet they should be cup pulls.
If anyone has done a kitchen reno lately, you’ll know that pulls are expensive. From the big box stores, you’re looking to pay between $5-$15 per pull. From a high end hardware shoppe, you can pay in excess of $25 each. Ouch, that’s not in our budget. As much as I love the hardware from Gingers or Restoration Hardware, I was not about to drop that kind of cash.
So where can you get nice, inexpensive hardware?
There are a ton of cheap online shops. However, Canadians beware. Most of the time the online knobs/pull companies will ship UPS or other courier from the US to Canada. UPS is a carrier that charges brokerage to cross the border. Brokerage SUCKS. It’s an unknown fee that the delivery guy will charge you before he will hand over your package. We have been charged upwards of $40-100 in brokerage on things that didn’t even cost that much. So by the time you’ve paid for the purchase, paid for cross border shipping, and paid for the brokerage, you’ve negated any savings from purchasing online. If you’re going to purchase online, try to buy from a Canadian supplier, or where they ship USPS or FedEx, both of which (normally) have the brokerage covered.
Your other option is purchase locally. Often local business can offer you the same or even better rate than buying online. Check out your local hardware store, and ask if they have a catalog of special order pulls. Also take a look at the special order hardware displays at your local big box stores.
My go-to spot for hardware is Lee Valley Tools. Even if you don’t have a Lee Valley in your town, they have an awesome hardware catalog and online store and they will ship to you.
So here’s what I’ve found from Lee Valley for our cabinet:
Drawer Slides:
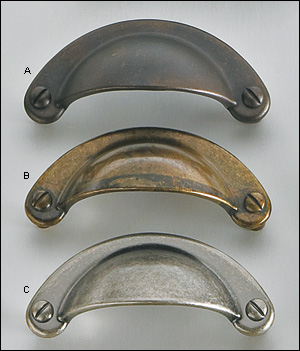
Cup Pulls:
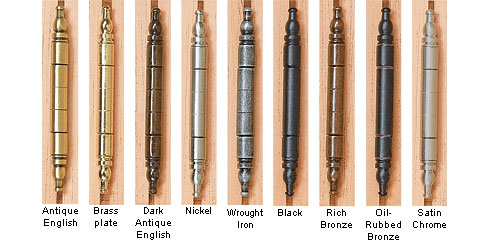
Hinges:
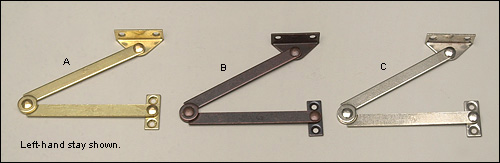
Stays:
Lee Valley carries everything in stock at their warehouses, and yep, we even have a location in downtown Toronto (King Street between Bathurst & Spadina). The best part of Lee Valley is their volume discount. Most of their items have a 10+ or even a 25+ volume discount (the price goes down if you buy more than 10 etc.) So for the 15 cup pulls we need, they will only cost us $2.55 each. (excuse me while I do a little crazy Elaine dancing.)
Do you have any go-to hardware stores? Grabbed any great deals lately?
*In case you’re wondering, no one paid me in anyway for my views. I just to pass on my recommendations for places I like to shop.