(Not) Burning Down the House

El Granto is a bit of a tech nerd. He’s not quite Howard Wallowitz, but the man likes him some gadgets. Hell he even has a watch that receives his texts and emails.

I may not be the biggest techy, but when it comes to our home I really have been taken up with home tech. From the simplest touches such as our bathroom fan with a timer, to our IR repeater and of course to our Nest thermostat. I love them all. I want to turn our house into robot house. Bring it Jarvis.

While we’re not quite at the whole home automation level, we have just added three super cool new smart home additions.

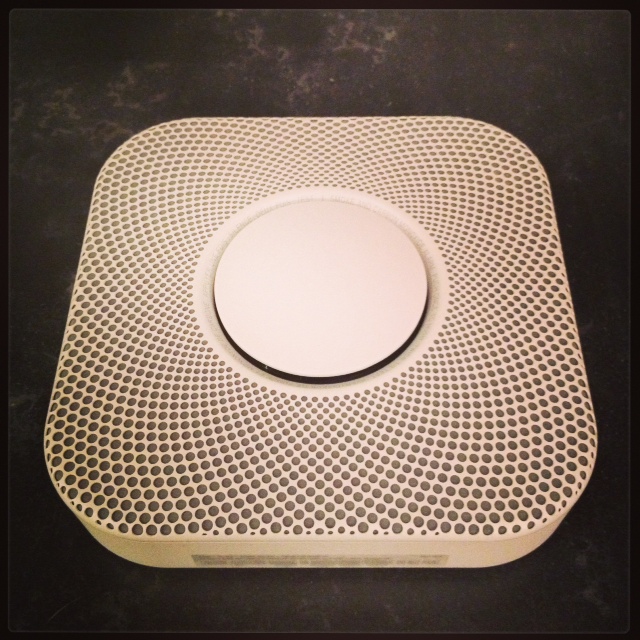
Meet our Nest Protect Minions.

Nest Protect
Nest Protect

When I posted a pic of our install on Instagram I had quite a few questions asking what on earth these things are.
They’re awesome, that’s what.

They also happen to be super smart smoke/co2 detectors that help keep us safe whether we’re burning dinner (that never happens I swear) or fast asleep. They sense smoke and co and will give you vocal warnings when something goes wrong. There is two levels of warning. I like to call them “burnt the toast” and “the effing house is on fire!”. The former will let you know when things are a bit smokey and let you turn off the warning with a wave of your hand. The latter will tell you to get the hell out of your house and notify you via the Nest app to let you know your house is burning down.

It’s a bit hard for me to explain their awesomeness in prose alone, so I will let this video do all the hard work for me.

My favorite part has to be the “nite nite” check, when you turn out the lights for the night the system does a full check and a pulse of green light on all the Nest Protect units lets you know that everything is working and you can safely go to sleep. I also really likeĀ  that if the Nest Protect senses co2, it will talk to our Nest thermostat and tell it to shut off our gas furnace. Pretty darn cool.

The Nest Protect works with our Nest app, so everything is working together and updating you on one app.

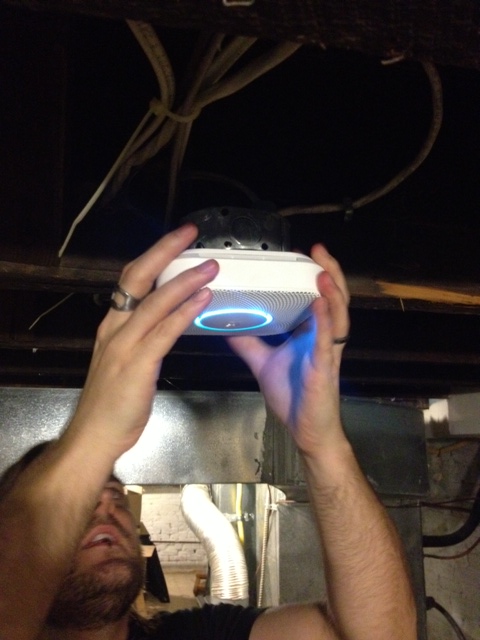
We installed right before Christmas, and just like the Nest Thermostat install it was super easy.

Read and follow the simple instructions.

Read instructions kids

Scan the QR code on the back of the Nest Protect, enter in your settings and wait for it to sync itself.

Nest Protect doin its thing
Nest Protect doin’ its thing

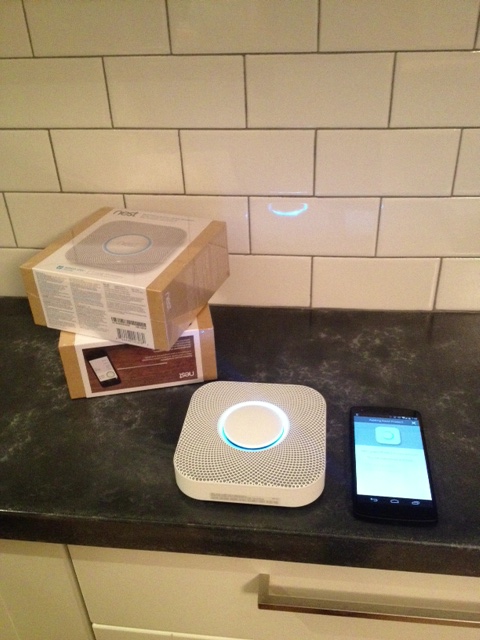
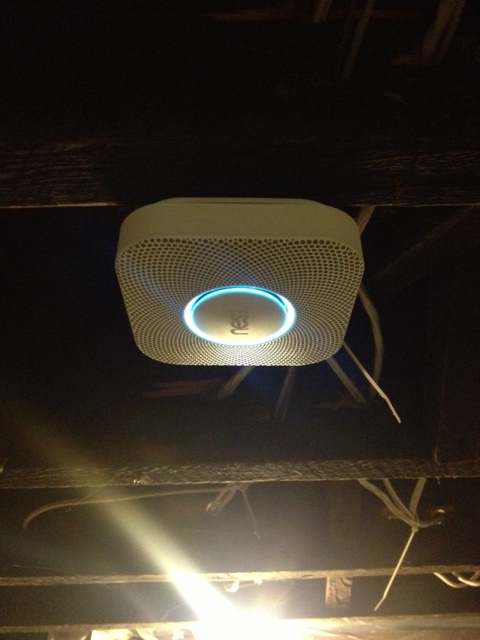
Then attach it to the ceiling and pop it into place.

Installing Nest Protect
Installing Nest Protect in the basement

After all of them are installed (we have one in our basement, one on the main floor and one on the second floor). You test the whole system and relax, cause your house is now way smarter than you are.

Nest Installed in (scary) basement

The current weather has put the system through its paces. We were able to check on the system and up the heat during the ice storm & cold snap to make sure the dog wasn’t freezing, and neither were our pipes. We also had the peace of mind that the house was safe, and we could also use it to check and see if we had power when most of the city was dark.

Are they worth the price? I say yes! And if you’re in Canada and don’t already have a CO detector, as of Jan 1, 2014 it became law that you have to have one. So get a co detector!

*BTW We really truly have no affiliation with Nest, we just love their stuff.

Tin Ceiling Part 2 – The Prep

How was your weekend? We knocked out our Pinterest Challenge project (check back Wednesday to see it!), we fixed a few nagging things around the house. (Our front door finally shuts/locks without jiggling the handle and shoving the door with your shoulder.) Unfortunately our doorbell still isnt working, but you cant win em all. Any doorbell experts out there that want to lend a hand?! (and/or any leads on where to buy Victorian Twist Doorbells?)

We have finished our tin ceiling project (full reveal tomorrow, I promise) but first I wanted to talk a bit about prepping the tiles for installation.

tintile

Our reclaimed tin tiles are 100+ years old, and covered in paint (which is most probably lead based paint.) The paint on our tiles had over the years seen some wear and tear. Some of the tiles were chipping, and the paint flaking off. Now the last thing you’re going to want is flaking lead paint falling from your ceiling, babies and puppies eating it and growing two heads so prep is important. (although two headed puppies would be cute)

*This is what WE did, we’re not experts, so please don’t take our story as gospel. Lead paint is a serious toxic substance, so ensure you contact your local government for how to safely handle & dispose of lead paint, and seriously consider calling in the pros*

To curb loose paint falling on heads, I took all the tiles to the basement, covered the floor in a plastic drop cloth, donned work clothes, heavy gloves, a respirator and safety glasses. I then proceeded to wire brush all the loose paint off the tiles. It was a bit of hard work, but worth it. I brushed quite aggressively ensuring all the loose paint came off. This process took a solid few hours. I then carefully folded the drop cloth in on itself, ensuring all the flaked off paint was trapped inside. I then sealed the drop cloth in a garbage bag, and its ready to head off to our city’s next hazardous waste drop off day. * DON’T PUT IT IN YOUR REGULAR GARBAGE! Lead = toxic! *

Basement+drop cloth+tile & wire brush
Basement + drop cloth + tile & wire brush

After the tiles were wire brushed, I headed to the garage and gave each tile two coats of clear coat. I then laid them out on every single surface of the garage to dry. I even gathered things for them to sit on; styrofoam pieces, boxes, bar stools, patio furniture etc. It looked like a very strange game of True American without the booze (any other New Girl fans out there?)

Tin Tile True American

After the tiles are dry, its time to install (but you still have some prep left!) Some more paint MAY fall off when you’re installing the tiles. They are thin metal. and when you nail them up, they will flex and more paint may flake off (even though you carefully clear coated them!) SO, to ensure you don’t have lead paint all over your furniture, cover your floor & all surfaces where any paint may land, with more plastic drop cloths.

When installing, ensure you are again wearing eye protection (safety first kids!) and heavy gloves. The tin tiles can be sharp!

Geeze this post has been preachy. I expect I will make quite the nagging mother should I ever have children.