This post is brought to you by Waste Management’s Bagster Dumpster in a Bag.
As carless urban DIY’ers, with strict limited city garbage pick-ups, getting rid of our renovation junk can we pretty darn problematic.
In fact, we just kinda stockpiled all of it until we could figure out how to get rid of it. I promise we’re not into hoarding territory yet, but dammit the junk is piling up. In the last year we have completed a kitchen mini-reno, a basement reno, decking re-vamp, general projects, and woodworking. All of this has created a lot of debris. We could just get a dumpster, but they’re expensive, and the biggest problem we have is access. We have no front yard or laneway, and our backyard access is blocked by our garage. When we had the house fixed my Mike Holmes, they actually put a dumpster in our neighbors yard (thanks best neighbors ever!), and took down our fence for access.
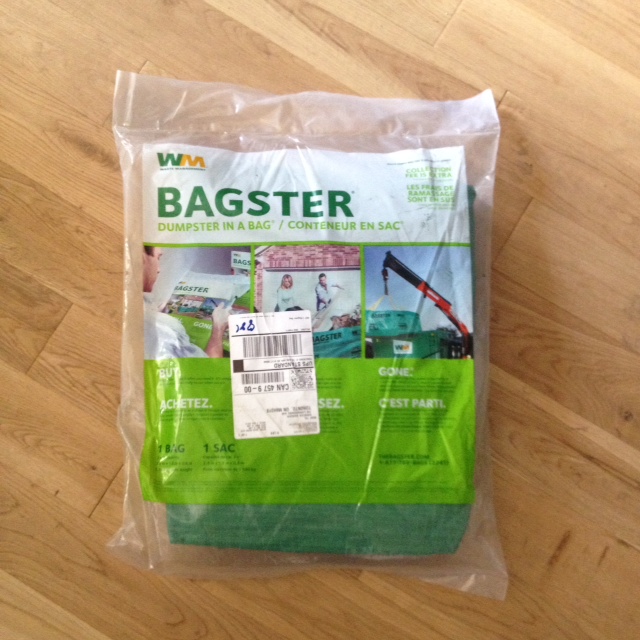
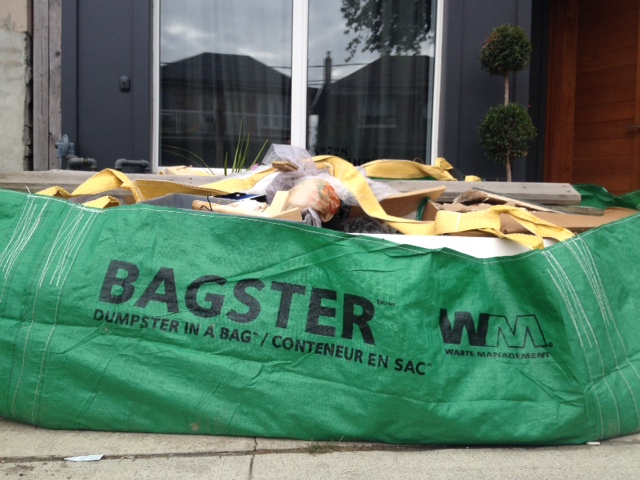
So I think you can see our issues. No place for a dumpster, and no way to get rid of our non-recyclable renovation junk. Enter Waste Management’s Bagster dumpster in a bag. It’s a fold out portable dumpster made with tarp like fabric. It can hold a crazy amount of stuff. 3300lbs or 20 garbage bags of renovation debris. Perfect. So we ordered our bag online, and got it shipped to our house. You can also pick them up at the Hardware Store. See thebagster.com for your closest retail locations. You don’t have to pay for the collection of the bag until you schedule the pick-up.
Now, where do we put it up? We can set it up on the 4′ of concrete behind our garage that is technically our property between the garage and the alleyway. Except…. I called Waste Management, and you need to have 16′ of clearance above the pick-up site, and our garage has a roof overhang (of about 2′). This complicates things, as the arm from the pick-up vehicle won’t be able to reach the bag without hitting the roof overhang. Oops.
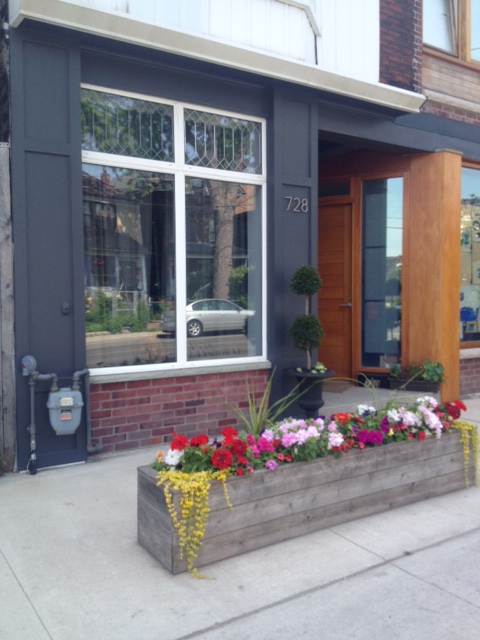
Time for plan B: Pushing back our front planter box, and placing the Bagster dumpster bag on the concrete in between the sidewalk and the Storefront. The problem here, is that the planter box is about oh… a thousand pounds. We can either dig up a bunch of the dirt/flowers to lighten the load to move it, or push it Worlds Strongest Man style.
Guess which one we choose? OH THAT’S RIGHT, muscles baby!
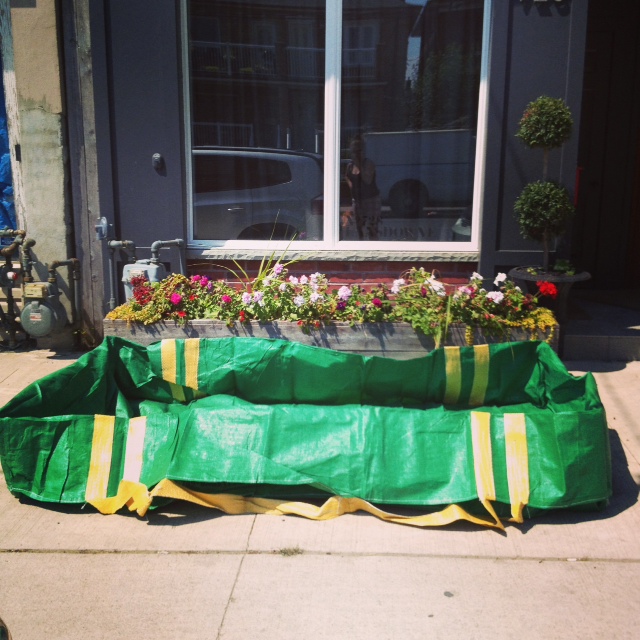
El Granto and I heaved and hoed and pushed that planter out of the way!
Now we could assemble the Bagster bag. The bag came with assembly instructions. Basically you open it up, then fold the sides down so that it stays open. When you start to fill it up, you can lift the sides up and put more stuff in.
Let the junk cleaning begin! We stored our construction debris in large bins, boxes and bags, and we started carting out the junk and dumping it into the bag. A few hours work later, and the Bagster dumpster bag was really filling up.
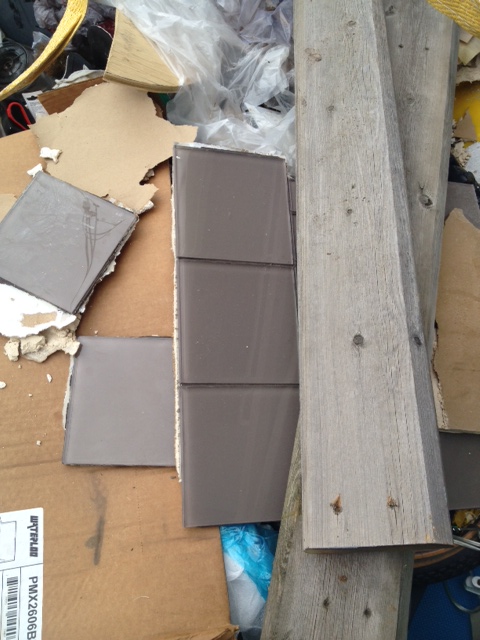
These are some of the things we tossed in the Bagster bag:
Tile, whole & broken
Drywall, small and large pieces
Old laminate kitchen counters
Melamine molds that we used for our concrete countertops
Used buckets coated in concrete (unrecyclable)
Pressure treated deck railings
Paint & stain covered drop cloths
Wood offcuts
Old and Broken Bicycle and Snowboard Parts
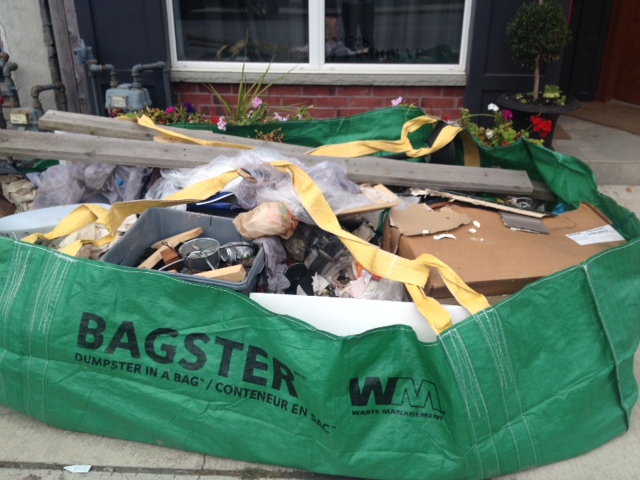
LOOK AT ALL THAT JUNK!
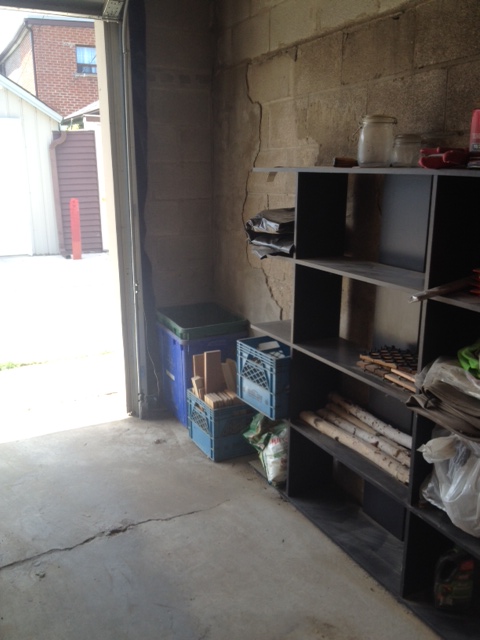
We were able to fit in way more than we anticipated, removing all the junk from our garage.
After we finished, we went online and scheduled a pick-up and made payment for our order. They will come and pickup within 3 days. Our pick-up actually came the next day, which was awesome.
The one thing we had to deal with for pick-up was that parking is allowed in front of our house. If cars were parked there, they wouldn’t be able to access the Bagster Bag. I called and spoke with a Waste Management Bagster rep, and they said they could call me an hour before pick-up, so that I could ensure no cars were in the way. After I got the call, I ran out and placed some temporary pylons in the way, so that the truck could easily collect. Within the hour they had picked it up, and even sent me a confirmation email saying everything went as planned.
The Bagster Dumpster in a Bag seems like it would be perfect for a small bathroom or kitchen reno, flooring project, spring cleanup or if mother nature strikes and you need to clean up after a flood. We are tackling our bathroom renovation next, and this will be perfect for carting away the old tiles & subfloor. If you were doing a whole house renovation, a traditional dumpster will still be the way to go, but for small renovations and cleanup projects this works perfectly.
Have you ever used a Waste Management Bagster Dumpster in a Bag? How did you like it?
Disclosure: This project was brought to you by Waste Management Bagster Dumpster in a Bag, but all opinions and junk are our own.