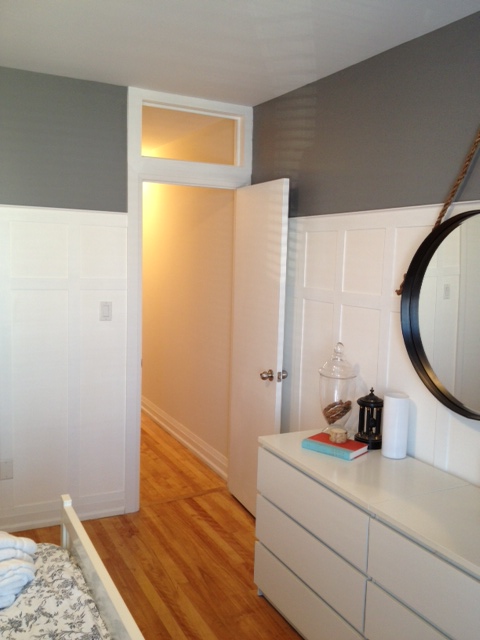
As you may remember I went buck wild a few weeks ago and cut a hole above our guest room door to make a transom window. I really need to get out more if thats I what I called buck wild…eep.
So I cut a hole in the wall, and then 4 days later my in-laws were set be rolling into my house for Thanksgiving. I know…who starts a project days before company is due to arrive and sleep IN the room where the project is happening… Dont worry, it wasnt such an epic fail. I may not have finished the transom in time, but it was presentable. Now after a few more days work, and some custom cut glass, I am pleased to reveal our new transom.
How how’d we do it?
- We used a stud finder to generally figure out what was behind the wall above the door. We found studs on either side of the door, and one right in the middle above it.
- We did our research, and found that building code in our area has doors framed with King Studs and Jack Studs and a Header, and that the cripple stud above the door was nothing structural. (which means we can take it out without having to reinforce anything else)
- Using the markings of our stud finder, we drew straight lines on the insides of the studs to use as a guide for cutting.
- We cut our hole using a drywall hand saw (or should I say I cut 1/4 of it, then wussed out and El Granto cut the rest…there are you happy you got your due Mr. Granto?)
![]()
![]()
![]()
- We removed the cripple stud with a combination of a reciprocating saw and a hammer.
![]()
- We cleaned up our drywall ensuring there wasn’t any in our way for when we put casing on the transom hole.
![]()
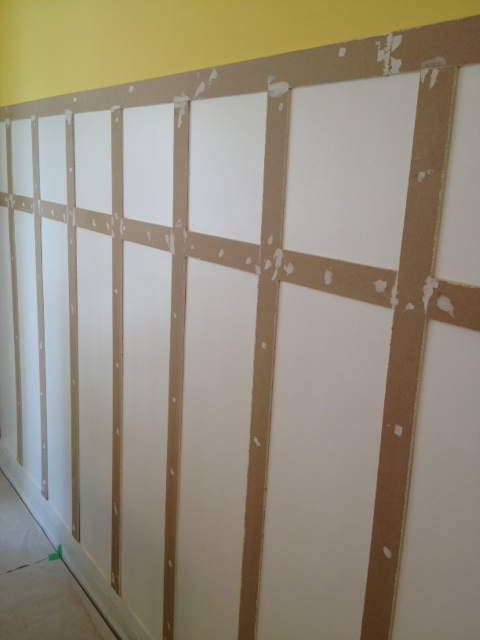
- We cased the window using 5/8″ mdf that we had laying around the house. It also happened to be the same thickness as our current door trim. We measured the depth of our transom hole and ripped some mdf with our circular saw to fit. We then brad nailed it in place.

![]()
- We trimmed the transom frame with more of our 5/8″ mdf.
- We made a little frame inside the casings to hold the window. Filled, caulked and sanded.
![]()
- We painted two coats of our trim paint.
- We measured our hole and got a piece of glass cut at an awesome local glass shop Snap Services.
- We installed the glass with some silicone caulking and a couple glazing points. Now if you’re home owner with an old home you’re probably asking why we didn’t use glazing compound? Well it’s an interior window, and it wont be subject to direct sunlight or weather of any kind. SO, silicone will hold it in just fine (and keep it from moving rattling around when a truck drives by.) The glazing points combined with the mini frame we built for it will ensure the glass never moves.
SOURCE LIST:
Materials:
5/8″ MDF – Home Depot (scraps from our bedside table project)
CIL Trim Paint – Home Depot
Caulking
Custom Cut Glass – Snap Services
Tools Used:
Circular Saw
Mitre Saw
Brad Nailer
Caulking Gun
Paint Brush & Tray
Difficulty Level (on a scale of 1-5):
Total Cost: $10