I feel like we’ve been working on the media cabinet forever (check out part one, two, three, and four). The whole being a grown up and having to work 40 hours a week really gets in the way of project time. The end is however finally in sight. In fact, this will be my last update before the reveal.
Where we left off, we had made the drawer boxes for the upper and lower drawers. We then had to cut down the upper drawers as they were too tall. Oops.

We used our new table saw to cut everything down to size (setting the fence and ripping each side of the drawer until they were all the proper height.) After a quick sand, we installed the drawer slides and had operating upper drawers! (woot!)
The way this cabinet is designed, the drawer boxes are fabricated and installed, then drawer fronts are attached to them (to cover the unsightly visible hardware and gaps.)
The center portion of the cabinet also gets fold down doors to hide all the electronics.
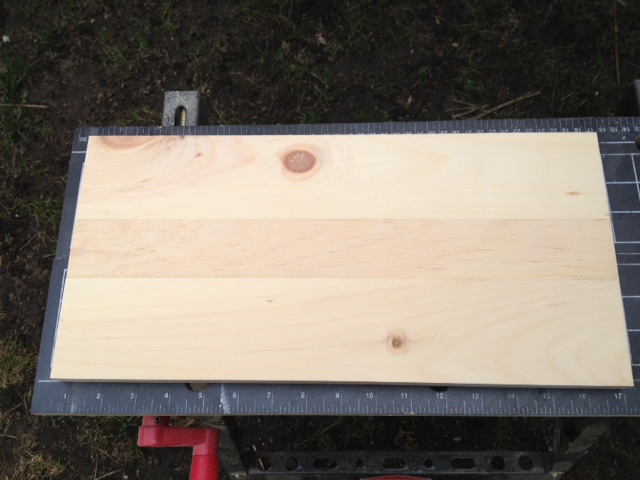
Now we needed to make the drawer fronts & doors. We headed to the garage and ripped down a bunch of lumber to size, then did all our length cuts on the miter saw.
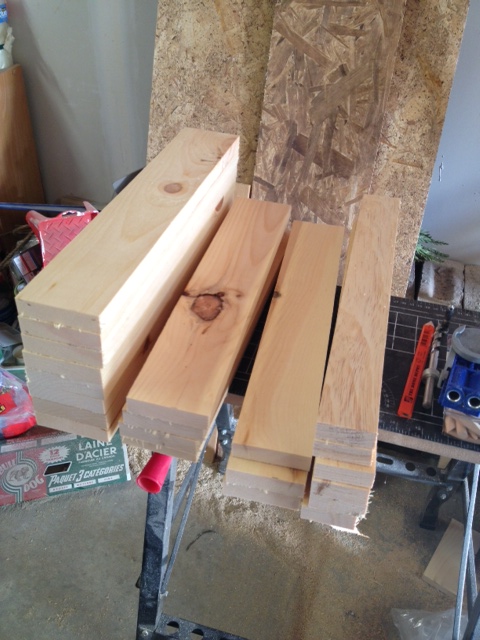
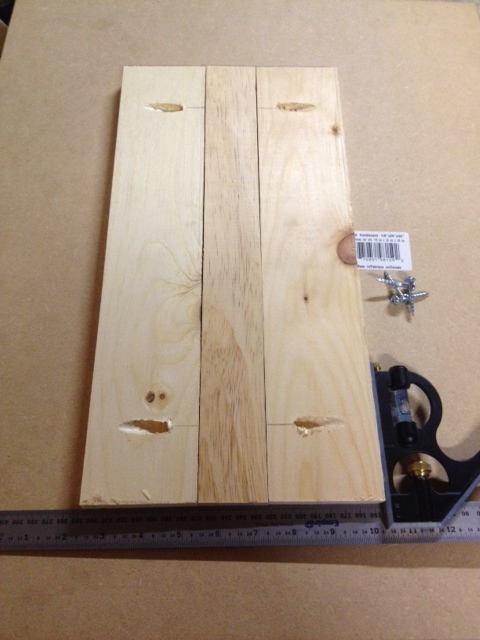
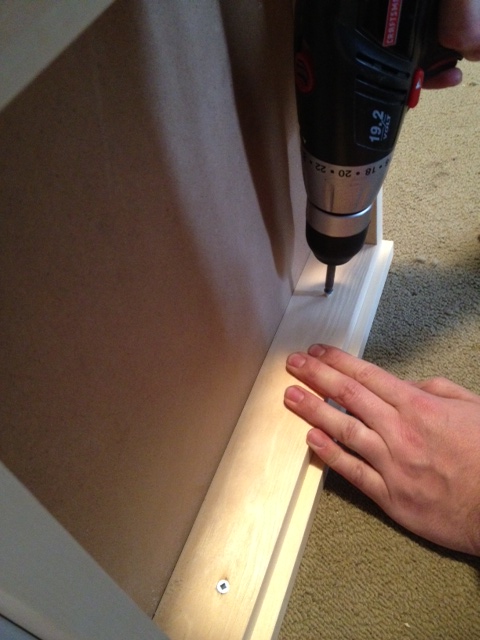
The larger doors & drawers are actually made up of three pieces attached together so that they look like two small drawers and a spacer. (as its supposed to be a printmakers cabinet that looks like it has lots of little drawers.) To attach them together, we used pocket holes and screws.
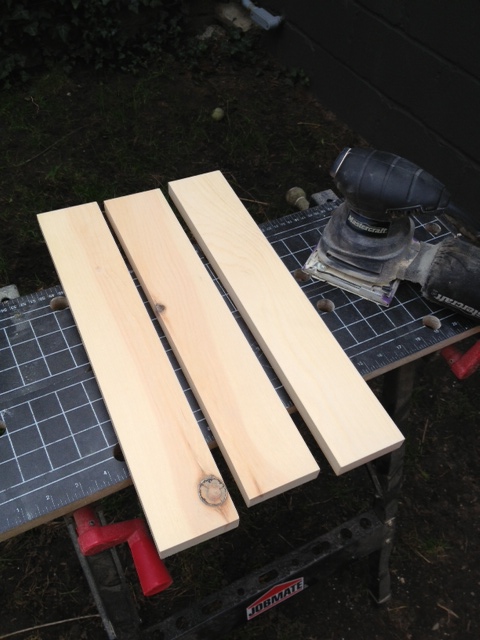
After everything was assembled I spent the afternoon filling and sanding everything.
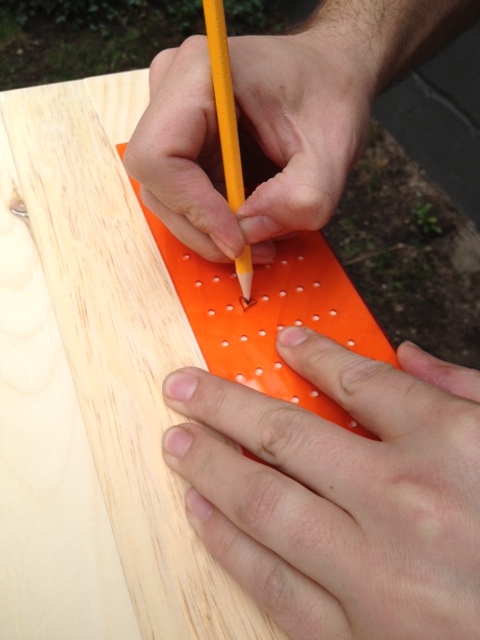
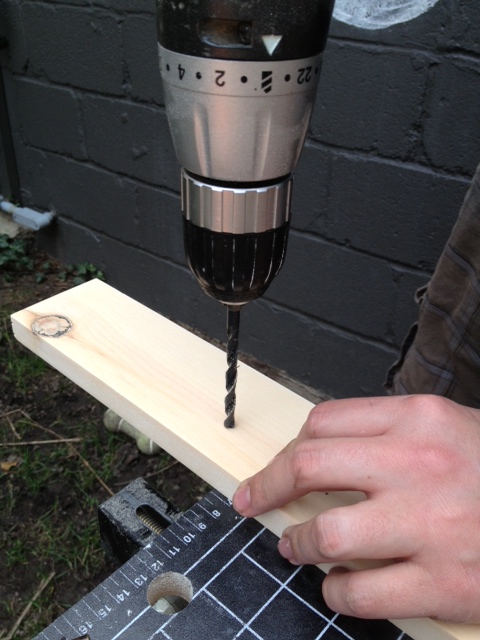
Then we used our Ikea Fixa drill template to mark where we needed to drill holes for all the handles. We have gotten so much use out of that darn template. Worth every penny.
Next up we needed to install the fronts. The plans call for a very ingenious way to do this. (Sorry for the lack of pictures, this was an all hands on deck kind of task.) Essentially you space the drawer fronts perfectly in the cabinet, and attach it temporally with two screws through the cabinet hardware holes.
Then you take the drawer out, and attach the front permanently by putting a few screws through from the inside of the drawer.
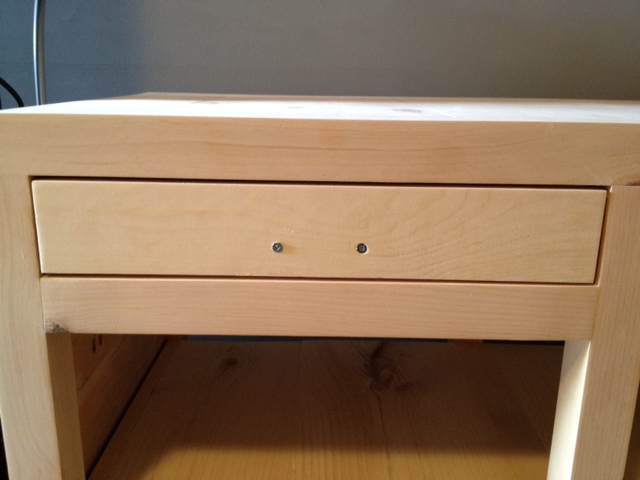
Then you can remove the temporary screws from the hardware holes, and drill all the way through for the hardware. We continued on and attached all the drawer fronts this way. (Note, we didn’t attach the fold down doors, as we didn’t want to do that until everything was stained & finished.)
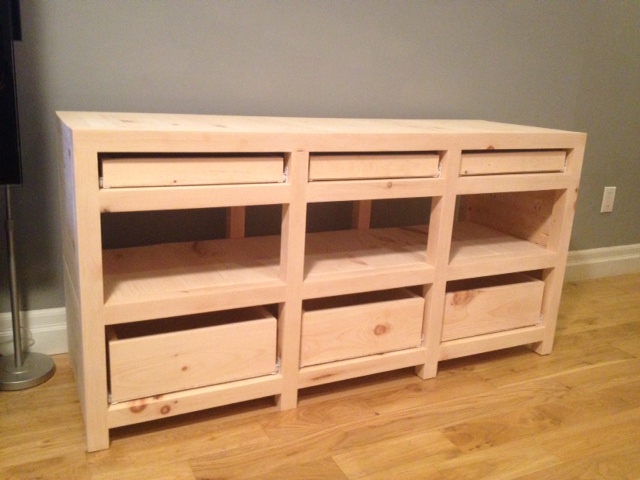
Now the whole cabinet is built, sanded and ready for finishing.
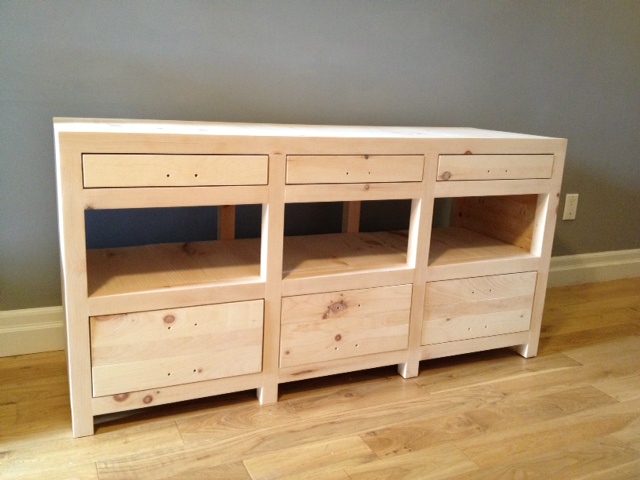
Ta da! All that’s left is stain, poly & hardware! Stay tuned for (hopefully) the big reveal next week.