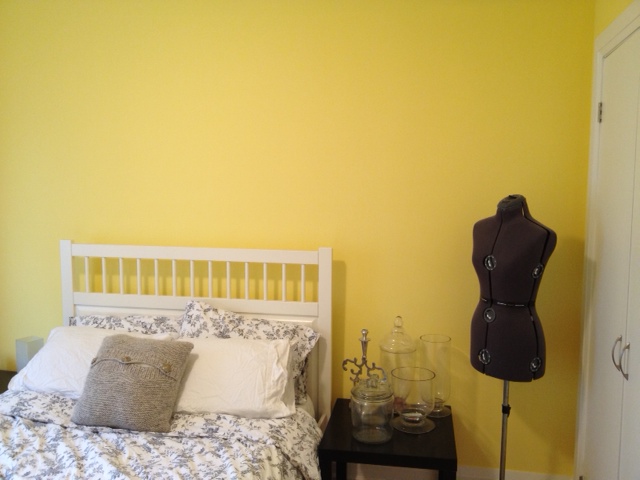
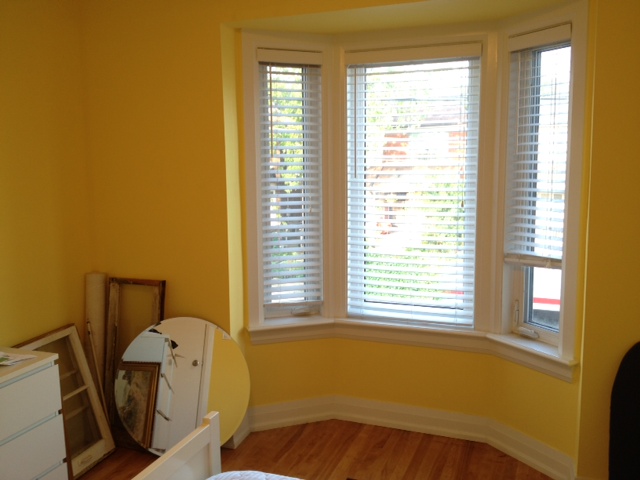
It was time to add some charm to our guest bedroom in the form of board & batten on the walls & some new (not yellow) paint. The room is big in the scope of our house at 12’x12′. It has a lovely bay window, double closet and original 100 year old ash floors. It also has amazing baseboards & trim (as does most of our house). When starting the board & batten the last thing I wanted to do was change, futz or in anyway do anything to the trim work. I wanted it to stay where it was, and do the board & batten up to it. Problem is, the baseboards are sloped and hit the wall with only 1/4″ space from the wall. This means that the material for my battens could only be 1/4″ thick, or else I’d have an unsightly overhang.Eeep…that doesn’t leave a lot of options.
These were the possibilities that I could find:
- 1/4″ x 4 foot long poplar lattice at almost $5 each…hurmph
- 1/4″ x 8 foot vynal trim pieces at almost $6 each…ack
- 1/4″ thick 4×8 sheet of hardboard for $17
The hardboard was looking to be the best option, but we don’t have a table saw yet (it’s still on my wish list). So we’d have to get the Home Depot guys to cut it down for us at $1 a cut, then somehow get it home. It could work, but it also wasn’t the best case scenario…I needed to think this one out.
I then called my local lumber yard Downtown Lumber. They’re always really helpful and I thought they may have some ideas. Turns out Downtown Lumber carries 1/4″ MDF in 4×8 sheets for $15, and they make custom cuts for 50 cents each. I like using mdf much better than hardboard (as it doesn’t have that glossy surface), and the lumber store is waaay closer to our house, and easier to walk home with big lumber.
So better + cheaper + less work = happy Kristen.
So I did my math, settled on 2.5″ battens, and placed the order to have 2 mdf sheets cut into 2.5″ strips. We headed over after work to pick it up and lugged it all home along with some trim. The getting it home was an epic fail (I’m talking all of it almost falling off a dolly, practically killing a cyclist and an epic argument) dammit we should just get a car already…
So after we got the wood home, and had a few drinks to forget the ordeal, I set out sanding the edges of the mdf for a nice smooth finish, and putting a coat of Behr Premium Plus Ultra in pure white on the edges. I didn’t paint the flat part of the battens for one main reason; I was going to have to fill & touch them up anyways, and to get a smooth finish I would really need to re-paint them entirely. Rather than make myself more work. I decided to paint them once they were on the wall with a small foam roller.
I did however paint the bottom of the wall so it would save me trying to paint in between the battens (yuck). Deciding where the paint would stop (where the top rail would go) was the hardest part. The storefront is not the least bit straight or level, and when I drew a level line on the wall it looked like I had done it drunk. So we fudged it, and made it kinda sorta parallel to the ceiling and floors. We used a chalk line to line it up, then used tape to mark the line, and to keep me from painting willy nilly everywhere.

After the paint had dried (the next day) we installed the top rail out of the 2.5″ mdf battens on the nice line we’d made with the tape the day before.

Then the vertical battens got added. We had to custom cut each and every one, as they were all different heights. I would measure a few, and head out to the garage to do the cutting, then lug them all back upstairs, over a baby gate (that was keeping the dog from free roaming and destroying the house) and then back into the guestroom. I made countless trips up and down those stairs.

We went with 12″ of space between battens, cause, well it looked good. The front wall under the bay window the spacing is fudged so that battens framed the windows (technically they should have not two battens touching eachother, but it looks correct once its all painted).

We did have one instance where hitting an electrical outlet was unavoidable. It was on a small wall that had 2 switches, an outlet and an a/v outlet. The battens were almost the same size as the outlets, so we placed one batten directly centered on the outlet, so we could make flush cuts against it. We then measured out our 12″ on either side. The wall is not perfectly symmetrical, but you wouldn’t second guess it.
")
To make the spacing easier, we made a spacing jig out of some old lumber, and spaced & leveled then brad nailed each batten.
")
It went very quick, the most time consuming part being the measuring and cutting (especially if I’d measured wrong, and had to go re-cut). We labeled each batten corresponding to what wall the were working on (Left, Right, Front, Back) and gave them a letter (i.e. Left-A was the first board on the left side, whereas Right-I was the last board on the right). This made it so much easier as you couldn’t loose track of what board went where.
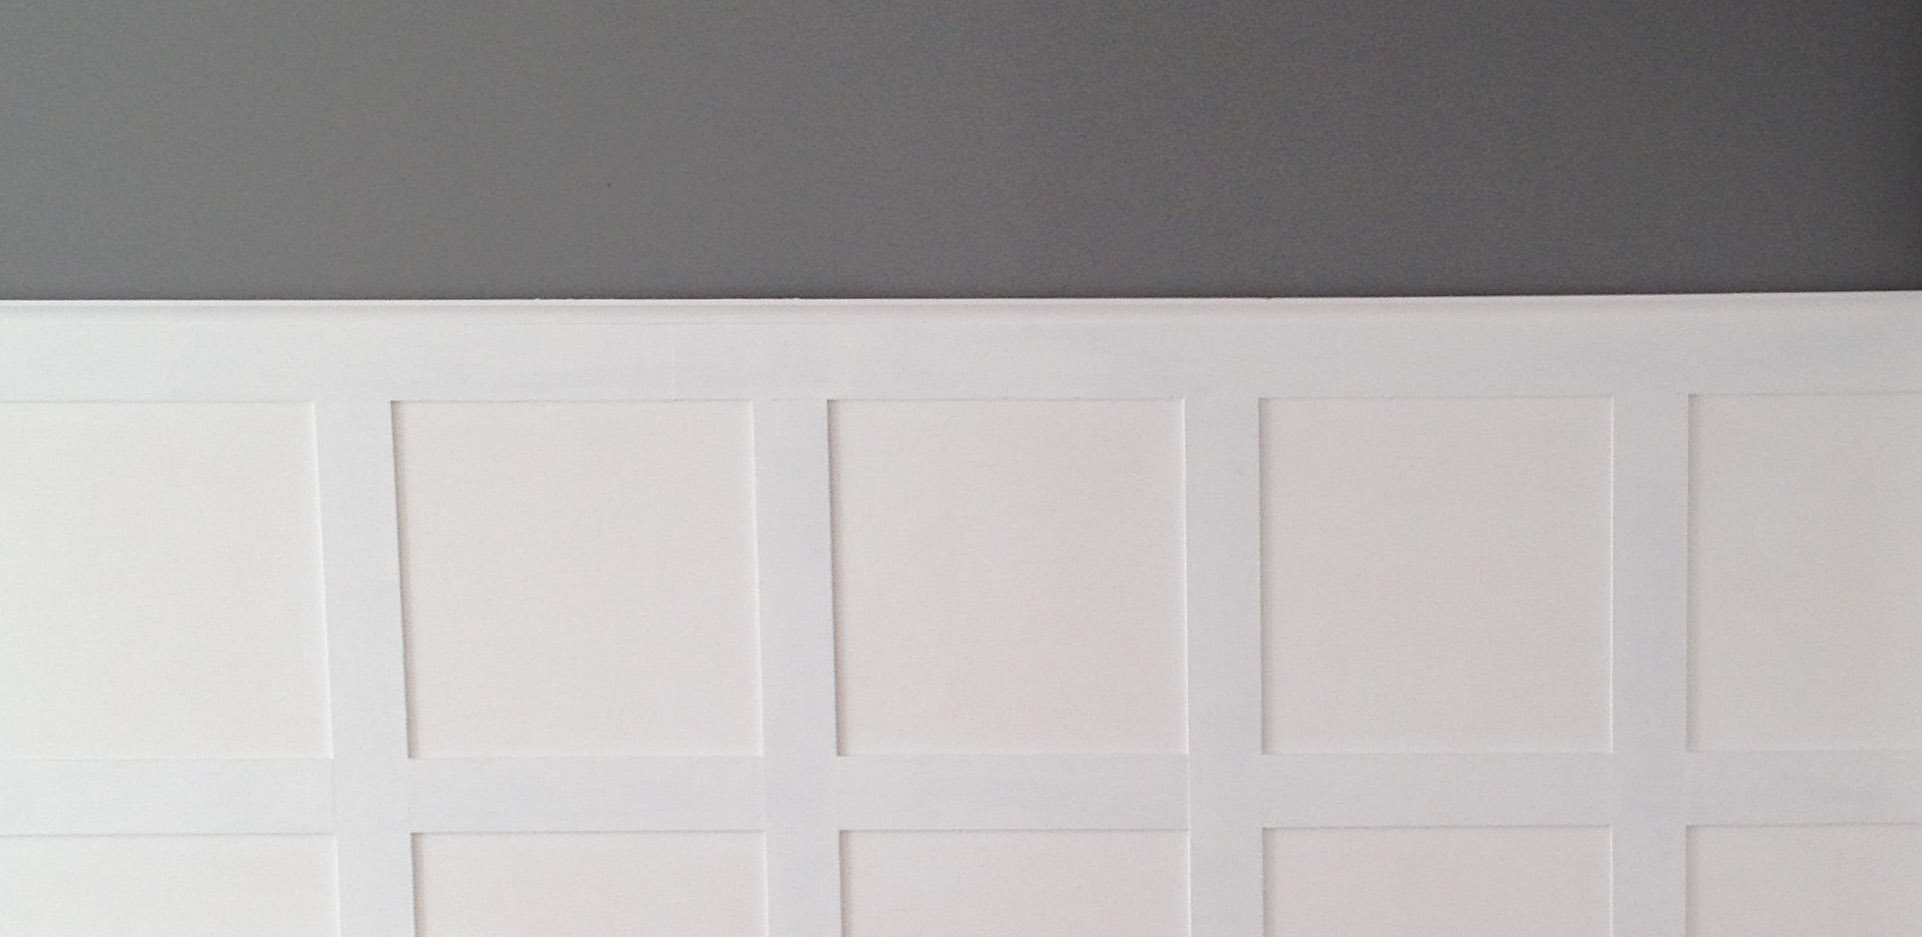
After we fished installing all the vertical battens, we also decided to add some horizontal battens about a foot from the top to add a bit more visual appeal, and it matches the shaker paneling on the front of the storefront. We had lots of off cuts from the vertical battens, so we cut down a bunch of 12″ battens and brad nailed them in place. (and of course custom cut ones for the odd places.)

Next up was to fill all the damn holes from the brad nails. I filled the nail holes with spackle, and the cracks and seams with paintable caulking. I used the spackle this time so that we could easily sand to get a perfect finish on the flat battens.

We then added some cove moulding on top of the top rail. I was going to add a small plate rail above that as well, but that proved to be too difficult with our wonky walls. Our walls just bowed and dipped so much that there were huge gaps at points. So we decided to call it done with the cove moulding.
After all that filling, sanding and caulking, I got to painting. I cut in the edges of the battens where they met the wall. I had given one coat of paint to the battens before I had installed them, but this second coat covered all the caulking and finished the sides beautiful. I painted the flat part of the battens using a small foam roller. I made sure not to use too much paint so that it didn’t overflow into the “board” part, and it went quite quickly. I was running extremely low on paint (had only bought one gallon) and decided to brush on my second coat. The foam roller gives a beautiful finish, but it was looking like it was going to take three coats (which I did not have enough paint for) So I switched it up and painted the entire second coat with a brush. The trick to painting a flat surface with a brush without leaving brush marks is a light touch. You want to evenly distribute the paint without pulling any back up. I paint the whole piece, and then go back over it quickly with a light brush. When the paint dries this should leave you with a nice smooth finish.

After it dried for a day, I went back and painted the rest of the wall with a nice medium grey, which really made the board & batten pop!
")
")
")
SOURCE LIST:
Materials:
2 – 1/4″ 4×8 sheets of mdf cut into 2.5″ strips: Downtown Lumber
1/2″ cove moulding: Downtown Lumber
DAP Spackle : Home Hardware
DAP Alex Plus Paintable Caulking: Home Depot
Paint (Board & Batten)- Behr Premium Plus Ultra Pure White in Satin: Home Depot
Paint (Wall) – Behr Premium Plus Ultra in Anonymous in Eggshell: Home Depot
Tools Used:
Mitre saw, measuring tape, level, chalk line, math, paint tray & rollers, brushes, sandpaper
Difficulty Level (on a scale of 1-5):
(the hardest part was determining the spacing)
Total Cost: $100 ($50 for the mdf & cove moulding, and $50 for the white paint. We already had the grey paint)
Can you share more about how you did the corners? Debating about attempting this DIY project, the only thing holding me up is the issue with the corners- how do I cut so that it looks seamless? I assume cutting at some kind of angle….
Honestly, butt joints or 45 degree cuts in the 90 degree corners worked great. For the bay window we measured the angle of the wall and divided in two to make those cuts
It really looks good around that window. And the jig is genius, we have crooked walls and floors and ceilings too, so I’m going to remember that one!
I swear NOTHING is level in our house! Drives me bonkers! Glad I’m not the only one. Did they not have tape measures & levels when our houses were made?!
Stunning! What an amazing transformation!