Staircase Lighting

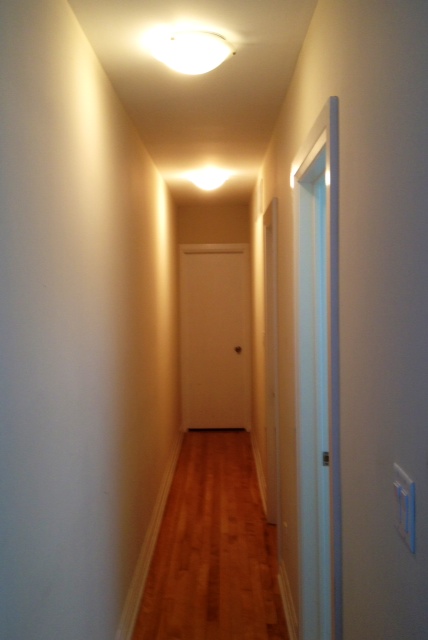
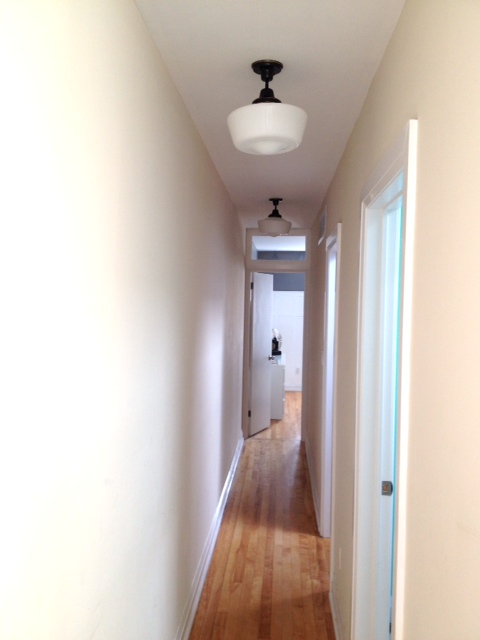
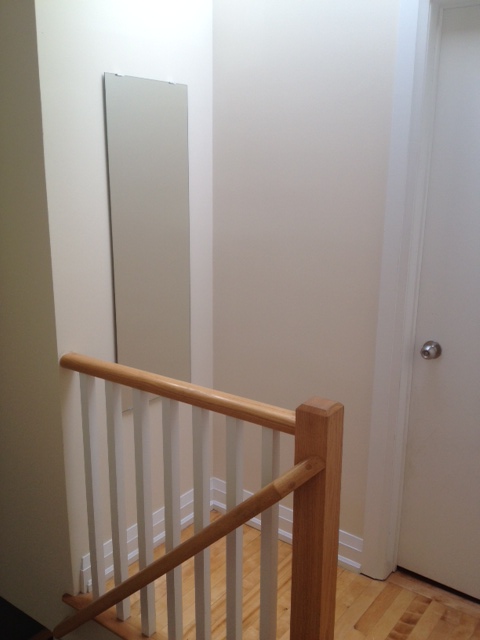
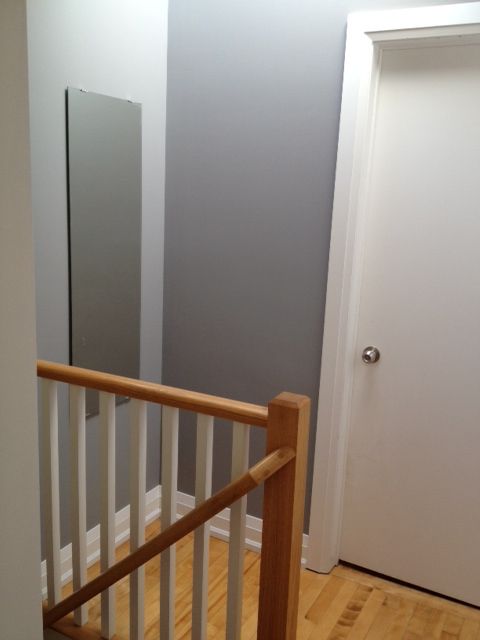
I have been on a quest to eliminate all the boob & spaceship lights in the storefront.  There are only two remaining; in our guestroom and at the top of our staircase. The light in the staircase actually burned out a few months ago, and we have not yet replaced it.  The ceiling is 25 feet tall in the staircase, and we didn’t have a ladder tall enough to reach it.

The (dead) light at the top of our staircase

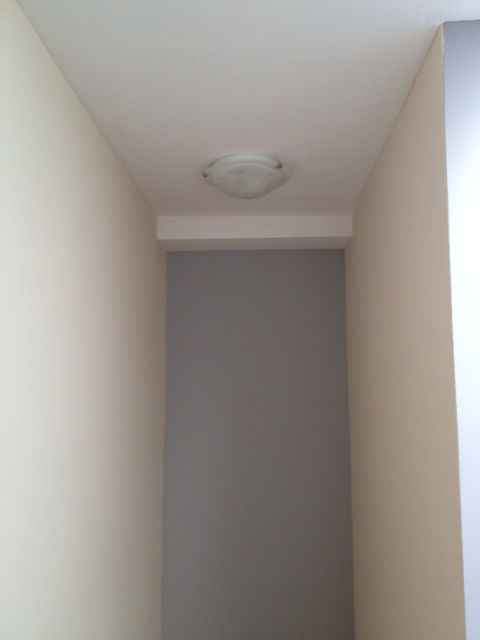
We decided we’d replace the light fixture & bulb at the same time and borrow or rent a ladder to get it done. Problem is, we just haven’t found the right light. We wanted something that looked nice from the top of the stairs, wasn’t too overpowering. We wanted something light but pretty, and that hung down a few feet. We also needed a fixture that wouldn’t break the bank.

While browsing through HomeSense the other day, I spotted this light in the center isle.

Glass Pendant from HomeSense $59

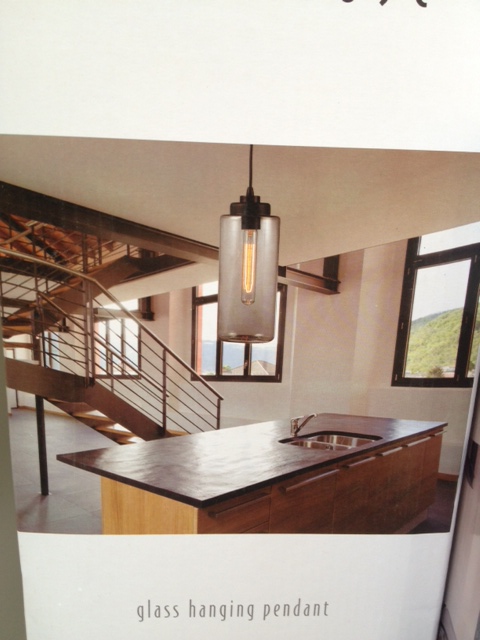
It’s almost exactly the same as a West Elm Glass Jar Pendant but for half the price. I scooped up the light and headed for the checkout.

Now we had to deal with the issue of not having a ladder. Thankfully our awesome neighbors were home and let us borrow their ladder. Phew!

We delicately maneuvered the ladder up and over our staircase (this is the biggest obstacle in getting things up our stairs) and put socks on the end of the ladder so it wouldn’t bash up the walls.

The Switchback Staircase
The ladder in the staircase
The ladder in the staircase (see how skinny & tall the staircase is?!)
El Granto making his way up the ladder

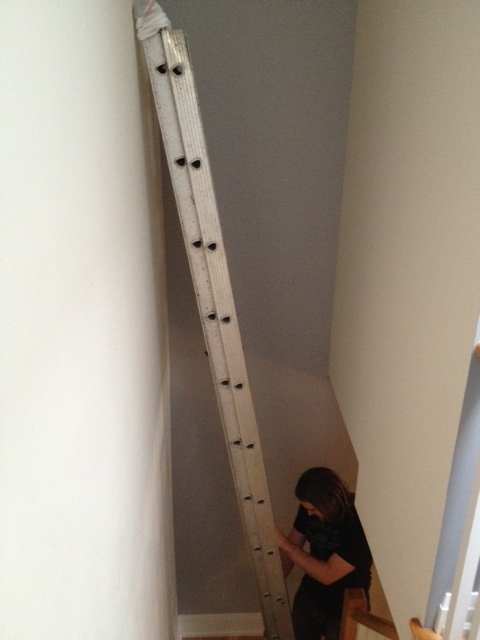
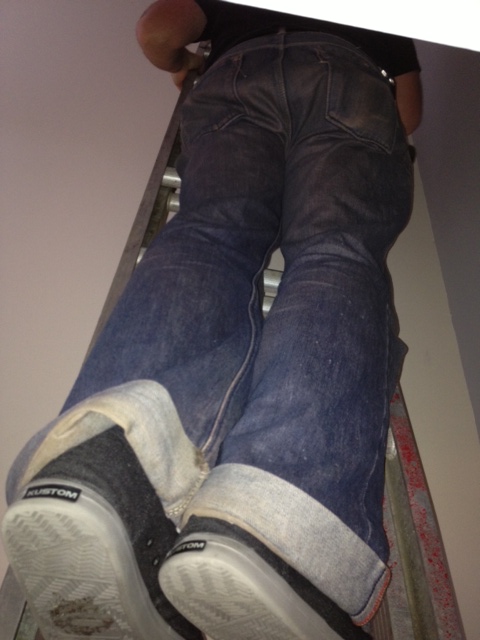
Once El Granto precariously climbed up the ladder, he realized that it wouldn’t work. The way the ladder was positioned he couldn’t reach the light. S%#t! So down he came, and we tried to move the ladder around to a better position. Thankfully we leaned it against the other wall and it worked. El Granto climbed back up and set to taking down the old light.

El Granto doin his magic

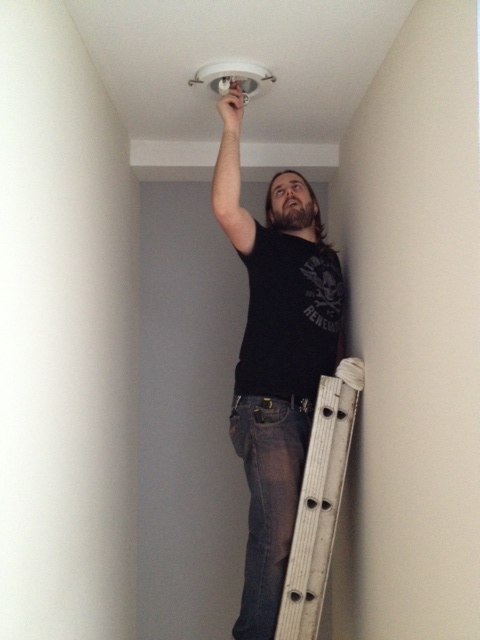
I stood at the bottom being the lackie handing El Granto things when he needed them and hoping he didn’t fall to his death.

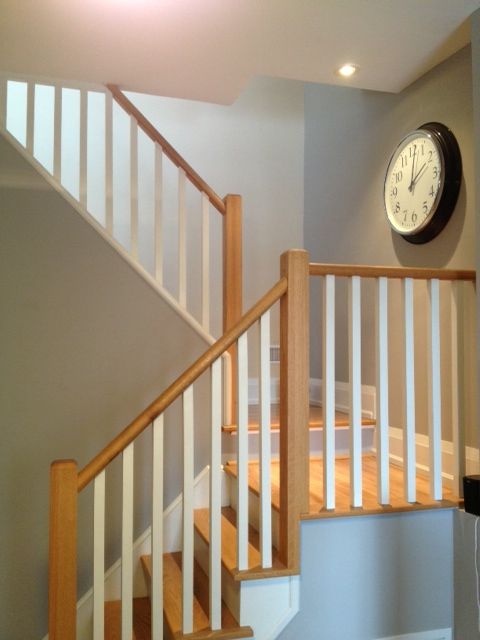
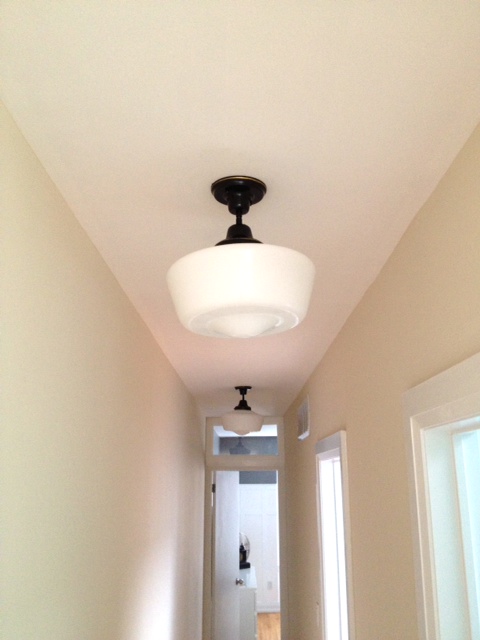
10 minutes later and we had a new light!

The light! (view from the top of the stairs)
The Light (looking down the staircase)
The Light (from below looking up from the bottom of the stairs)

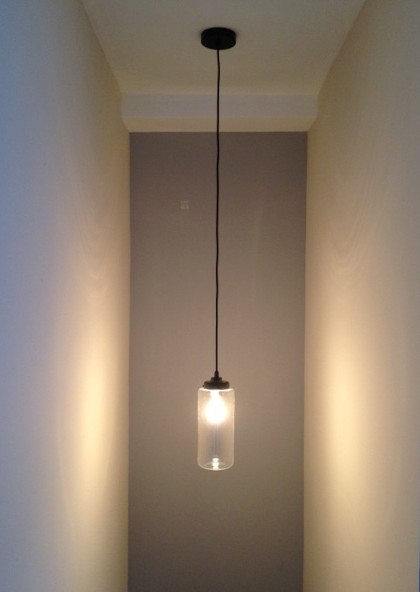
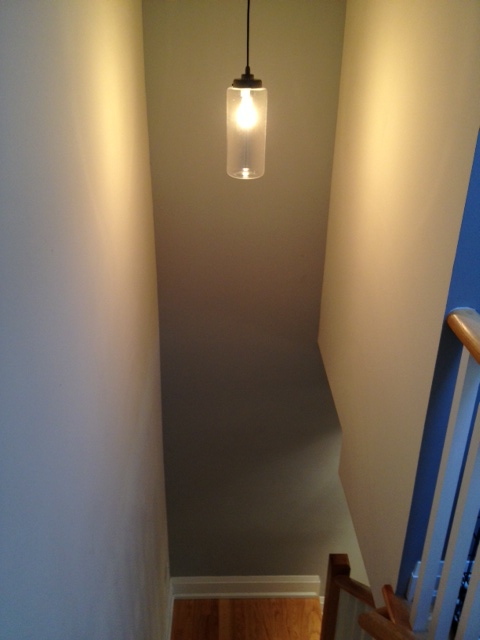
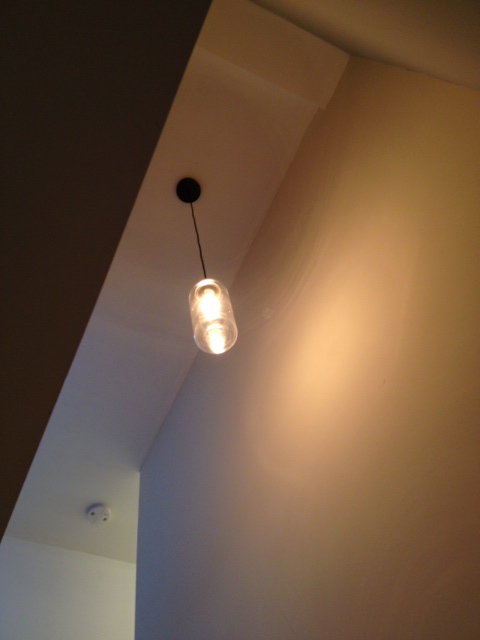
We purchased a 60 watt Edison Bulb from a (great) local shop Metropolis Living. It casts a beautiful warm glow in the staircase, and I love the look of the Edison bulb (will try to break out the tripod this weekend and get a better shot of the bulb for ya.) The light hangs down about 5-6 feet and its the perfect height.

Now I need to paint the staircase walls, frame & hang a gorgeous painting we have for the staircase landing wall, and perhaps a nice plant for the landing.

What do you think? Better than the big box lights?

SOURCE LIST:

Materials:

Glass Pendant – HomeSense
Edison Bulb – Metropolis Living

Tools Used:

Screw Driver, Ladder

Difficulty Level (on a scale of 1-5):

Three out of five

(extra hammer for being on a ladder 20 feet off the ground)
Total Cost: $80 ($60 for light and $20 for the bulb)

Painting the Hallway

The hallway is one of those slow & steady projects. It has never gotten our focus, but we keep slowly chipping away at it. I first showed you the hallway and my inspiration, then we knocked a few things off the list when we changed up the lighting and added a transom window.

Here is what the hallway originally looked like

Hallway Before
Hallway Before

This was what the hallway was looking like after it’s lighting & transom updates.

photo(26)
The Hallway after new lighting and a transom
Hallway Nook (Outside Master Bedroom)

We knew we needed some new paint (the flat beige walls had seen much better days.) I decided they needed to change NOW, and one dreery Sunday afternoon I waded through our paint cans in the basement, and pulled out a can of white paint. I proceeded to march upstairs and paint one of the walls in the hallway white, then I ran out of paint.  Oops. Apparently a 30 foot hallway takes a lot of paint…So I headed out to Home Depot and picked up another can of white, and this past weekend I painted the rest of the hallway.

The Hallway with its fresh coat of white paint

After painting the 30 foot hallway bright white…it was starting to feel a bit stark, so when I got to the nook outside our Master Bedroom, I again raided the basement paint can supply and found some nice grey paint. I painted the little nook and the wall in front of our master this medium grey.

The nook with its grey walls (both walls are the same colour grey, the skylight just hits the one wall more and makes it seem lighter)
The view of the accent wall when looking down the wallway
The view of the accent wall when looking down the hallway

With $35 in paint (the grey was left over from the main floor) we had an updated hall. Now all it needs is a runner and some art. I am thinking gallery wall!


Hallway Update

I posted a little while ago about my hallway hopes & dreams. I have not yet convinced anyone that I should paint the doors black (I still think its an excellent idea, but thank you everyone for not having any faith in me.) 😉

While we havnt made tons of progress, there have been a few improvements. We completed the transom window from the guest room, and it adds a ton more light to the hall, especially in the mornings.

Transom!

We also replaced the ugly cheapo hallway lights with new school house lights that match the downstairs hall.

I got the best deal ever on these schoolhouse lights. The one for the downstairs hall was on clearance for $36 (which was amazeballs all on its own.) I went back to get another two for the upstairs hall but they were sold out. Sad face. Instead of giving up, I set the Mom’s on the task to check their local Home Depots. My Mom struck out, but my Mother in Law struck it rich when she landed on a stach of the at a HD in Brampton. She picked up two and guess what, they were reduced further to TWENTY FOUR BUCKS. Yep, you heard me $24. Holy effing awesomesauce.

So heres what it looked like before:

Hallway Before
Hallway with new transom but old lights

And heres what we’ve got now.

After
After
After

The one big thing is how much more neutral colour the new lights put off. The old ones were soooo warm, they made the whole hall feel crowded and tight. The new ones are much cooler (in every sense!) There is one small thing that is driving me a bit nuts, the ceiling isnt level, but the lights are made to sit level. This makes them look a smidge crooked. Which drives my eyes nuts. Until I figure out a fix however, I will have to live with it.

We still have a long way to go. Need some paint, art, a runner and a plant & mirror for the nook, but its a good start!

Hallway Inspiration

Our house is very very skinny (our property alone is 12.5’ wide, and after walls we’re left with less than 12’). I know what you’re thinking, how on earth can we live in such a skinny house? As many other Torontonians know, size isn’t everything, layout is. The people who renovated our house prior to us, did an exceptional job with the layout. On the main floor they squeezed in an open concept 35’ long kitchen/dining/entryway, a compact but cozy living room and a powder room. On the second floor, we have three bedrooms and an 8×8 bathroom. The one problem with the second floor is to make that layout work you need one big long hallway. It is long, and skinny, and dark. It is currently painted (you guessed it) beige, has two “spaceship” lights for lighting, four doors to the bedrooms and bath, one skylight over the staircase and a strange little nook. I have been trying to come up with solutions to make the space feel bigger, lighter, and more polished.

Hallway
Hallway Nook (Outside Master Bedroom)

Here are some of my (hairbrained) ideas:

  • Cut out the spaces above all the doors, and install transoms. The bathroom & office each have large skylights, the front bedroom has a big bay window and our master has a glass door and large window. I think that with transoms all this light that is usually kept captive in the rooms will spill out into the hall. I think it will also make the ceilings feel higher.


Source: houzz.com via Kristen on Pinterest

Source: google.ca via Kristen on Pinterest


  • Paint the walls white, trim white, and the doors gloss black. Wait wait wait, before you have me committed, hear me out. I think the contrast of the dark doors, light walls and all the natural light will actually make the space feel bigger. Contrast does wondrous things.


Source: houzz.com via Kristen on Pinterest


  • Replace the lighting. This one is a necessity. There are two forms of cheap flush mount lights from the big box stores. They will hereafter be known as boob lights and spaceship lights. My metaphors are pretty straightforward. One looks like a boob, and the other like a spaceship. They both suck. Cant anyone make cheap attractive flush mounts? I would love some schoolhouse pendants in the hall space.


Source: google.com via Kristen on Pinterest


  • Large scale artwork. The one problem is that it needs to be thin. The hallway is incredibly narrow, and already the walls get bashed with elbows when you try to carry anything down the hall. The artwork needs to not get in the way, and be well secured to the wall, and it needs to break up the large expanse of space. This is the only part that is still stumping me. You will only be looking at the art while walking down the hall, and even if you stop and look at it, you will be a foot away, so its not an ideal gallery space. May be a good candidate for some Blik vinyl wall art. Graphic and impactful, and gives definition to the space.
Blik Fox


Blik Birds of a Feather
  • Bigger mirror for the nook, small artwork and a nice large plant, preferably of the citrus tree variety. I love the thought of having a lime or lemon tree in the house, and think this would be a great place for it.


So what do you think? Have I won you over with my black doors?