My least favourite part of the kitchen used to be the peninsula. It was short and stubby, too small to use as a prep space and looked awkward.
I had originally hoped to build the peninsula deeper to house a beverage fridge and get full counter depth cupboards & drawers. However it became apparent that to do that we would loose valuable dining room space, and be unable to have a 6 person dining table.
We were not willing to compromise on the dining table (we love to entertain!) so the peninsula needed to stay skinny. If we couldnt make it wider we could at least make it longer. We added only one more cabinet, which not only made the kitchen symetrical, but made so much more work space. Its amazing what a foot can do. Now you can stand comfortably at the peninsula and chop veggies or converse with someone in the diningroom.
Such a small change, but a world of difference. Now the peninsula is my favourite part of the kitchen. The concrete waterfall is the icing on the cake, but you may have noticed we added a bit of a special touch on the back of the peninsula as well.
The peninsula used to be backed in an Ikea cover panel that matched the Ikea Adel kitchen cabinets. It worked just fine, but after we added the extra cabinet, the old cover panel wasn’t big enough.
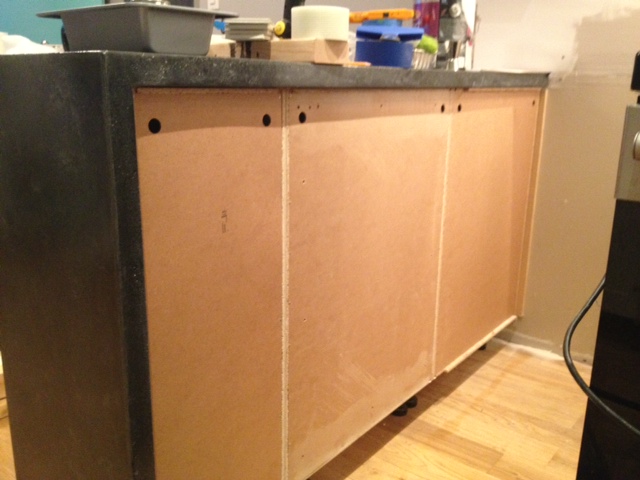
We could have went out and bought a larger one, but thought it might be a fun area to add something special, and make our kitchen look a bit more custom. Enter a trip to the hardware store.
We picked up three 6 foot long pieces of tongue and groove 1×6 unfinished pine flooring from Home Depot along with a 1×4 piece of kiln dried pine. Back in the garage we cut down our lumber to three feet long on the miter saw, and headed into the house armed with some wood glue and a brad nailer.
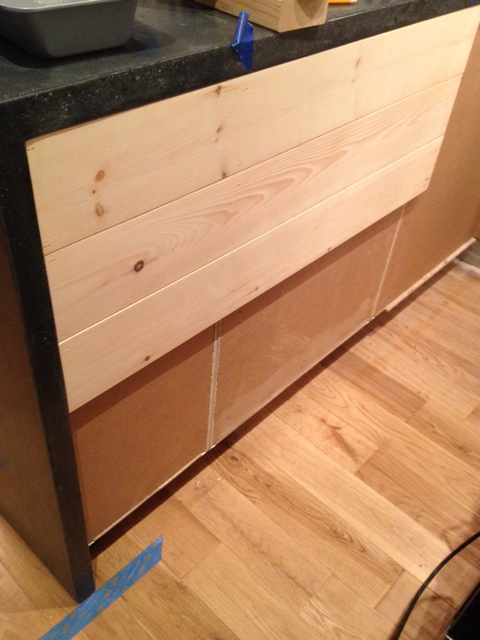
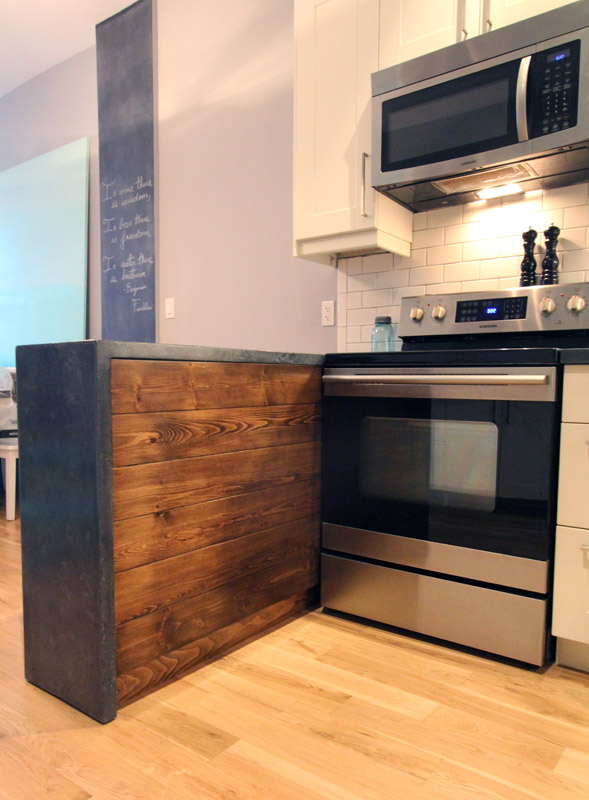
We started at the top of the peninsula with a board facing groove up. We brad nailed it into the cabinets making sure we nailed through the sides of the cabinet frames, not just the backer. When attaching the second board we added a bit of glue to the groove, slid it tightly against the other board, and continued nailing. You will notice that we didn’t run the wood all the way to the wall. The stove is tucked into that corner, and to give the stove a bit more breathing room, we opted to only panel to just past the oven door. It saves on wood, and I will worry less that I will light my house on fire when I run the self cleaning oven.
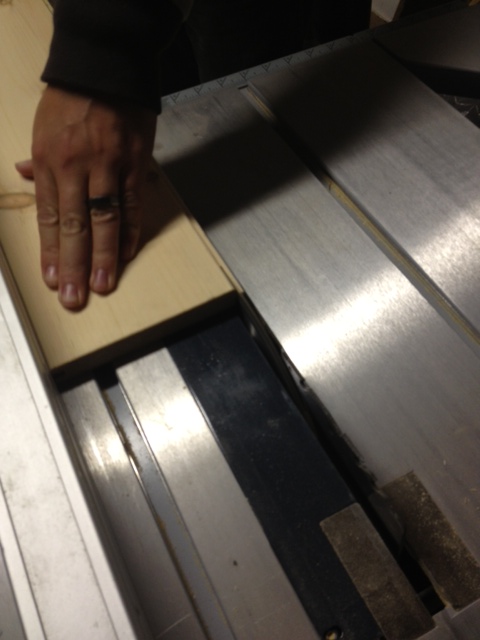
Once we reached the bottom, we went to the garage and cut the groove off the past piece with the table saw so we would end with a nice smooth board.
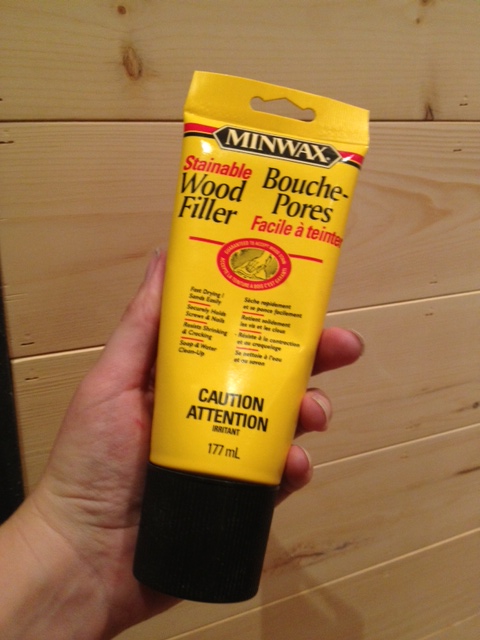
After the boards were installed we got out the wood filler and filled in the brad nail holes.
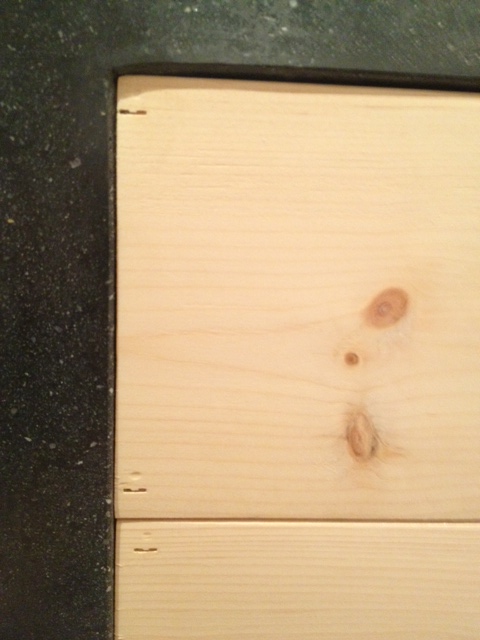
After letting the filler dry, we took the sander to the boards and gave it a quick finish sand.
Now we were ready to finish it. We pushed back the countertop (we hadn’t yet adhered it to the cabinets at this point) taped off the area, and added a coat of wood conditioner then two coats of stain (same color as our dining table & coffee bar shelves).
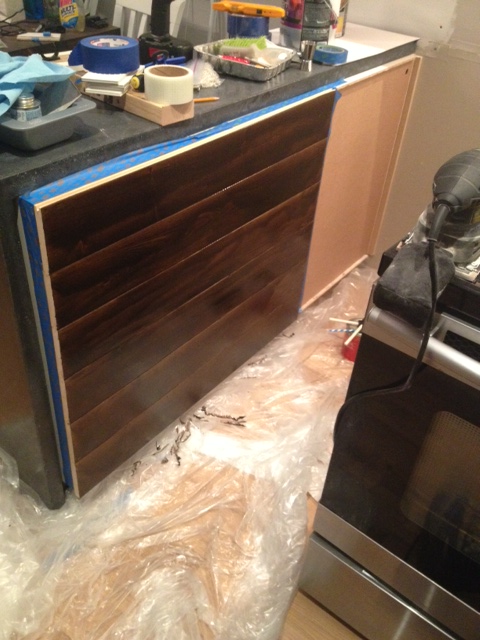
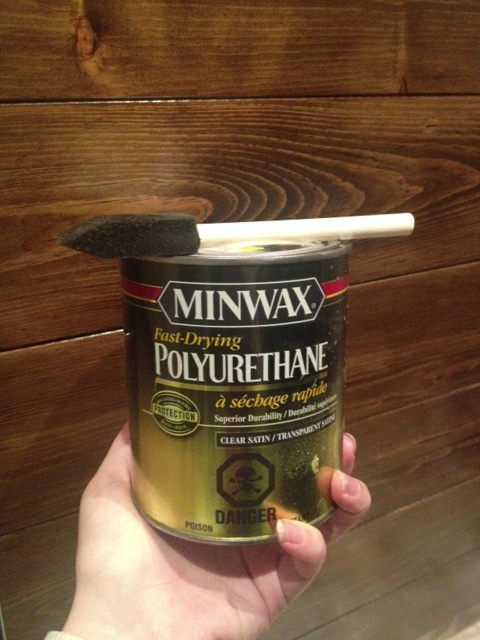
After staining we finished it up with 5 coats of Satin Poly. Five coats may have been a bit of overkill, but its beside the stove and oven, and will get its fair share of abuse.
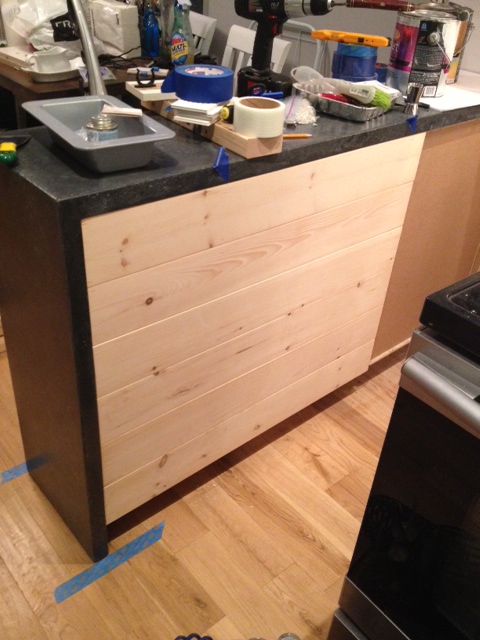
Next up we needed to address the toe kick. For the rest of the kitchen we have plain white toe kicks, but it just seemed weird to carry on the white for the back of the peninsula, so we opted to use a piece of 1×4 pine stained & polyed to match.
We then moved the countertop back in place, making sure the wood was flush with the countertop edge, attached the countertop to the cabinet, and slid the stove back in place.

Total Cost: About $15!
Awesome, the wood really makes the space pop. Looking at your kitchen, I am so glad I went with Ramsjo black toe kicks in my kitchen rather than the Adel white to match the cabinets. The black really makes the white cabinets stand out.