When we moved into our house, we bought our first big kid bed. By that, I mean one that had a boxspring, had an actual frame, and that was big enough that hubby & I didn’t need to sleep like sardines. The problem with owning a big kid bed is that we didn’t own a headboard. Our bed looked giant and sad sitting in the middle of our master bedroom.
We needed to do something about it, but we didn’t have tons of coin to drop on it, and I wanted something specific. At this point in time, I called the only person I knew who could help me; Mom. Mom you see is an expert at all things Home Ec related. Cooking? Shes a pro. Sewing? She could sew a life sized stuffed moose in her sleep. Crafting? She is the Danish Martha Stewart. So you can see why I called in the big guns.
Mom rolled into town, accompanied with upholstery foam, tacks, and a shopping list. The only thing I brought to the table was the purple ultrasuede I had purchased the week before. Mom scrutinized my choice of fabrics, and although it wouldn’t be her first choice, she conceded to give it a try. We quickly measured up how tall we thought the headboard should be, and headed to HD to get some supplies. We had ¾” plywood cut to the width and height of our headboard by the nice fellow in the wood department.
We also picked up some 2×4’s to brace the headboard, and to connect it to the frame. Some staples, spray glue and a new jig saw later, and we were off to the races.
Back at home, we got out some large pieces of newsprint and taped them together to make a big piece of paper the same size as half the headboard (it’s always easier to draw half of your design, then when its time to trace your pattern, just trace one side of the pattern, flip it over and do the other side. It will be a perfectly symmetrical design). We then drew out the design we wanted. We futzed a bit with it, used a pencil and some string to make the curves, and when we were happy with it, we cut out the design to use as a pattern.
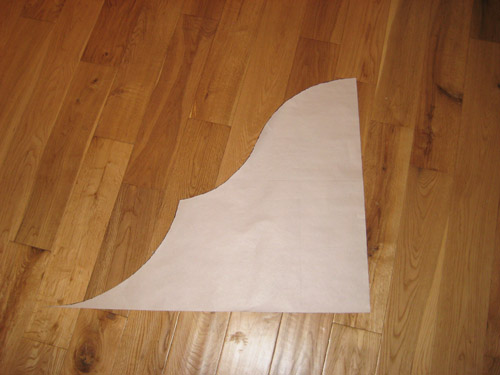
We then traced the pattern onto the plywood, and cut it out with a jig saw. We attached 2×4’s to the back of the wood as legs and braces. * Note if you are going to attach it directly to the wall, at this point in time instead of adding legs, you would need to purchase a flush mount bracket set from a hardware store, and follow the instructions on how to install (or check out this tutorial on eHow)
After the wood was cut, we took the pattern and cut it down one inch smaller on the outsides. We then traced this new smaller pattern onto our 1” foam, and cut out the foam with a sharp knife. We sprayed the back of the foam with spray glue, and placed it centered on the plywood.


Then came covering the headboard with cotton batting, folding it over the back of the plywood and stapling using a staple gun. I have this great backwards staple gun, that allows you to push the trigger forward instead of backwards, it’s much easier on your hand muscles.
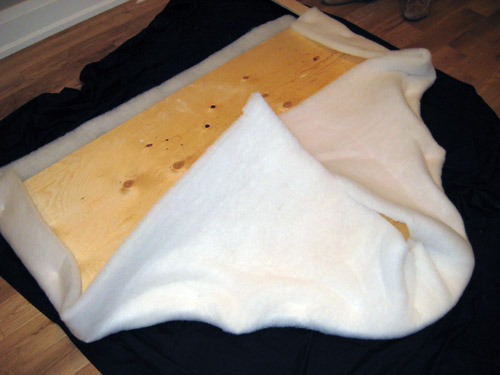

Next up, we laid our fabric face down on a clean surface (we used our kitchen floor covered in a sheet.)
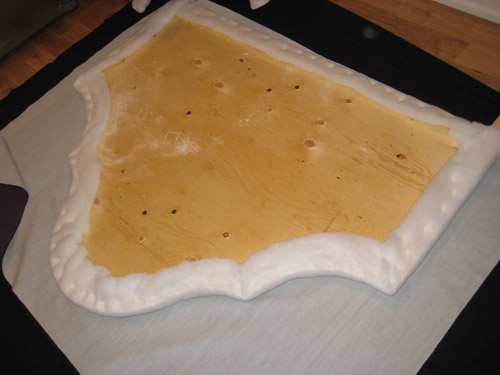
We then wrapped the fabric around the back of the headboard. This is where it gets tricky, and requires as many hands as you can recruit. Starting with the bottom of the headboard, fold the fabric around to the back, make taut (but don’t over pull and stretch it) and staple to the back of the board. Do this all along the bottom every 4” or so. Then move to the top of the headboard, and starting at the center do the same thing, making sure that the fabric is nice and smooth and flat on the front of the headboard. If your headboard is square, this will all be pretty easy. We of course made a fancy-dancy curved headboard, so it’s a bit trickier. With a curved design, you will have to make relief cuts to get the curves nice and smooth. You will be using a LOT more staples on the curves, making sure you get all the fabric pulled taut and smooth. You may find that cutting some of the excess fabric off helps, but make sure you leave yourself enough fabric to get a good grip.
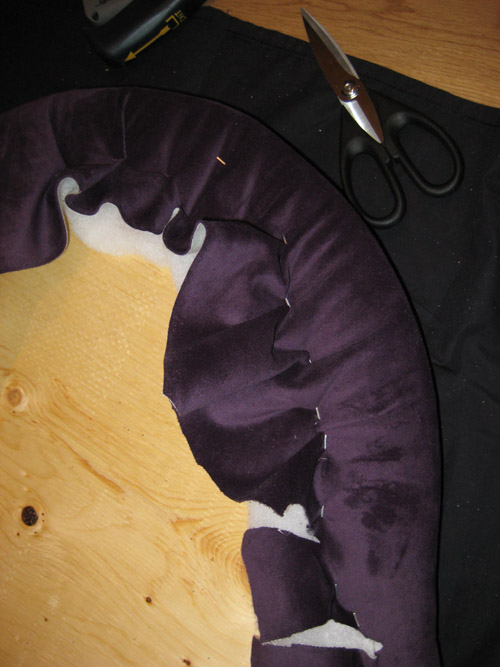
Work your way around the whole top of the headboard, one side at a time then move to the sides of the headboard.
You will probably want to go over and add a few more staples in places that you may have missed, and cut off some of the flaps of fabric to tidy everything up. Now flip it over, and admire your handy work!
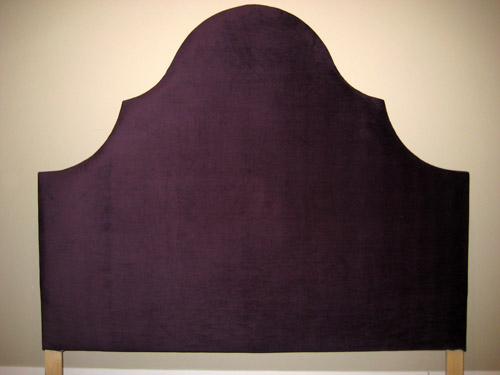
You still probably want to know why we cut the foam one inch smaller that the wood? We did this as we wanted to add a decorative nail head trim, and we didn’t want it to get buried in the foam. By cutting the foam short, it left us a nice space to lay the trim. We used nail head strips from Lee Valley Tools. They were much quicker and easier to lay straight than using individual nails. You only actually have a nail once every 6 nail heads or so. This was great for the straight parts, but around the curves I wished for more nails. The trim just isn’t as smooth as I would like it. Make your way around the headboard nailing in as you go, and curving the strips to meet the curve of your headboard. We used a small hammer and it didn’t damage the nail heads, but a rubber mallet is recommended.
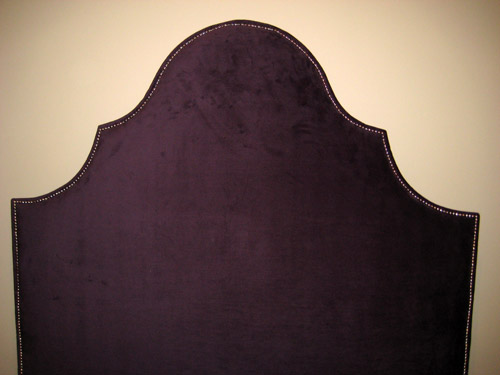
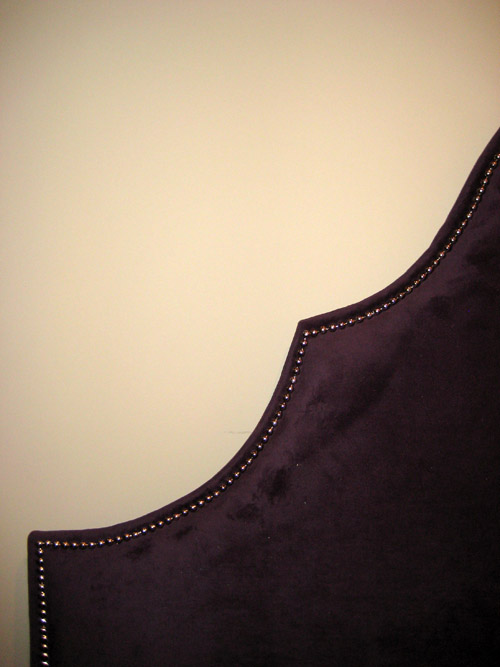
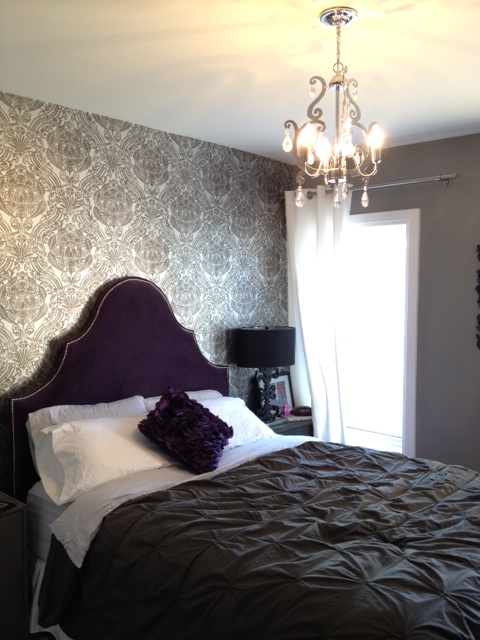
Now quickly rush your headboard up to your bedroom and place it behind your bed and pat yourself on the back. The get out the drill and some bolts, and bolt it to your bed frame, or attach it to the wall.
SOURCE LIST:
Materials:
Plywood- 3/4″ 4×8 sheet cut to size at the store – Home Depot
1″ Foam – Len’s Mill Store
Cotton Batting – Len’s Mill Store
Purple Ultrasuede Fabric – Designer Fabrics
Nailhead Trim – Lee Valley Tools
Spray Glue – Home Depot
Staples – Home Depot
Tools Used:
Jig Saw
Staple Gun
Knife & Scissors
String
Pencil & Paper
Mom
Difficulty Level (on a scale of 1-5):
Total Cost: $70
I LOVE LOVE LOVE ❤️. How did you make the template so accurately? Where can I get a pattern? Thanks!
This is on my “must do” list for a long awaited (and still waiting) re-do of my bedroom. I’m living with an 80’s platform bed from my husband’s previous marriage – yuck. And as soon as I find the perfect French Provincial bedroom suite to paint, the headboard will follow. One day. But I’ll be looking at your tutorial when the time comes. Pinning for future use!!
How did u attach the legs? Thanks
Hi Tammy, I believe we just used a few screws.
Thank you for showing me must how easy it was to make a gorgeous headboard. Now I need to get off my lazy butt and get at it.Love the curves on your headboard and the colour and the nail-head trim….you must understand by now that I liked it all.