I have the great honor of being a bridesmaid in my brother-in-laws upcoming wedding. He is marrying the most wonderful woman named Angela, who I cannot wait to have as part of my family! As the clock ticks down to the June wedding, we have ordered dresses, are thinking about hair and shoes, are planning the bachelorette party, and of course the wedding shower.
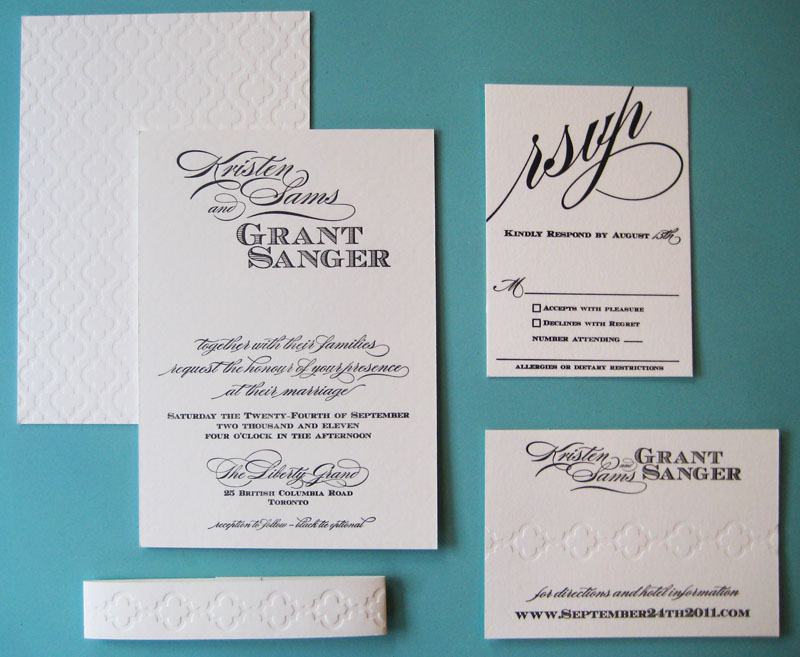
When my mother-in-law broached the subject of the wedding shower invites, I eagerly volunteered for invite duty. I absolutely adore stationary, and I even DIY’d my entire set of wedding invites.
DIY however was a bit out of the question for the shower invites. I just didn’t have the time. DIYing invites is a HUGE commitment. I did however want something that was a bit more special than “could-have-been-done-on-my-home-printer” invites. I also wanted to make sure I stuck to a more casual invite, as the wedding is set in a vineyard barn. With rustic (yet polished) in mind, I set out shower invite sourcing. You can see some of my wedding shower ideas on my Bridal Shower Pinterest Board here.
Follow Kristen – Storefront Life’s board Bridal Shower on Pinterest.
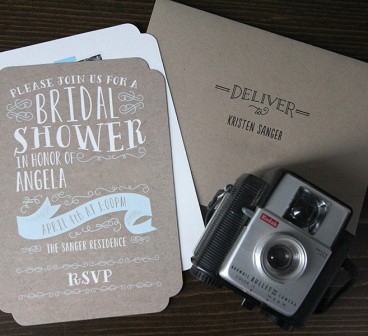
After a ton of searching and waffling (too many good options!) I finally settled on the Delightful Bridal Shower invite from Minted, and it couldn’t be more perfect.
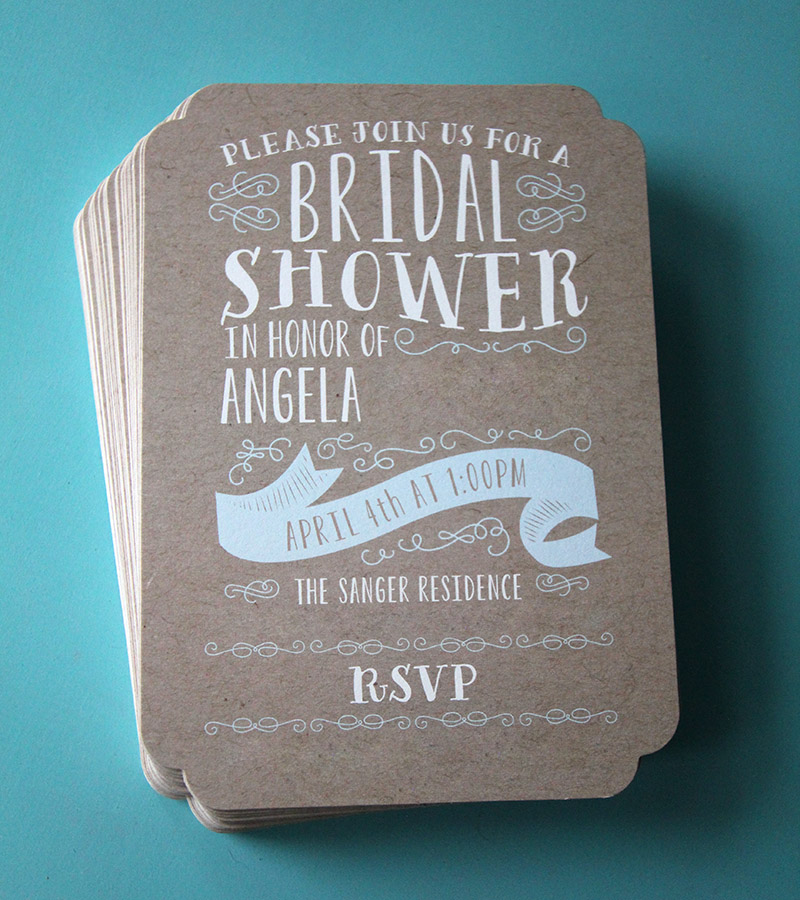
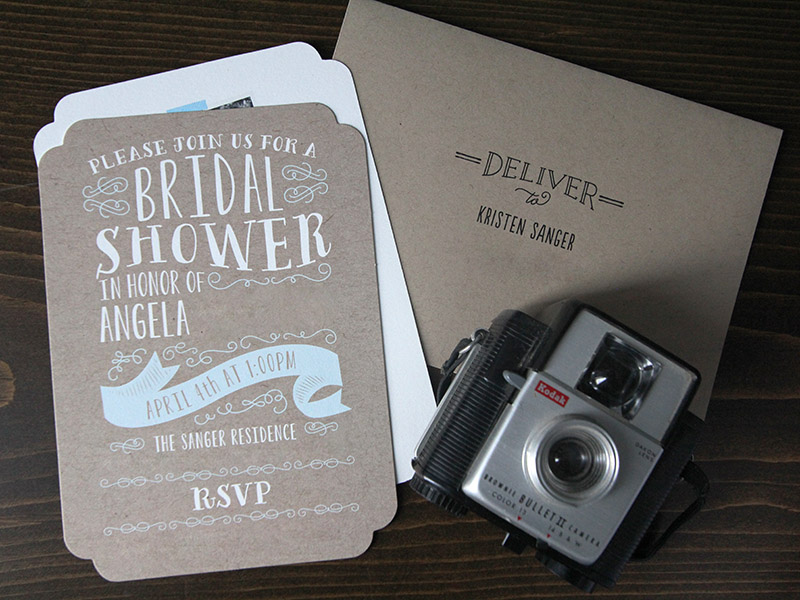
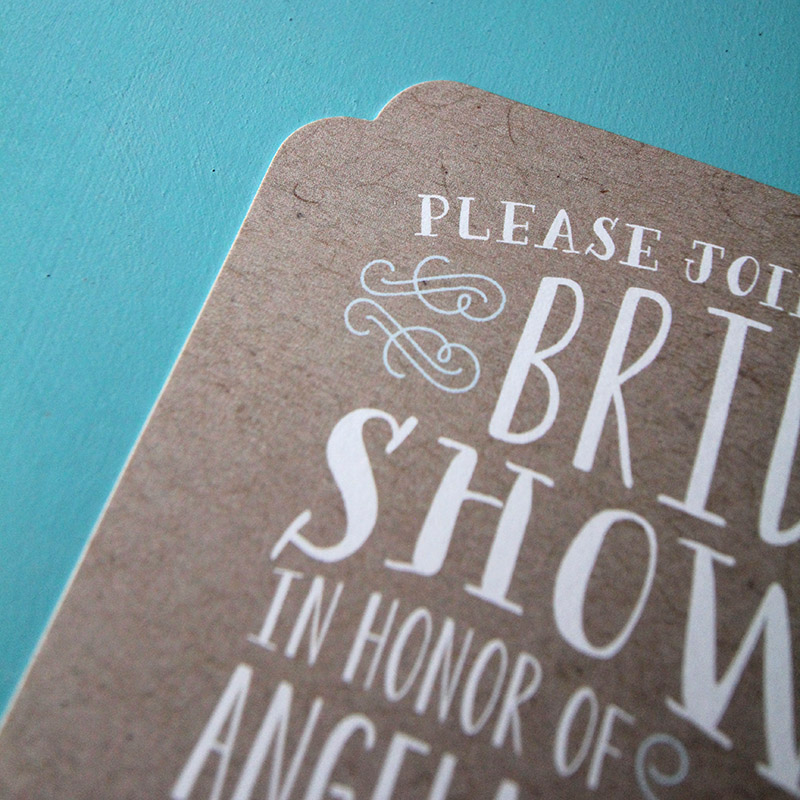
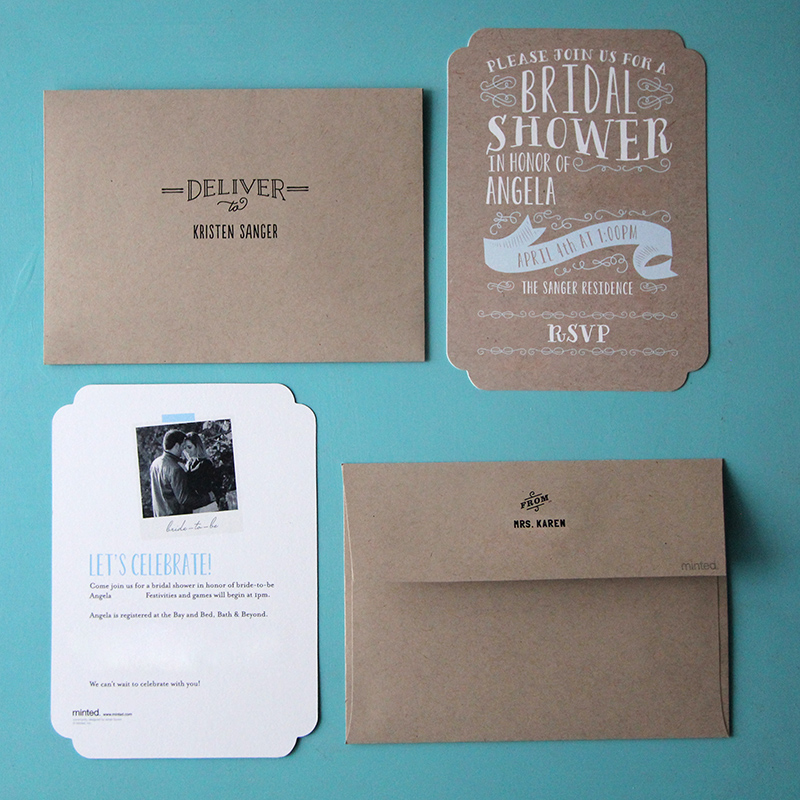
The invite is a lovely kraft cardstock front with a white backing. I upgraded for a few of the additional add-ons including die cut corners. I think they add a ton of interest to the invites, and up the custom factor.
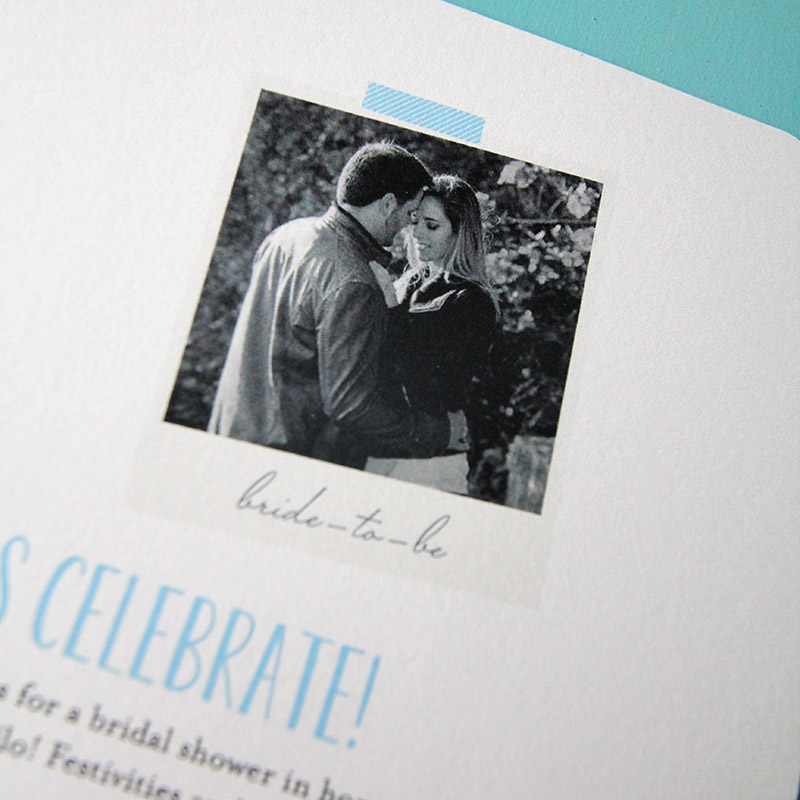
I also opted for more information and a photo of the bride & groom printed on the back of the invite (it’s from their engagement session. Super cute.) We went with a light blue as the accent color, as it is the brides favorite color.
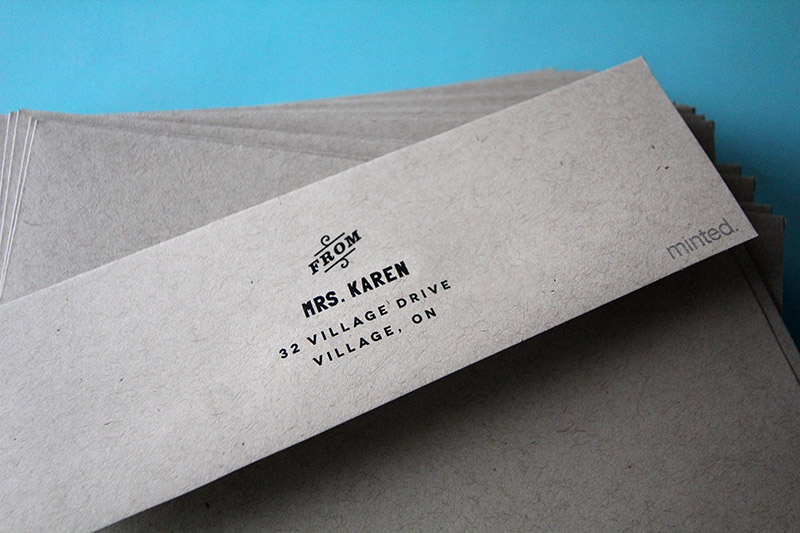
I fell in love with the kraft envelopes, and went for printed return addresses. I also used the new service from Minted for envelope addressing. Can I just say how much of a help it is to have envelopes addressed? I have terrible hand writing. It would have taken me ages to address all the envelopes, and they would have looked like rubbish. So glad I went for the addressing. You have several options for return and address designs and fonts. I wanted something a bit vintage/rustic to match the invites.
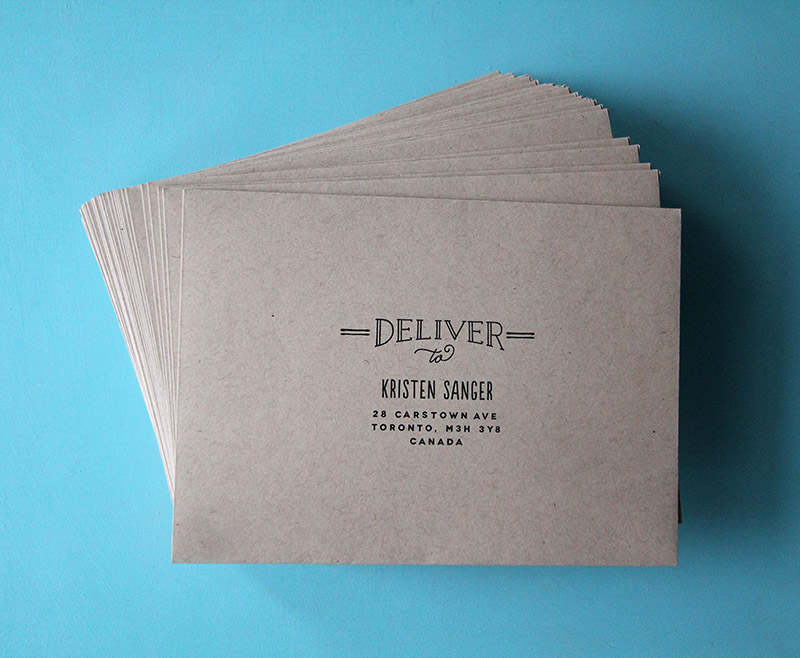
The addresses were easy to upload. I downloaded their excel template, filled in everyone’s addresses, and uploaded the spreadsheet. It also keeps the address info in your account, so for instance if you sent save the dates, it would already know your guest addresses for when you sent your wedding invites. I would have died for that when I was working on my own wedding invites. I actually laid out the type for every single envelope (inner and outer) and hand fed them through my inkjet printer.
In the end it took me about a week to decide on a design, get the addresses, input my info, and place my order. It only took a few days for the order to ship, and arrive at my house. The whole suite came together beautifully.
I hope the bride likes them! Cant wait for the shower, and the lovely June wedding!
Disclosure: We worked with Minted for these absolutely awesome invites. As always, all opinions, typos and overuses of the word “awesome” are my own.