I love Pinterest. I have used it for organizing my wedding ideas, dreaming and planning our home renos, and even a recipe or two.
Most of all it inspires me. It’s like looking through magazine after magazine of gorgeous ideas. A few minutes of Pinteresting and my head is full of great ideas and projects, much to the chagrin of my husband!

So when Sherry @ Young House Love was discussing this years fall edition of their Pinterest Challenge, I decided to jump in with both feet.
I have been obsessed as of late with paintable wallpaper. I just love the texture and depth of it. Take for instance my inspiration shot from Emma @ The Marion House Book. Her use of the paintable wallpaper with a dark dramatic colour in her office is just stunning!
Check out her whole office here.
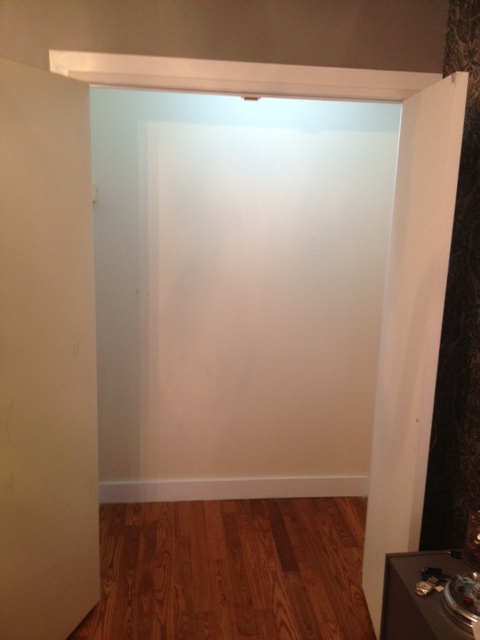
I already have a wallpapered wall in my Master Bedroom, but I have been thinking about adding some drama to my master closet. It’s not a walk-in closet, nor does it have room for a chandelier or an ottoman or any sort of art. Its just a standard double closet, but why should that stop it from being awesome?!
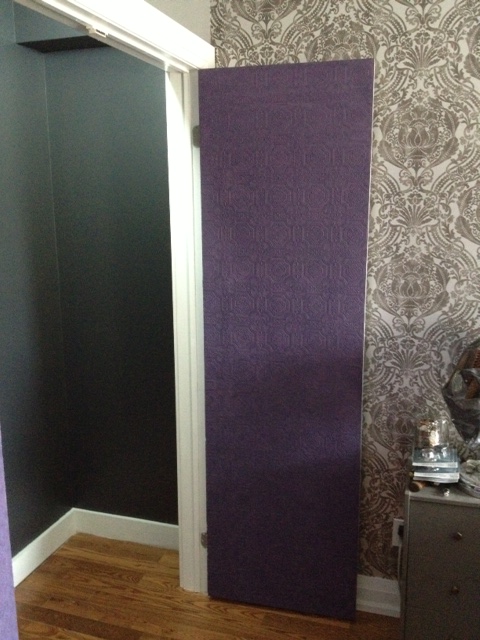
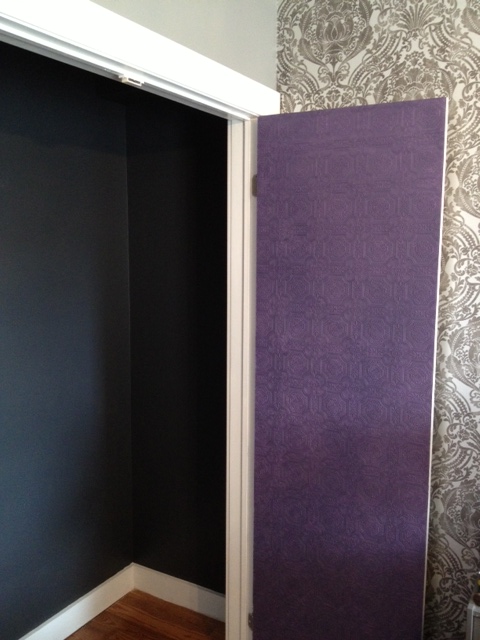
So I set out to add some drama to my closet by wallpapering & painting the insides of my closet doors! Yeah that’s right, the insides of my closet doors, so that when you open the doors they will scream TA-DA! It will be like having your own sexy magicians assistant hidden inside your closet.
So to put inspiration to fruition. We picked up a roll of (0n sale!) Martha Stewart paintable wallpaper in a pressed tin design, as well as a tester jar of dark purple paint.
We removed the doors from their hinges, then set them up on some saw horses in the guest room. The doors were a bit wider than the roll of wallpaper, and I could have taken the easy way out and just done a paneled insert for the door, but I decided to do it right and cover the entire door. So I laid out my first sheet of paper, wet & booked it, then applied it to the straight edge of the door. We smoothed out the bubbles and ensured the edges were well pressed down.
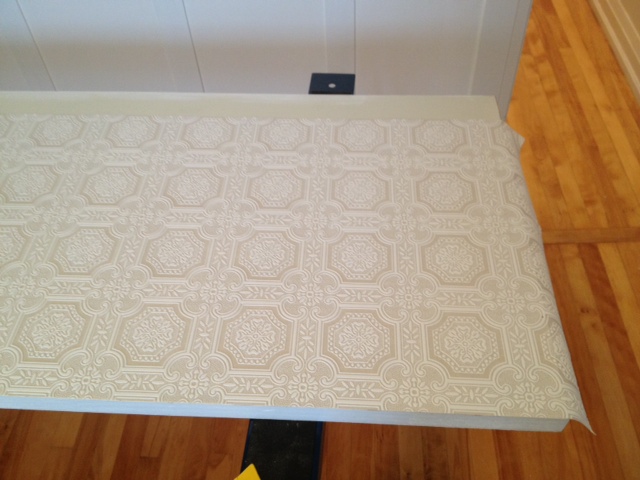
We then lined up a second 1/2 sheet of paper (split lengthwise, so I could use the other half for the second door). Matched the pattern, wet & booked and applied the wallpaper. We then did the same thing on the other door.
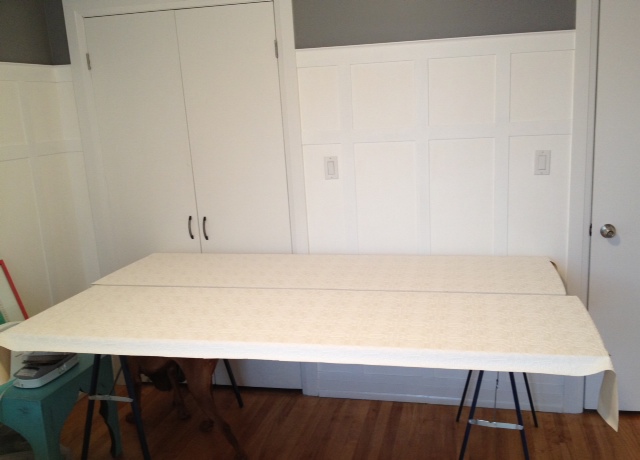
I left the wallpaper overhanging the edges until it all dried. At that point I flipped the doors over. Placed a piece of scrap wood underneath to use as a cutting board. I then cut along the edges of the door with a sharp blade, cutting off the excess wallpaper and leaving a smooth edge.
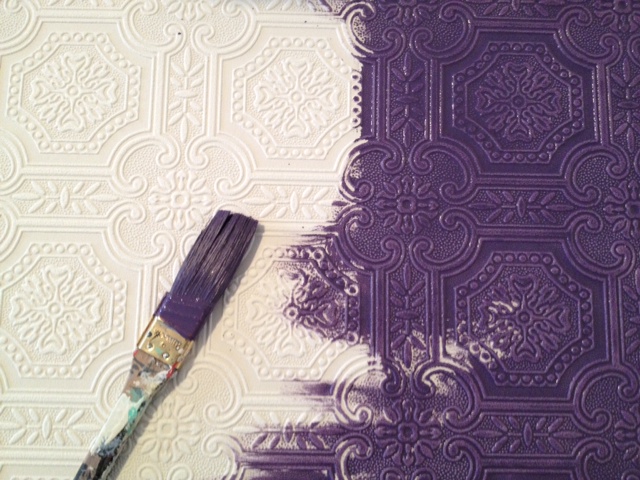
We then gave the wallpaper two coats of purple paint with a brush. It was a pain to get the paint into all the little crevices! The second coat went much faster than the first.
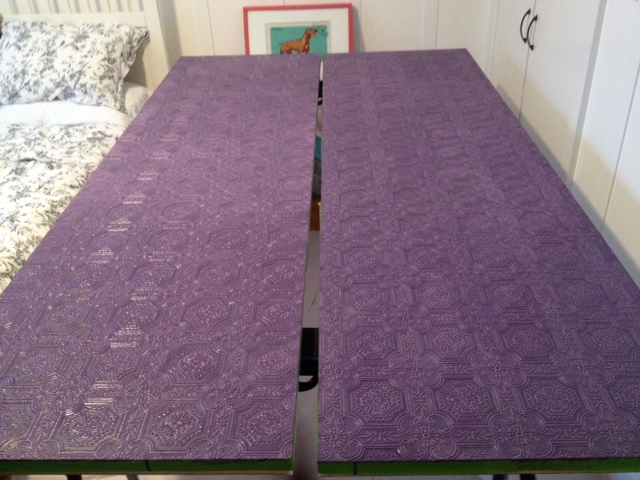
While the doors were drying, we gave a coat of dark grey paint to the closet, and prepped for new rods & organizers. We re-hung the doors, and this is what we have now! (sorry about the pic quality, we haven’t had an ounce of decent natural light in days with this storm!) I will take better pics once some sunshine decides to come out and play.
SOURCE LIST:
Materials:
Martha Stewart Paintable Wallpaper in Pressed Tin – Canadian Tire
Behr Sample paint – Home Depot
Tools Used:
Wallpapering kit (wetting container, smoother, sponge, edge roller etc.)
Sharp Blade
Hammer & flat head screwdriver (for removing doors)
Paint Brushes & Trays
Difficulty Level (on a scale of 1-5):
Total Cost: $20
