Before we got Odin we knew we needed a fence. There was a slightly dilapidated chain link fence between our house and our neighbors to the north (we have a 30′ brick wall to the South and a garage on the West end of our yard). We have an amazing relationship with our neighbors. They are a young family, who is currently renovating their entire house as well. We wanted a fence that would be functional, provide privacy but also allows us to socialize when we want to.
We put pen to paper, and designed a horizontal slat fence with 5″ boards and 2″ boards. We were going for a traditional meets modern design. We then set out to removing the old fence. We prepared shovels and tools, and mustered up the courage to start digging out deep concrete foundations. El Granto started pulling absentmindedly to one of the fence posts and the post easily started to come up, so he pulled more and more, and out came the post! All of the other posts came out just as easily, except one that was too close to our deck foundation, and must have got stuck in the deck’s concrete when it was poured.
Now it was time to build!
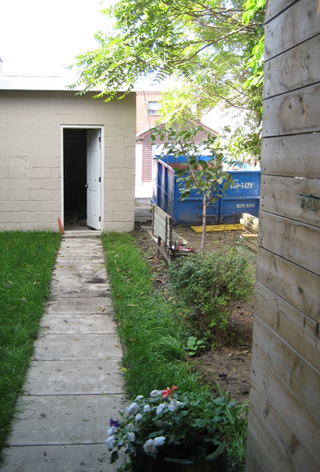
Our fence needed to be 26 feet long, and would be anchored on one end to our 2 story deck, and on the other end to our cinder block garage. We used 4×4 posts for our main supports. We used 10″ bolts to attach one 4×4 to the deck, and masonry screws to attach another to the garage. We then spaced out our two center posts equally so that all the fence panels would be the same size. This would involve loads more cutting, and more wasted wood, but visually it was much nicer.
As we were anchored at both the deck and the garage, we used post spikes for the two center posts. Now don’t you do shaking your finger at me… Yes, we could have dug post holes and filled with cement, but our ground is FULL of rocks, and the thought of digging those holes was, well…unplesent. So we looked into other options. We found the level-able post spikes, and after considering our fence (it was a small span, well anchored at either end, was sheltered by a 30′ wall on one side). It wouldn’t be subject to gale force winds, or pole vaulters, so it would be.just.fine. I will hear none of your “you took the easy way out”. OF COURSE we did. The hard way sucks.
Back to the task at hand. We set the fence spikes and El Granto got to hit things with Mjölnir (yes.. that is what we named for our great big hammer. If you’re ever at our house and need the use of a big hammer, you must ask for Mjölnir, anything else and you will be ignored. (No “Maul”, “Big Ass Hammer”, nothin.)
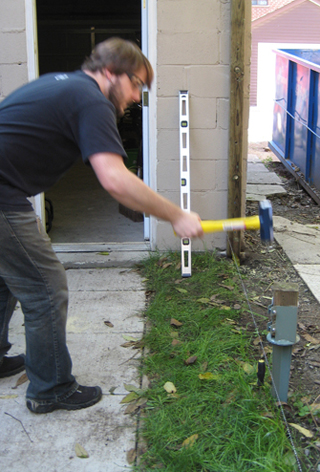
We set the posts, leveled them, and then got to putting on the boards. This would have been a time when two cordless drills would have been handy (hint hint Santa). We spaced the boards right tight up to each other knowing that they would gap some as the wood shrinks.
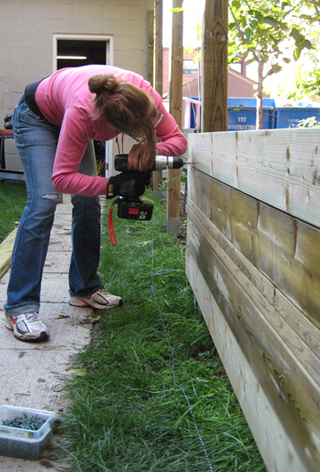
When we got up to eye level, our fence was starting to look like a wall, not a fence, so we spaced out a row of the smaller 2″ boards, so that we would have a space that we could see and converse with our neighbours. Once we finished one fence panel, we dropped a chalk line and cut off the overhanging boards with a circular saw.
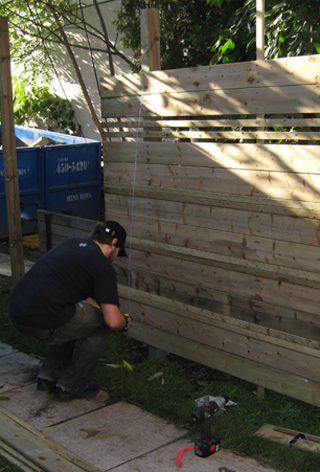
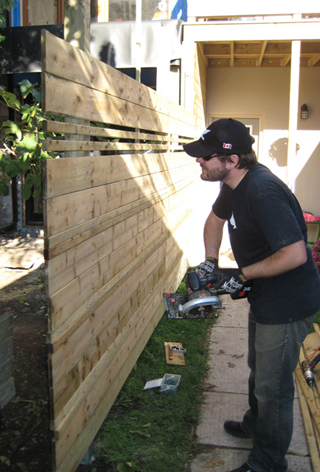
Once we finished fencing all the panels, we placed fence boards vertically where the two panels met to cover the cut marks. We screwed in the last board just as the sun was disappearing. Finishing the top of the fence would need to wait for more daylight and lumber. That was one hard days work, time for a drink!
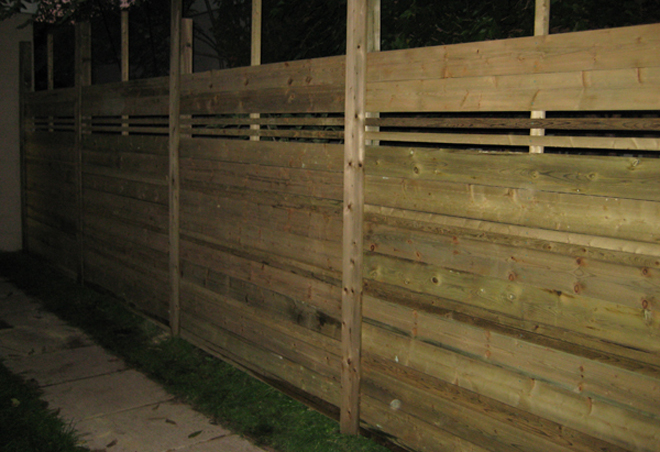
The fence stayed ugly like this for a few weeks until my Mom & Dad came down to help us reinforce the deck (that’s another story for later). While they were helping us, we used the opportunity to borrow Dad’s truck, and head to the lumber store for some 2×6’s to make top rails for the deck.
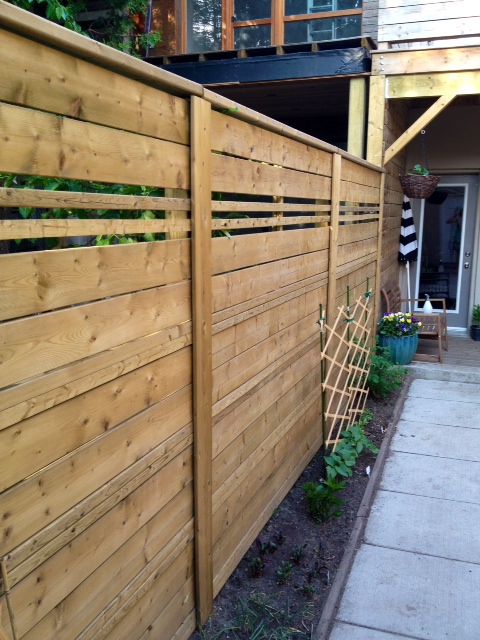
Here is the finished product!

SOURCE LIST:
Materials:
Pressure Treated Lumber (1×2’s, 1×5’s, 4×4’s & 2×6’s) : Downtown Lumber
Fence Spikes: Downtown Lumber
10″ Bolts, 1.5″ Deck Screws: Home Depot
Titen Masonry Screws: Home Depot
Tools Used:
Maul, Circular Saw, Chalk Line, Drill
Difficulty Level (on a scale of 1-5):

Hey! This is amazing! What did you guys use to seal or protect the wood? I like how it still looks natural but have no idea how to get this look
You guys rock. I’m giving you fair notice: I’m stealing all of outdoor ideas for my house! Great site. Thanks.
I love the way you guys did the fencing. Really good stuff. Its like step by step.