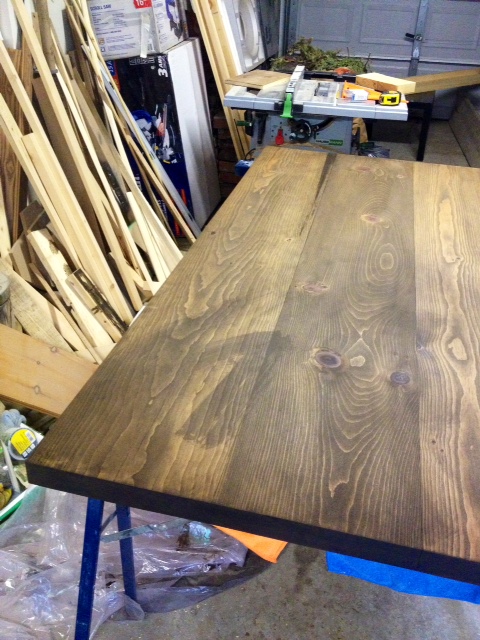
Making a mistake sucks. I usually try to research the heck out of a task, and measure twice cut once et al. However sometimes you just screw the pooch, no matter what prep you did. Some mistakes are easier to fix than others. Removing stain off a table top is not one of them. If you remember last week I screwed up staining some costly wood. This is what my disaster looked like. In the words of Sheldon Cooper; Bazinga.
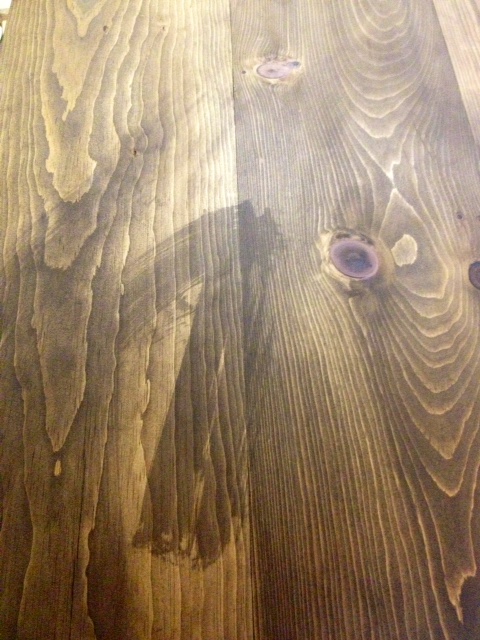
We subsequently spent the last week trying to correct my mistake. Out came the 80 grit sandpaper and two orbital sanders and El Granto and I got to work. We sanded and sanded, then sanded some more.
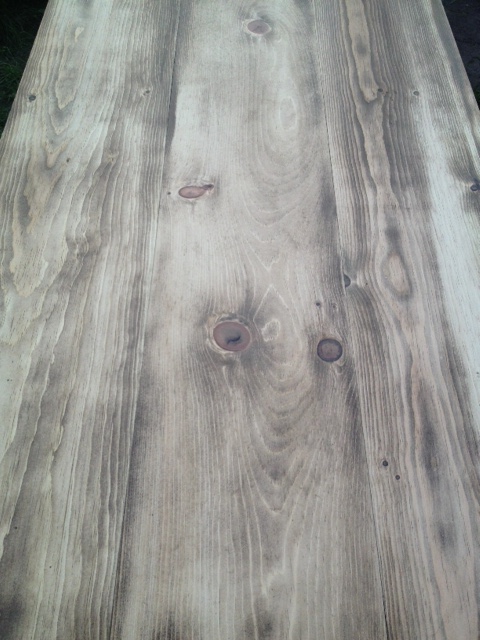
The stain finally removed, we switched to 100 grit, then 150, then finally 220 until our wood was back in ready to stain condition.
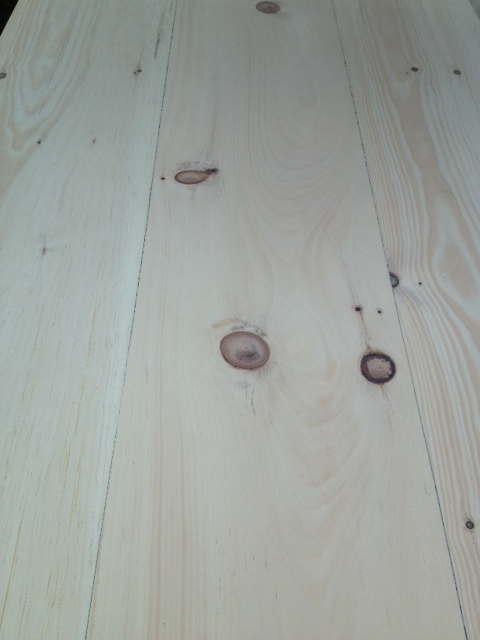
Time to try this again. This time I used our sawdust broom (aka a $2 hand broom from Ikea) to remove any dust. Next came a coat of wood conditioner. (If you’re staining softwood such as pine, this step really helps you get an even finish.) Let the wood conditioner soak in for a half hour. Now it’s staining time. Apply a nice even coat of stain, I usually let it soak in for about 10 mins, then take it off with a CLEAN rag. I like to wear latex gloves for this step, as it makes me look way less like a mechanic when I have to go to work the next day.
Here’s what our project was looking like after my second attempt at staining it.
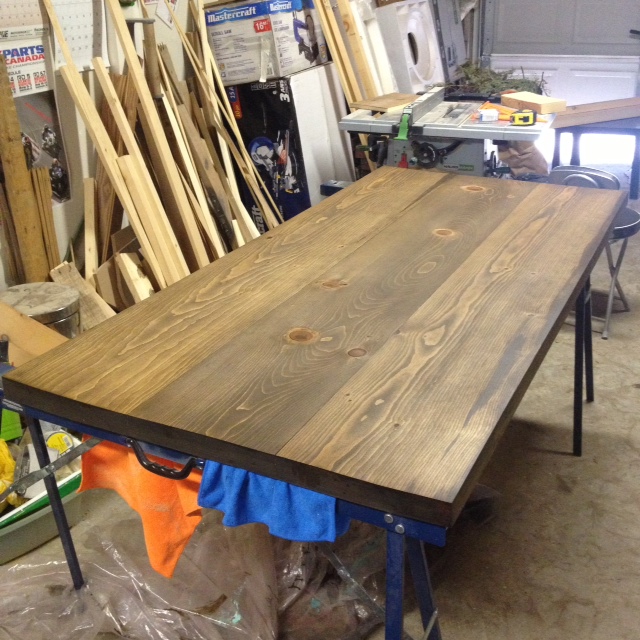
Now here’s a little before and after.

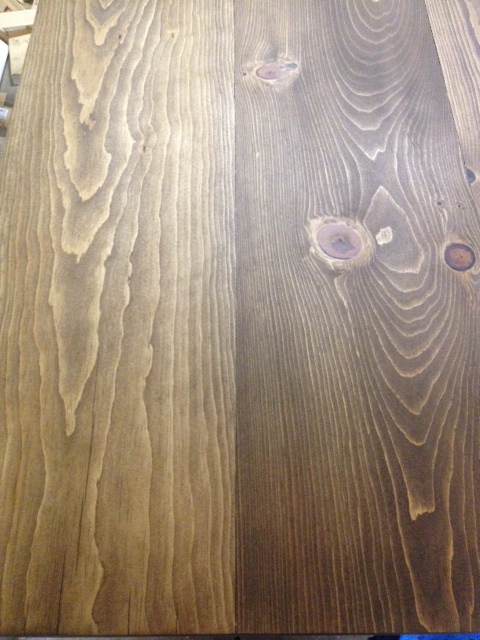
All told, it took about 6 hours of sanding & refinishing to fix my mistake, and about $10 worth of sandpaper disks. Had I not been working with $100 worth of lumber I probably would have declared it firewood and started again.
It certainly feels good to have the project back on track, even if we did loose a week fixing my mistake. Hopefully I can get some more staining & polyurethaning done during the week, and knock this off before our summer vacation.
Wondering what my project IS? Not telling, you’ll see it soon enough. Muh ha ha.
