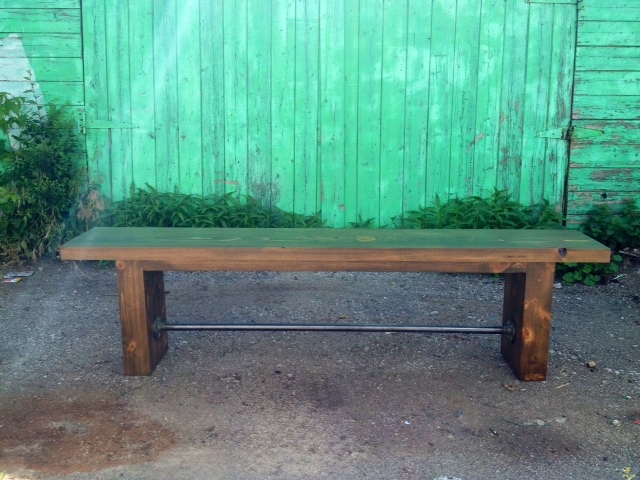
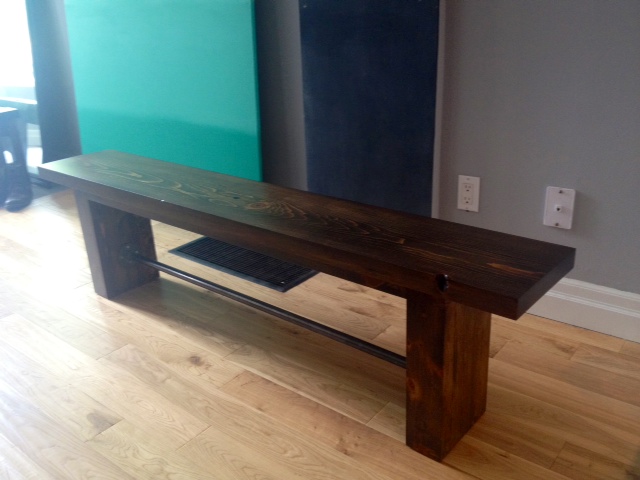
I know, I know, ANOTHER BENCH?! REALLY? Here’s the deal. We replaced the top of our pipe leg dining table, and our old bench was looking sad in comparison. It’s unfair to give one kid a present, and then stiff the other one. So Mr. Bench got an upgrade.
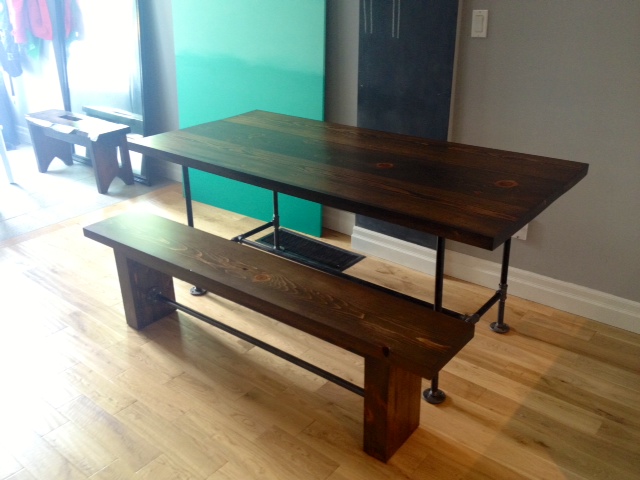
If you remember correctly, this is what the old bench (& table) looked like:

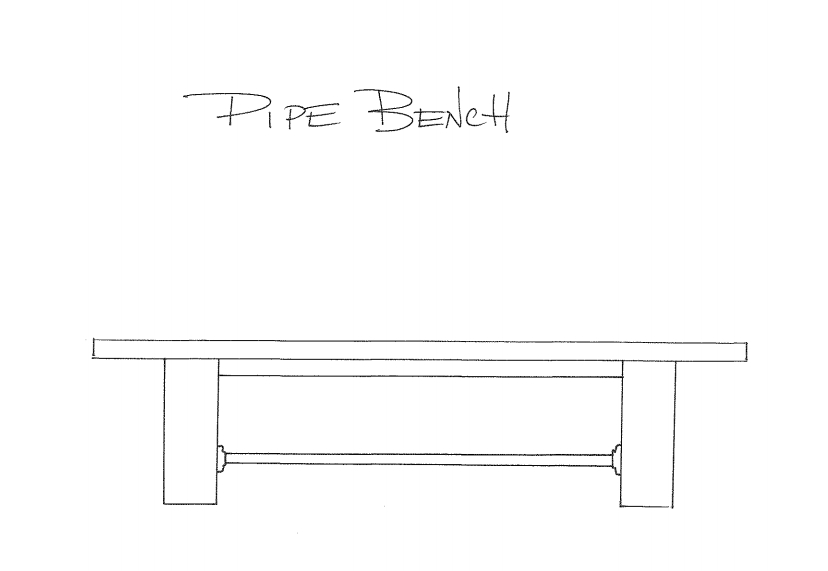
We salvaged the pipe stretcher from the old bench, and got to work making new legs & a top. We wanted something a bit more industrial looking. The old bench was fine, but a bit traditional. So we searched for inspiration and found this on Pinterest:
I loved the chunky legs and thought it had the perfect shape. So we set to building our own version with a pipe stretcher.
Buy List:
1 – 2×12 x 6′ piece of kiln dried pine (same as our table)
2 – pine 2×2’s @ 8′ for aprons
2 – pine 2×4’s @ 8′ for the legs (make sure these are square edged 2×4’s, not rounded ones like you use for framing)
3/4″ dowel
Wood Glue
4′ pre-cut piece of 3/4″ gas line pipe (threaded on both ends)
2 – 3/4″ pipe floor flanges
2 1/2″ pocket screws
Cut List:
1 – 2×12 at 68″ (bench top)
2 – 2×2 at 48 5/8″ (aprons)
10 – 2×4 at 16 1/2″ (legs) if you can, set yourself a jig on your saw to make sure all the pieces are cut exactly the same size
First up, glue 5 2×4’s together with wood glue and clamps making one great big 4×10, repeat with the other 5 2×4’s (if you don’t have enough clamps, do one leg, then let it dry for a day, unclamp and do the other leg.)

To make sure those legs aren’t gonna move, we also strengthened them with dowels (and a few screws). We liked the way the exposed dowels looked on Daniel & Adelle’s table, so we opted for that route. After the legs have dried, mark 3″ up from the bottom of the leg on one end and mark the center of the board. Then drill a 3/4″ hole with a spade bit about half way through your leg. Ideally it would go all the way through, but to do that nicely (without any tear out) and straight you really need a drill press (which we dont have!). So we opted to do a dowel from each end.

After your hole is drilled, cut a piece of dowel a bit longer than your hole, glue & tap in place. Repeat for all the other sides of both legs and let dry.

To strengthen the top of the legs we used a 3″ counter sunk screw from either end. We pre-drilled the holes with a 3/8″ drill bit, inserted the screws, then filled the hole with a wood plug & some glue. If you must use screws on a project, using wood plugs will make them a lot less glaringly obvious.

Once all the glue has dried (another day) you can cut the dowels close to flush using a coping saw, chisel, hand saw, Dremel, or oscillating multi-tool.
Now it is time to make a few pocket holes for attaching the legs to the top. We put three holes in each leg (kreg pocket hole jig set to 1 1/2″ thick material).
Time to sand. I always find that it is MUCH easier to sand pieces like legs before installing them. As we needed to sand down the exposed dowels, we started sanding with 80 grit until the dowels were flush, then switched to 100, then 150 and finally 220 grit.
The apron pieces got 2 pocket holes drilled in each end (to attach to the legs) and a good sand as well.
Next up, attach the flanges to either end of the pipe and attach the pipe stretcher to the legs with screws. We used a scrap 2×4 to set the flanges up from the bottom of the legs.

Next up, attaching the legs to the table and the aprons. Flip the bench top upside down and use it as a work table to attach the aprons. The aprons will give the bench even more strength, and stop it from wanting to shift sideways. Once the aprons are attached to the legs, center the legs on the bench top, and attach the legs with the pocket holes you drilled earlier.

Put in a few 2 1/2″ screws through the aprons into the top, and fill the Kreg holes with pocket hole wood plugs and glue.
Time to head back outside, give the top a sand, and an overall finish sand to the rest of the bench.


A coat of wood conditioner, two coats of Varathane Chocolate stain, and three coats of polyurethane later and this is what we’ve got. (check out my post on finishing wood here.)


SOURCE LIST:
Materials & Cut List:
(see above) – Wood from Downtown Lumber
Stain – Varathane Chocolate
Polyurethane – Minwax Oil Modified in Satin
Tools Used:
Miter saw
Drill
Kreg Jig
Orbital sander
Measuring Tape
Finishing Supplies
Difficulty Level (on a scale of 1-5):
Total Cost: $60 (for the new wood, we already owned the pipe, stain & poly)

I’m half-way through this (I already made the table and loved it). Despite the condensed post, the bench actually takes longer to make than the table. Lots more sanding and the legs are a PITA!
LOVE the new sexxxy legs! 🙂 Great job as always guys. Your projects are always so inspiring. Can’t wait till our place is ready for some furniture so we can try our hands a couple things!