This project is about six months in the making. I intended to make a mens canvas and leather apron, and have it ready to present to El Granto for our 3rd anniversary (the leather anniversary). That came and went, and I hadn’t moved beyond…well…thinking about making it. Fast forward to the beginning of February. Winter had officially set in in Canada, and it was so bloody miserable, one couldn’t fathom leaving the house. There is only so much Netflix and takeout a girl can handle before snapping and dragging out the sewing machine.
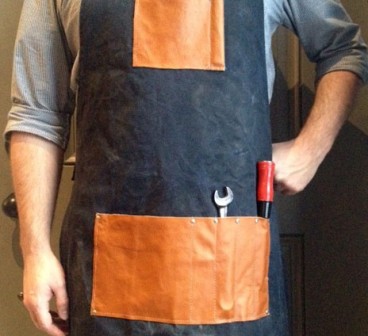
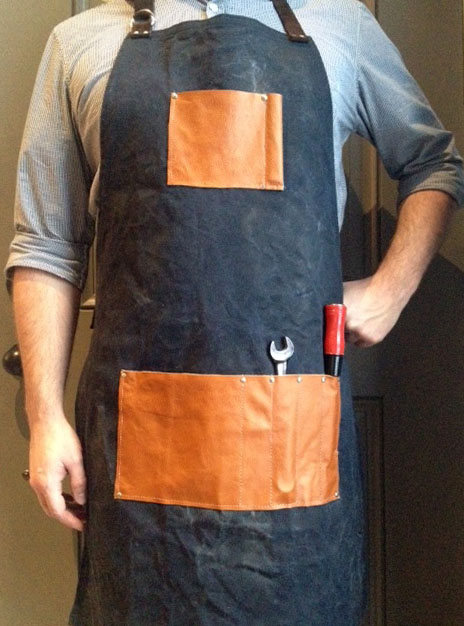
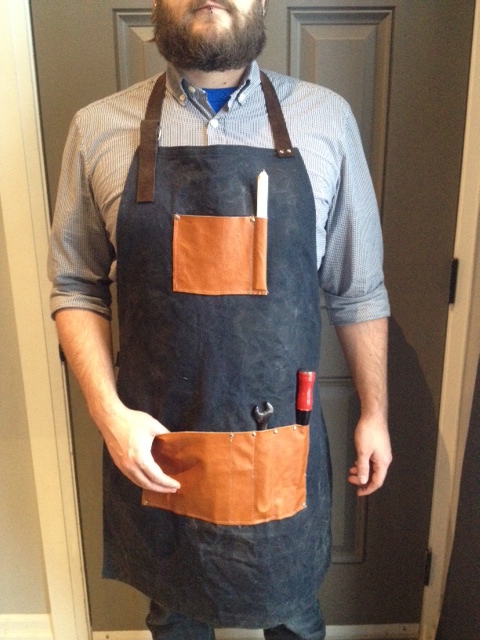
Only six months late, I was finally able to give El Granto his waxed canvas and leather apron. Perfect for wrenching on his motorcycle, or tinkering in the garage.
How To:
Cut a 36 1/2″ x 25 1/2″ piece of canvas. Fold it in half lengthwise. Measure 5 3/4″ from the fold on one short side. Mark with chalk. Measure in 15 3/4″ in on the long side, starting the measuring from the same short end you previously marked. Draw a concave curve between the mark on the short side and the mark on the large side. Cut through both layers of fabric along your curve.
Using an hot iron, roll and press a 3/8″ double hem (fold in 3/8, iron, then fold it over again and iron) on all the raw sides. Top stitch a 1/4″ hem all around the edges with a matching thread. That is now the base of your apron complete.
Using a mixture of melted beeswax and paraffin, wax the canvas. **I will be back with a whole post later in the week on how to wax canvas**
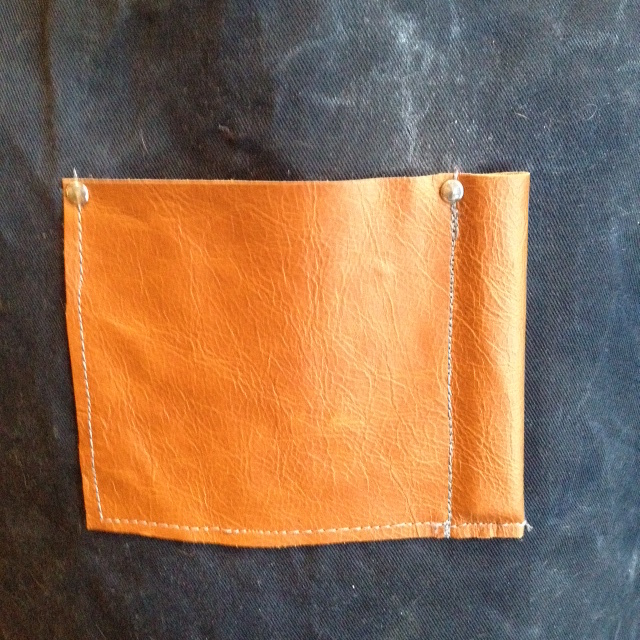
Cut your leather pieces to size (see cut list below). On the small pocket of leather, fold in one short side 1 1/4″. Stitch through both layers of leather on the folded side, 1″ in. This will make the pencil pocket.
Place the small pocket 4″ below the top of the apron, and centered. Topstitch with a 1/4″ hem along the pencil pocket stitch line, then the bottom and the other side. This pocket will hold a carpenters pencil or sharpie, as well as screws, nails or nuts and bolts.
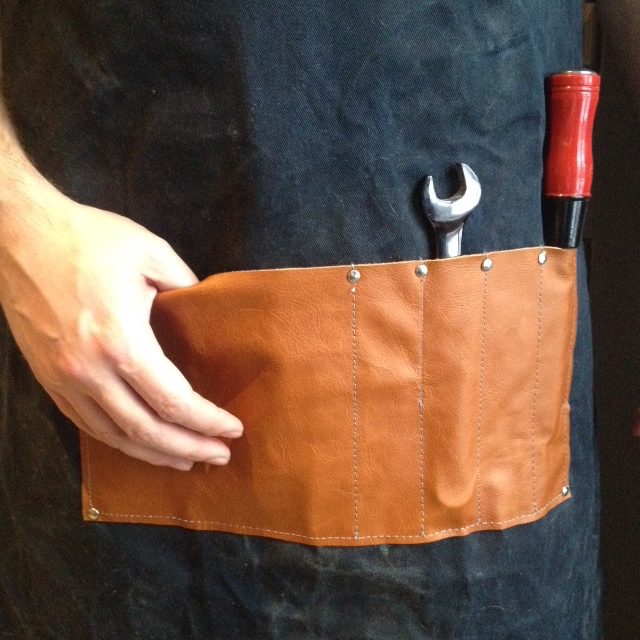
Place the large bottom pocket 18″ from the top of the apron and centered. Topstitch (1/4″ again) around the sides and bottom of the large pocket. Measure in 1 1/2″ from the right side hem of the large pocket, and mark. Mark again 1 1/2″ from the first marked line. Continue this another two times.
Topstitch along the marked lines. This will make the smaller pockets to hold wrenches, screw drivers and other long skinny tools. The larger pocket will hold an assortment of miscellaneous stuff (i.e. a rag, a notebook, an Allen wrench etc.)
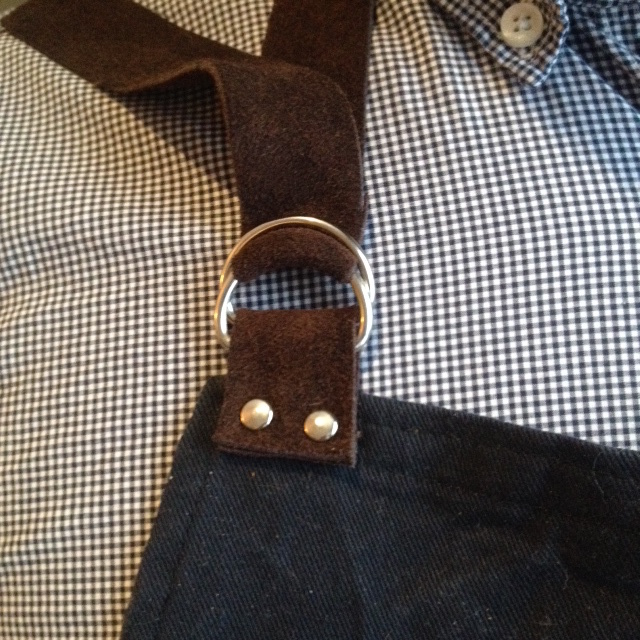
Fold the D ring pieces of leather (see measurements below) in half and punch two holes on the end of each piece. Punch two corresponding holes in one side of the apron as well as one side of the top of the apron. Place two D rings on each piece of leather. Line the holes in the pieces of leather with the holes in the apron. Place a rivet post through each set of holes, and using a rivet tool, hammer in place. [Rivets are easy! Just place the post of the rivet through your materials, then set in the concave rivet setting tool. Place a rivet cap on top of the post. Using the setting part of the rivet tool, hammer the rivet in place.] The D rings will allow you to thread a piece of leather between them, to easily secure the leather apron straps.
On one end of the neck and waist apron strings fold the ends over 1/2″ and punch two holes. Rivet to the neck strap to the top of the apron, on the opposite side of the D rings. Rivet the waist strap to the opposite side of the D rings.
Punch holes and rivet where the pockets meet the apron. This will ensure a long life to the apron, and take the abuse your man is sure to hand it.
Thats it! The waxed canvas and leather will weather and patina, growing nicer with age. The man in your life will thank you for making him such an awesome man apron, and for saving his clothes from motorcycle grease or saw dust. Not to mention having a place to stash a tape measure or screw driver.
Now…I want to make one for myself.
SOURCE INFO:
Materials:
Navy Blue Cotton Canvas – Designer Fabrics
Scrap leather – Designer Fabrics (all pieces were purchased from their scrap and trip leather bins, for a grand total of $1.50 spent!)
Bees Wax – The Bee Shop
Paraffin Wax – Michaels
Rivets – Michaels
1″ D Rings – Amazon
Cut List: (for a large mens apron)
36 1/2″ x 25 1/2″ piece of canvas (body of apron)
6 1/2″ x 13″ piece of leather (large pocket)
5″ x 7 1/4″ piece of leather (small pocket)
2 – 1″ x 2 1/2″ piece of leather (D Ring holds)
1″ x 25″ piece of leather (neck strap)
1″ x 30″ piece of leather (body strap)
Tools:
Fabric Scissors
Measuring Tape
Square
Leather Punch
Rivet Tool
Double Boiler
Blow Dryer
Difficulty Level (on a scale of 1-5):
Total Time: 1 day
Total Cost: $27

Great apron! I’m definitely planning on making a version. Question though, does the back of it tie? That part isn’t very well explained, or maybe I just didn’t understand well enough 🙂
I have browsed nearly all your posts and I have to say you’e got some really great ideas here. I love this apron, I have been looking for a decent design that isn’t complex but is comfortable. The idea of mixing leather scraps and cotton is terrific! I really like the way you show how to wax cotton, I too have seen the obscene prices that are being asked for this simple material. Thanks so much.