I did a whole hell of a lot of sewing last weekend. A marathon of sorts. I was adamant about getting the pergola and daybed finished by the end of the weekend. To accomplish this, I spent 13 hours sewing on Saturday. For realsies. El Granto helped too, measuring, cutting and installing grommets. What do we have to show for our work?
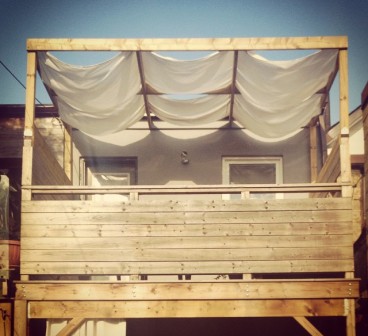
A pergola canopy!
Let’s rewind and start from the beginning. A lot of thought went into the canopy. We wanted something that blocked a bit (but not all) light, and also allowed rainwater to drain. We had experience with an Ikea shade sail in the past, and no matter what we did, it always filled with water. In one particularly bad storm, the sail was so full of water it was bowing about 4 feet down, and we were out there with brooms trying to push the water out. Not something I want to deal with again. As you will remember Sunbrella is helping us with this project, and when speaking with them, they recommended either using one of their sheer fabrics for the canopy, or installing a grommet at every dip in the canopy to allow water to drain. We ordered several samples, and I took them into the bathtub (don’t worry, I was clothed…mostly) and put them through a water test. The one that we loved the best was the sheer off white fabric called Shadow Snow.

It acted like a wire mesh strainer letting water easily drain through. 10 yards of fabric in hand, and we got to sewing. We divided our fabric in half and hemmed two long panels. We made a double hem on all sides. That left us with two panels almost 5 yards long, by 52″ wide. Then we needed to figure out how to hang it. We opted for grommets on all sides, and using screws and washers to hang attach it to the top of the pergola. We started by installing a grommet in each corner, but that didn’t give the canopy enough structure, and it was just blowing everywhere in the wind. More grommets were needed. We ended up installing 5 grommets in each end, and two where the fabric met each cross beam. 28 grommets total. El Granto installed each and every one using a grommet kit.
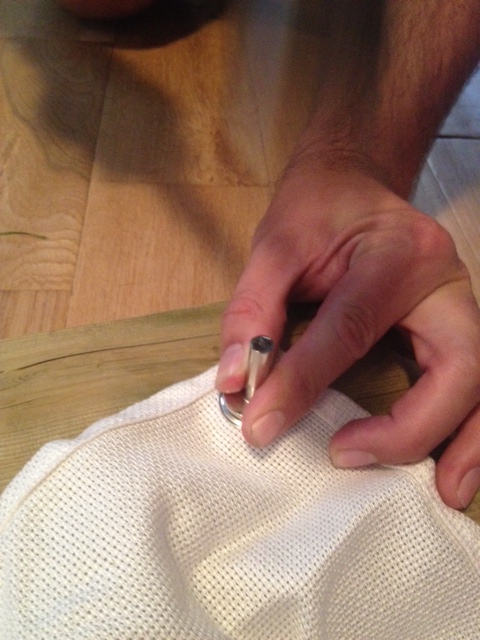

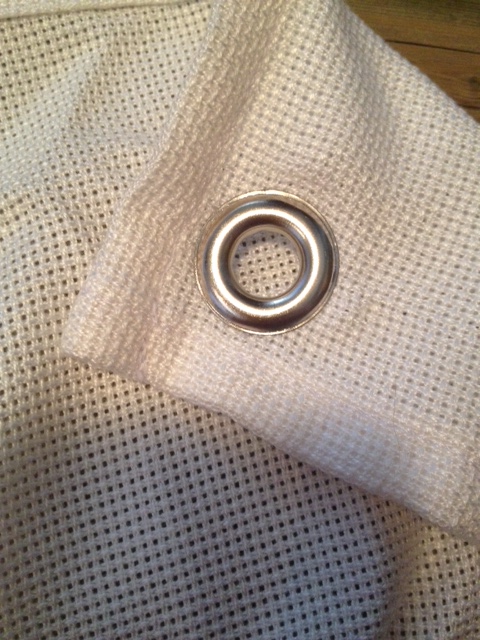
Unlike my plastic grommets from the drapes, the metal grommets required some muscle power, hammering each one in place. You cut the hole in the fabric, place the male part of the grommet through the hole. Place the female end on top, then hit it with the grommet tool, rolling the male part over the female and locking it in.
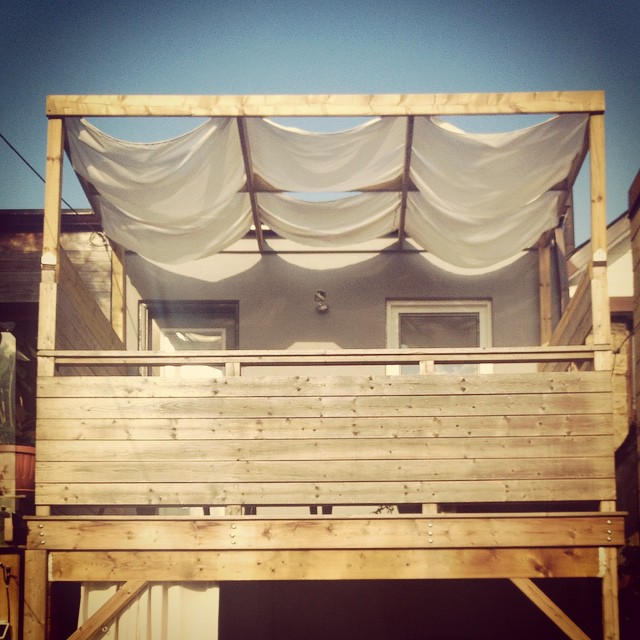
El Granto hammered away, I sewed away, and by Saturday evening we had a canopy!
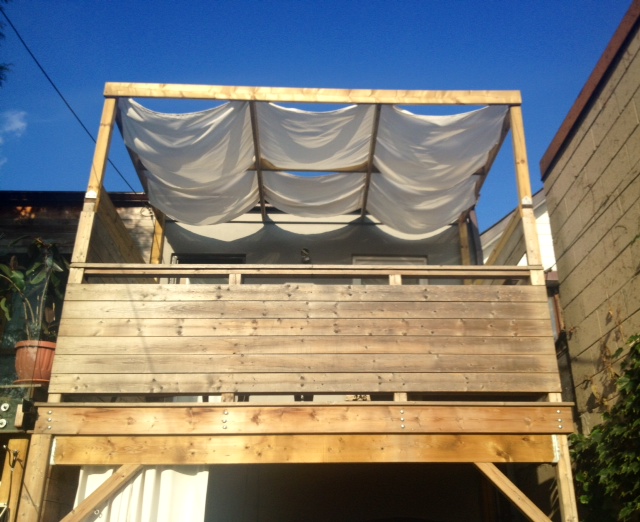
We LOVE how it looks, and it offers great shade for the upstairs deck. It moves in the wind, and creates a beautiful beachy ambiance.
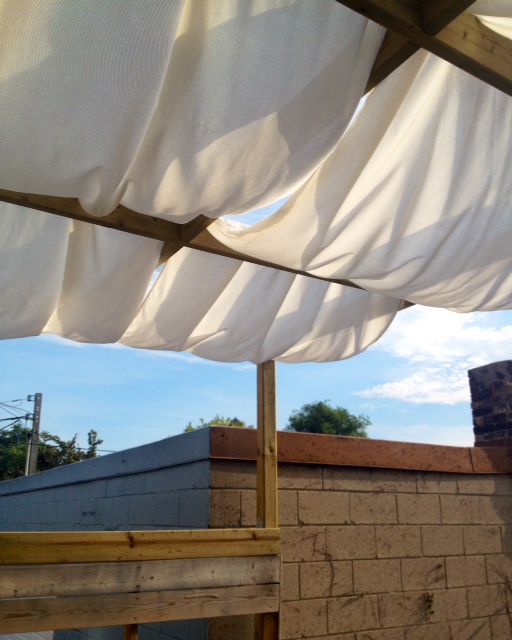
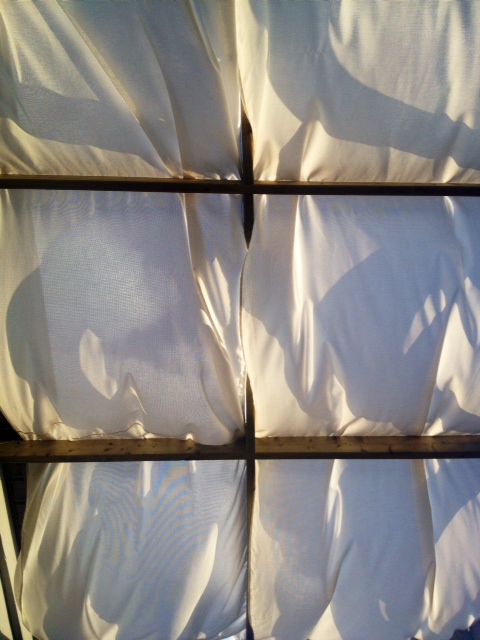
This is what it looks like from below:
We love it so much that we are now thinking of adding drapes to the upstairs deck as well. We also accomplished some more sewing in the form of an outdoor daybed cover. Can’t wait to show it to you!
Oh my gosh are you serious? This looks hella AMAZING and I want to come live in your pergola!
Love it, especially the way you left it loose and billowy. great job!
I think you should come here and build a pergola for me… and then make me a canopy! LOVE!