You may remember we started the kitchen coffee bar project waaaay back at Christmas time. We knew that the project would be done in stages. Simply because it would cost too darn much to do it all at once! However, we have been a bit lazy on the coffee bar front, and last we left it, this is how it looked.
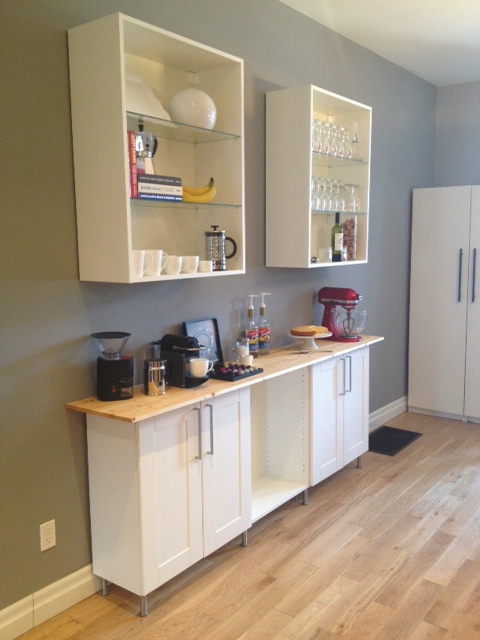
The base & upper cabinets were installed, there were doors on the bottom cabinets, and a temporary countertop.
Still nagging on the to do list:
- Make & install cover panels
- Make floating shelves for between the upper cabinets
- Buy & install glass doors for the upper cabinets
- Buy & install drawer unit for middle lower cabinet
- Run electrical outlets for counter top appliances
- Install backsplash
- DIY concrete countertop
Time to get off my butt and knock a few things off the list. The one nagging thing were the cover panels. You see Ikea cabinets are meant to have cover panels on the sides of your cabinets that match your doors. They also cover up the gap between the cabinet and your wall. Ikea’s installation system involves a metal rail that is attached to the wall, and the cabinets themselves hang off the rail. Because of this, the cabinets actually stick out from the wall about 3/8″. Ikea sells pre-cut cover panels to neatly cover everything up, and make your cabinets look pro.

Problem is, our old house has very crooked walls & floors, and due to that + our baseboards, the base cabinets of the coffee bar stuck out farther from the wall than they normally would. This meant that the pre-cut Ikea cover panels were too small. Sad face.
We had two options:
- Option One: Buy larger Ikea cover panels, and cut them down to size. This would be a bit of a pain, and expensive. Cost $250
- Option Two: Make our own. Aubrey & Lindsay’s Little House Blog conveniently has the same kitchen cabinets as us, and Lindsay mentioned in a post that she found the perfect shade of paint to match the cabinets. We could fabricate our own cover panels & paint them to match the cabinets. Cost: $60
Which option do you think we went for? You guessed it; the cheaper one. We headed to Home Depot, got 1/2″ mdf cut to the rough size we needed, and stopped at Benjamin Moore retailer West Toronto Paint & Wallpaper, and got a quart of Benjamin Moore Regal Select paint mixed in Paper Mache (pearl finish).
At home, we scribed the panels to fit the crooked walls & baseboards, and cut with a combination of the table saw, circular saw and jig saw to get the correct sizes we needed.
Next up, I applied a thin coat of spackle to the mdf edges (mdf edges are rough, and I find spackle is the best way to get a super smooth finish. Apply a thin coat, let try, and sand smooth.) After the spackle was sanded, a coat of primer was applied.

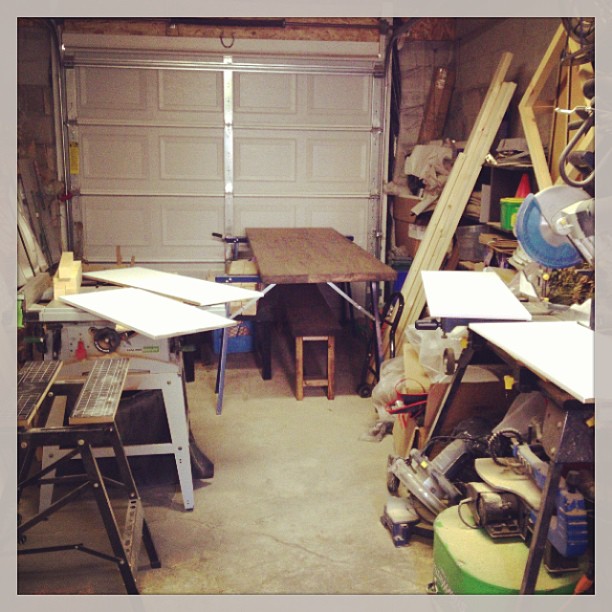
When dry, a light sand removed any roughness. Next up, four coats of paint, and we were ready to install.
We used 1″ screws through the cabinet shelf holes, and in a few minutes all the panels were up.
Here’s some before and afters:
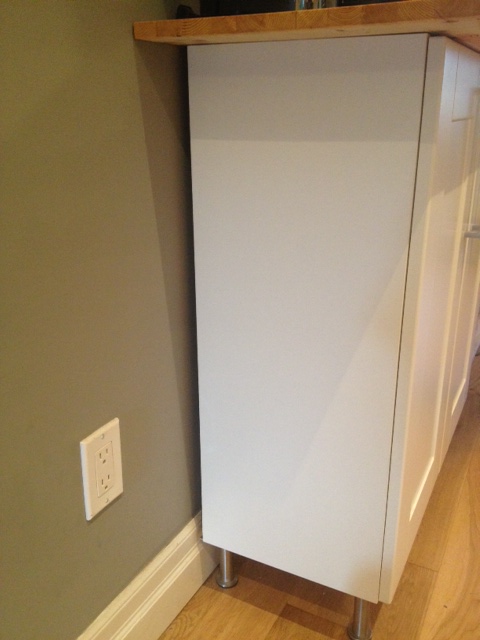

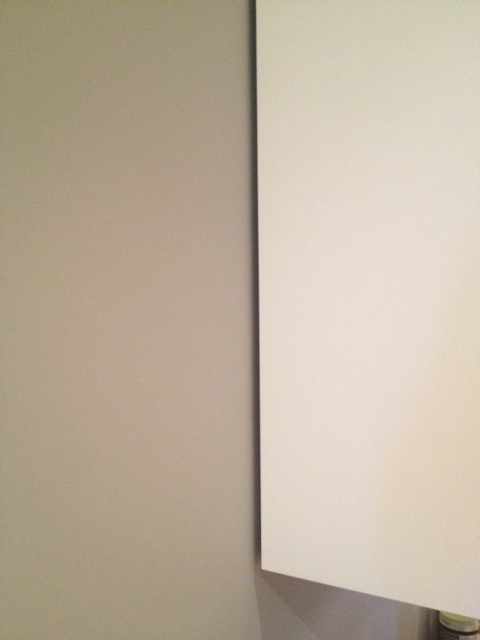
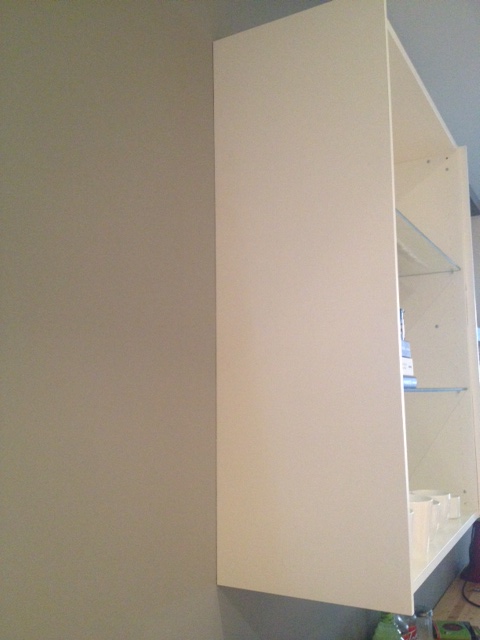
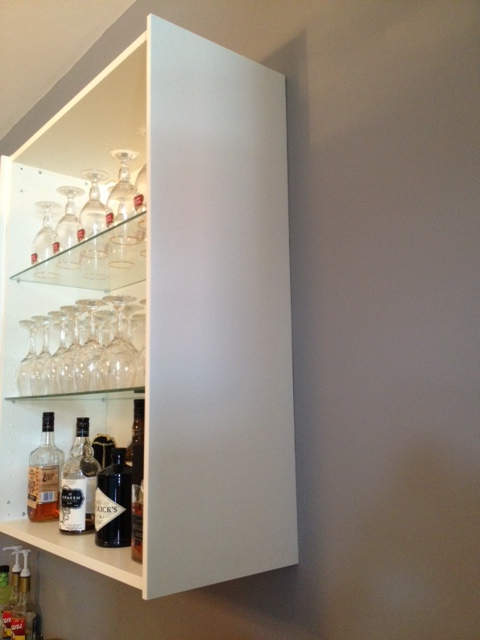
The upper cabinets look a bit silly right now, as the panels stick out 5/8″ farther than the cabinets. That’s because when the doors are installed the panels will come out right to the edge of the door, making for a perfect fit.
A lot of the time the finishing touches on a job get put to the back burner, they are usually a lot of work, with little reward, but it is worth it to go the extra mile, and get it done! Now…for the rest of the items on that list!

SOURCE LIST:
Materials:
2 – 4×4 1/2″ MDF Handy Panels – Home Depot
Benjamin Moore Regal Select paint mixed in Paper Mache (Pearl) – West Toronto Paint & Paper
Tools Used:
Table Saw
Circular Saw
Jig Saw
Painting Supplies (brush, roller, tray etc.)
Difficulty Level (on a scale of 1-5):
Total Cost: $60
Would have been easier to just remove section of baseboard and use a toekick…