It’s been a busy week! We accomplished some more yard work, and exterior maintenance. We also hosted a BBQ, went out for a motorcycle ride, and got started on some small woodworking projects! I will be back next week to share more, but here’s an Instagram recap of what we’ve been up to!
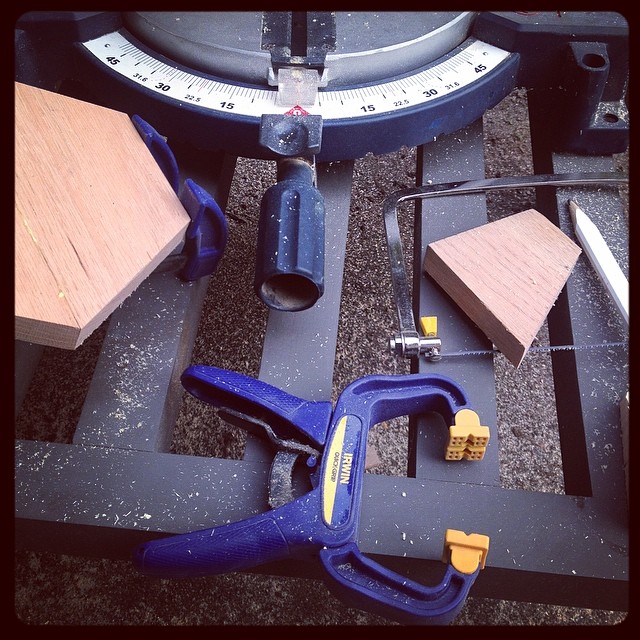
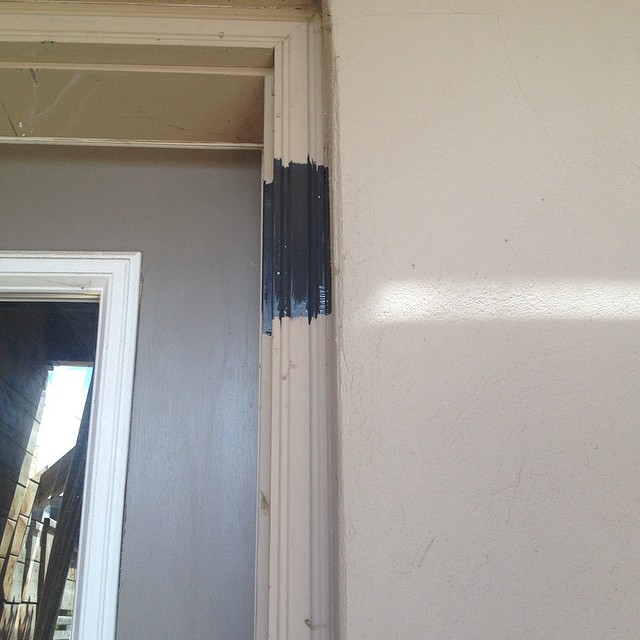
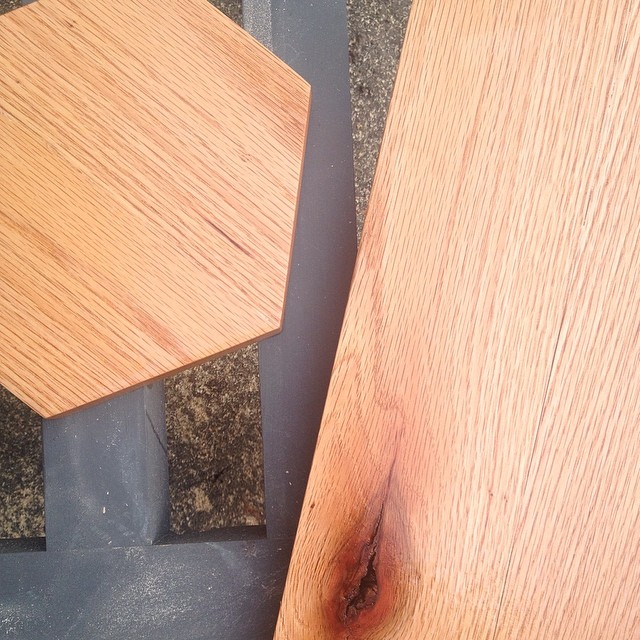
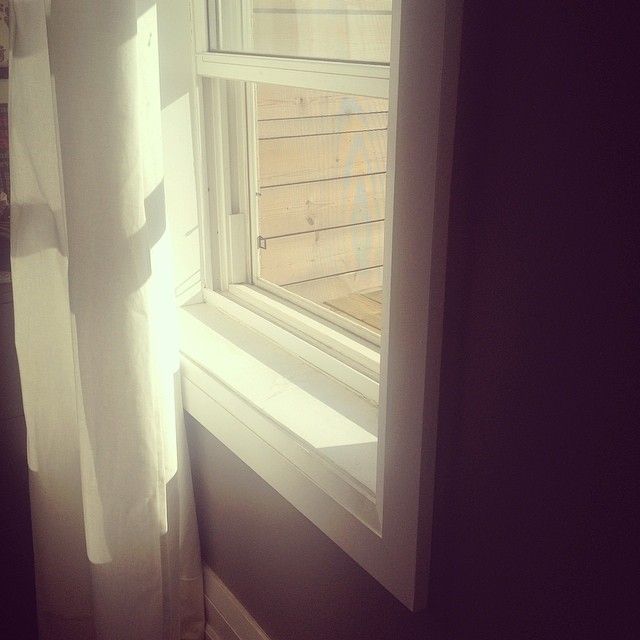
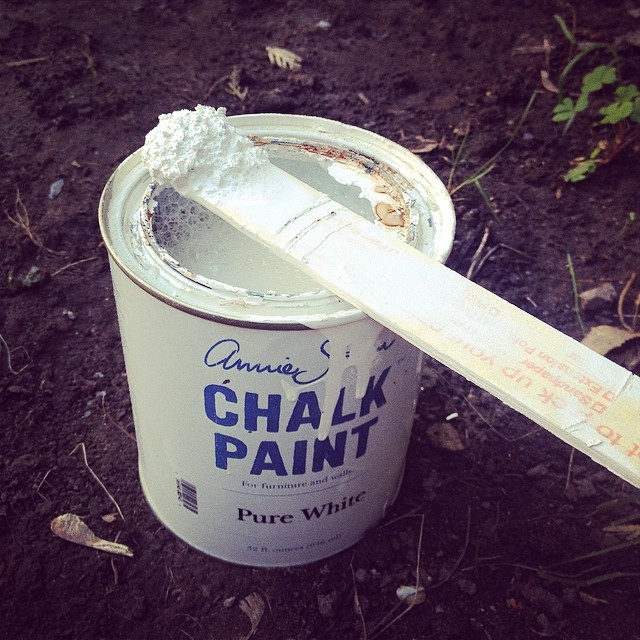
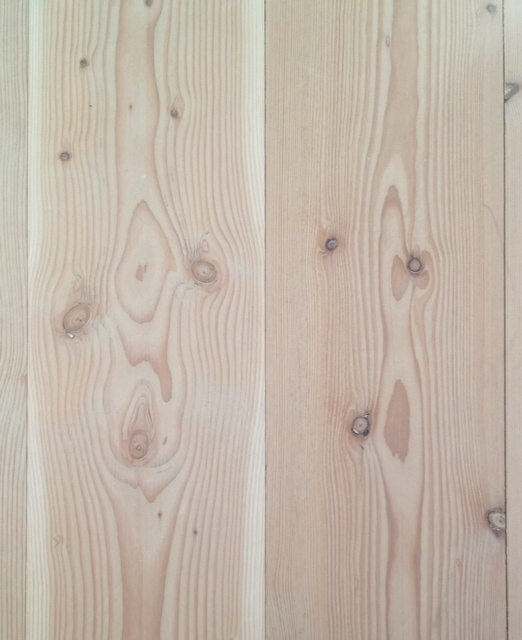
I love working on a small project, just for creativity’s sake.We took El Granto’s baby out for a spin. Woot!Testing out dark trim.Raising the grain on a small woodworking project.The days of windows open weather are limited. I will take very moment I can get.DUDE! I got to hold a Paralympic Bronze Medal!Choosing Paint colours for the exterior rear of the storefrontThis dog kills me. How can I leave him and go to work?This is what happens to chalk paint when you accidentally leave it in the garage all winter. Oops.Our backyard mural hasn’t faded much. We contemplated painting it in solid (but the chalk paint is kapoot)
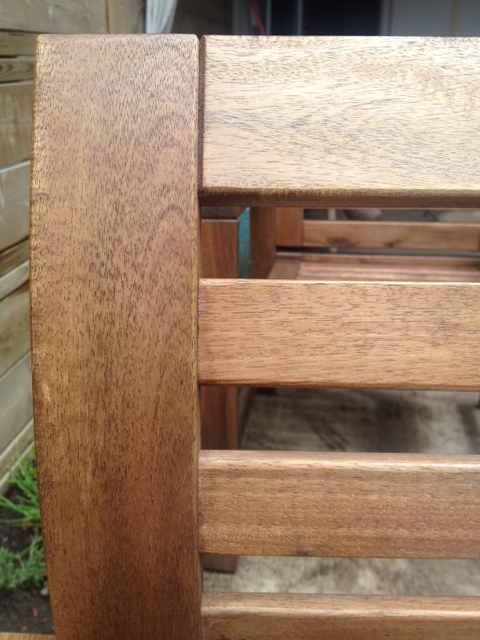
Remember how I talked about maintaining our acacia outdoor chairs last year? Well guess who forgot to bring them in the garage over winter (hint it was us) and they were looking pretty shabby.
This year we decided to try out a different type of wood oil, in hopes that it would bring back some luster.
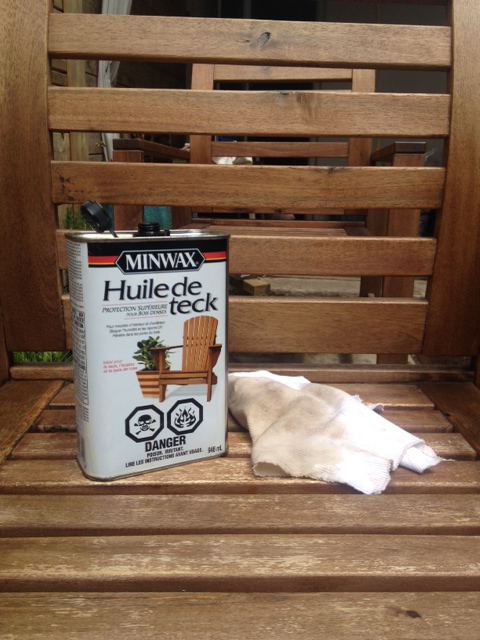
Mixwax Teak Oil (or “Huile de teck” when you wanna be fancy and say it in French/forget to turn the bottle around when taking pictures for your blog)
We gave the chairs a wash, and placed them out in the yard to dry, and get oiled.
Prepping the chairs for oiling
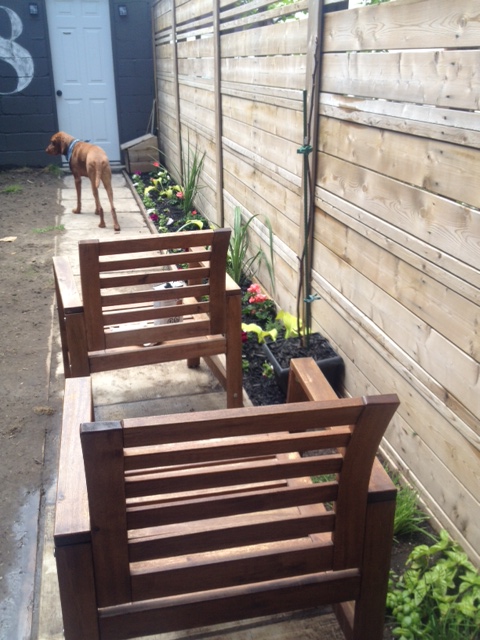
We used applied the Minwax Teak Oil with a foam brush, and after a few minutes work, our chairs were looking so much better! We plan on potentially giving them a little sand and a few more coats of oil because they guzzled it down. Poor thirsty chairs.
They look so much better!
We’ve got a lot more to do in the backyard, but at least the chairs are looking a bit better!
What do you use for your wood furniture maintenance? Have you used Minwax Teak Oil before?
This winter was harsh, not only was it hard on us humans, but it also took a pretty big toll on the Storefront. You saw a sneak peek of my dirty little secret yesterday, but today I have even more shame to share.
Last week, the awesome folks at Ryobi invited us to check out their power tools, and to hear the awesome Frank Ferragine (aka Frankie Flowers) talk about his new book, and how to spice up our gardens. Did you get it? My gardening pun? Yeah, I know, I’m hilarious.
Kristen & El Granto with Frankie Flowers
We got to try out some awesome tools (I’m in love with this 40v cordless mower, even though I currently have no [living] grass.) Frank also gave us some awesome tips on gardening.
Frank showing us his guns OR how light the mower is 😉
All of this was enough to inspire the heck out of me, and we spent the weekend trying to spruce up the backyard.
Here’s what we got accomplished:
The ivy got pruned by El Granto. Although I’m not sure I agree with his choice of tools, it is looking a heck of a lot better with all the dead branches trimmed.
I did not specify to El Granto what tools were appropriate for trimming ivy…
The dead shrubs came out and a too big rose bush headed to Grants Mum’s garden.
Several trips were made to the garden centers as well as the adorable corner store in my neighborhood.
Seriously, this is my corner store!The corner store even boxes up your plants for you.
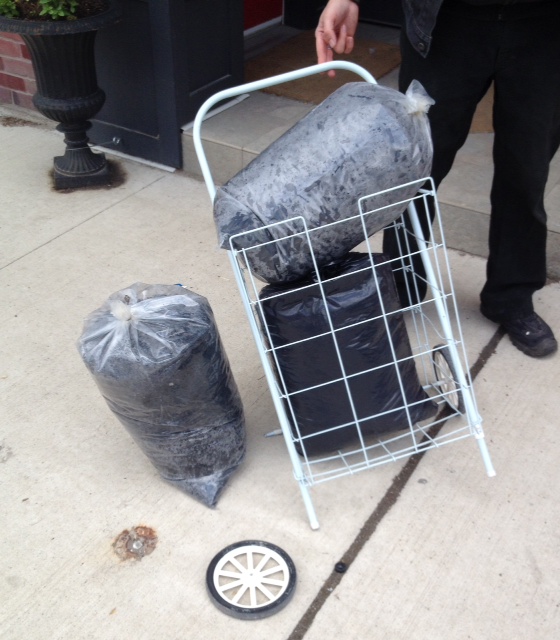
We also headed to the local garden center to pick up a bag of triple mix, and a couple bags of black mulch. We brought our old lady shopping card (cause dirt is heavy!) apparently it was too much even for our shopping cart, and one wheel gave out. OOPS!
Oops
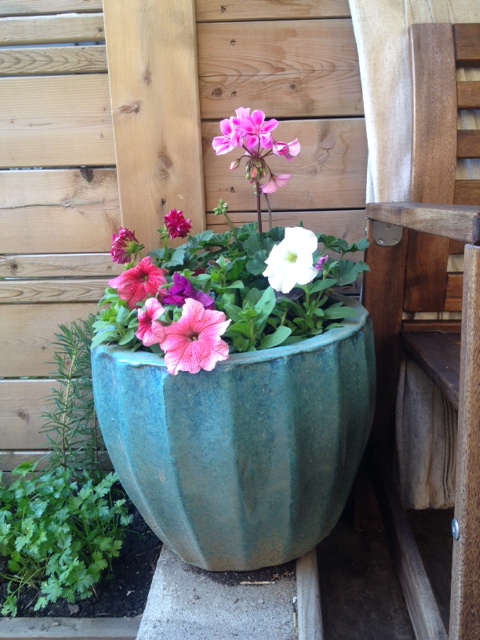
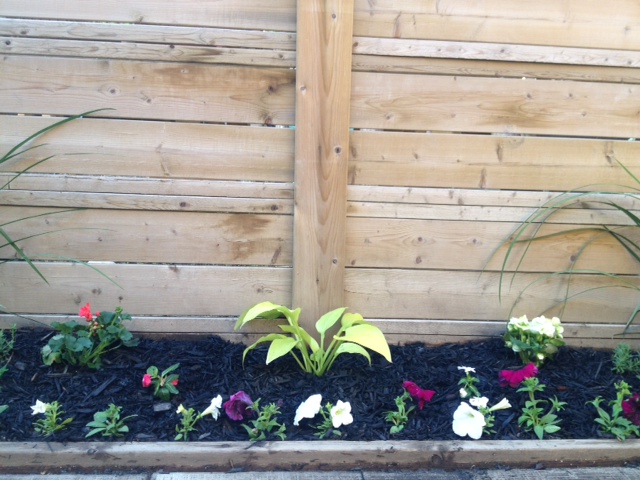
With the mulch and dirt back at home, the planters got filled, baskets were hung, and the flower garden was tilled and planted.
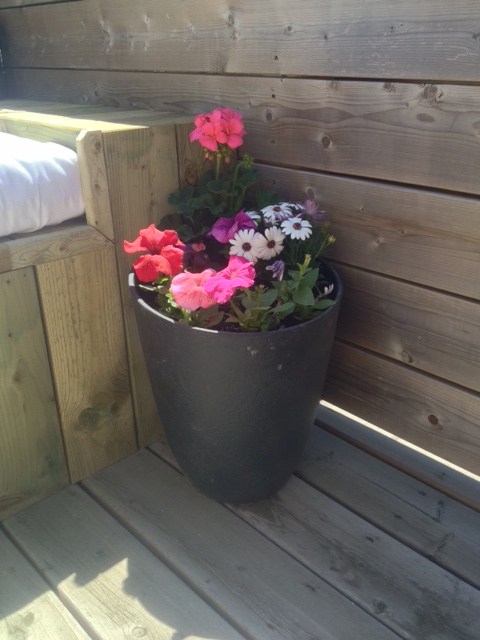
El Granto picked the hanging planter this year.I love how petunias add so much vibrant color.
We added a few perennial Hostas, some grasses, and annuals for color. The black mulch really makes the whole thing look more like a garden, and less like a dirt patch.
Everyone tells me I cant possibly kill a Hosta…we’ll see.
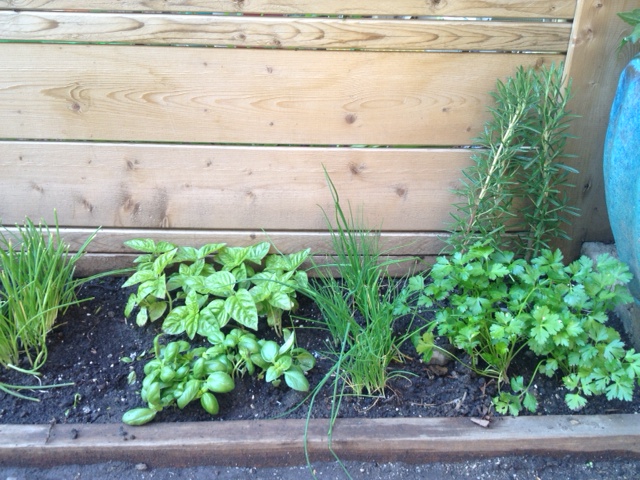
We added a small herb garden next to the deck. I love using fresh herbs in my cooking, and its lovely just to pop outside and cut some as needed.
This year we have rosemary, two types of basil, parsley, thyme, chives and green onions. I have about 2′ left of open garden to add other items as I see fit.
Green onions, basil, chives, parsley & rosemary (poor thyme didn’t even make it in the photo)
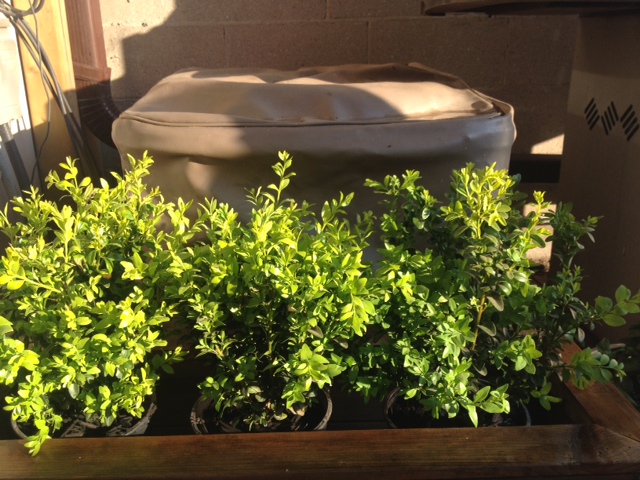
Our BBQ & surrounding area got a thorough cleaning, and new boxwoods were planted in the planter box beside the a/c unit. It’s been so cold this spring, that we haven’t even uncovered the air conditioner yet!
Boxwoods hiding the ugly A/C unit
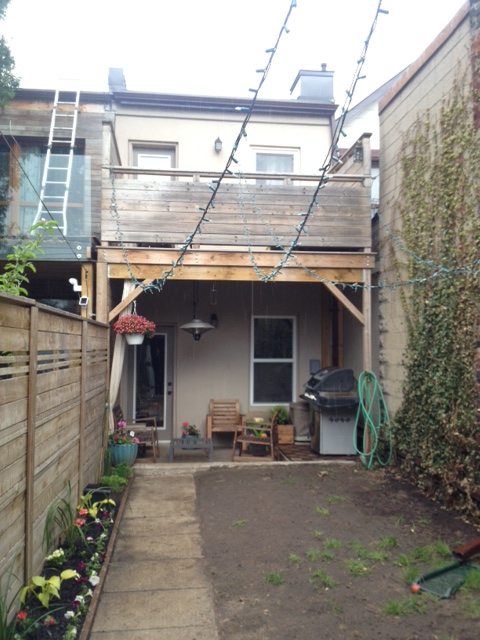
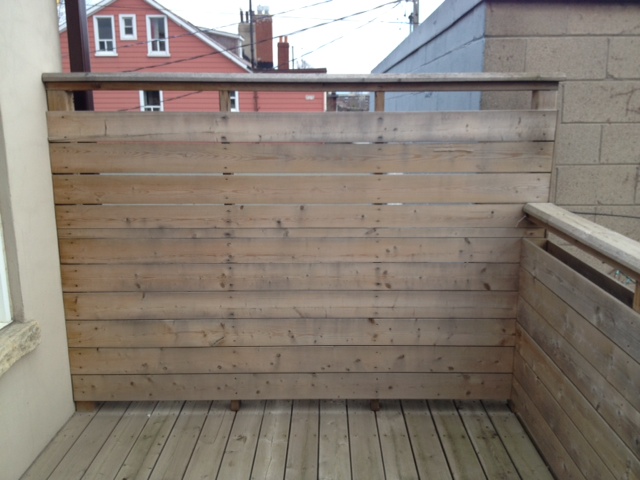
While we worked our butts off, there is still so much to do in the backyard. I will be back later in the week with a Backyard to-do & project list, but I will leave you with a sneak peek of my dirty little secret.
AKA the grass-less backyard.
Embarrassed to even post this photo
HELP! The yard needs so much work, from a lawn, to a new path, and a whole lot of paint & TLC.
I’ve had dogs in my life for as long as I can remember. Dogs big and small, from Dachshunds to German Shorthaired Pointers, and quite a few dogs of no discernible breed at all. All of those experiences with dogs were very similar.
Most home projects are practical. Fixing something that is broken. Improving something that will make your daily life better. Increasing property value etc.
Then there are projects that are none of the above.
They are the impractical high heels of the home world. Did you need them? No. Are you going to wear them to walk the dog, or get the groceries? Not a chance. But are they absolutely gorgeous, sexy as hell, and so very impractical that they were bought solely out of love? Absolutely.
Our outdoor daybed project is the 6″ hot pink stilettos of home improvement.
…and I LOVE IT.
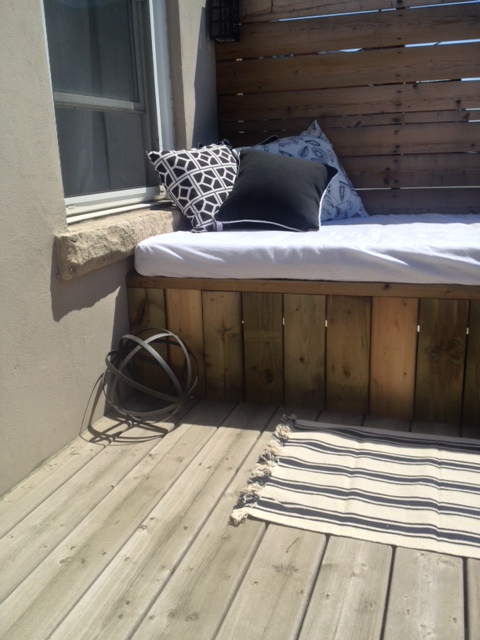
Before:
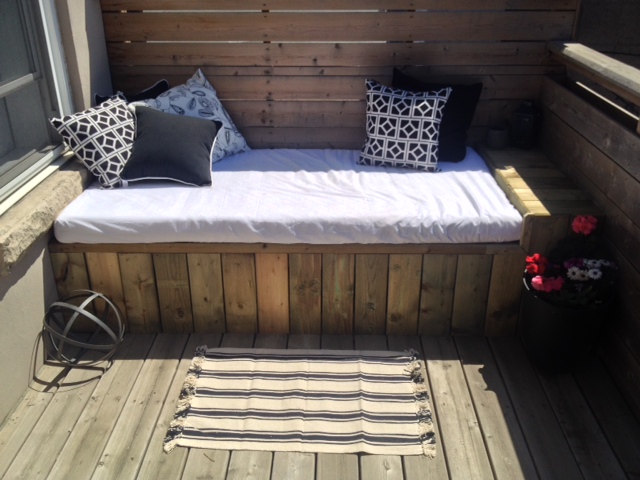
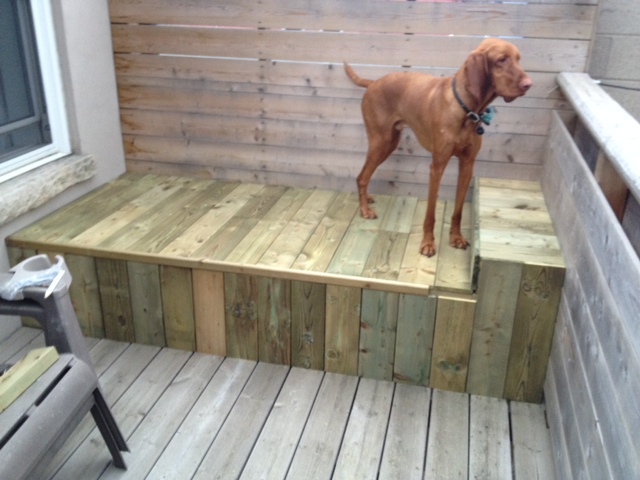
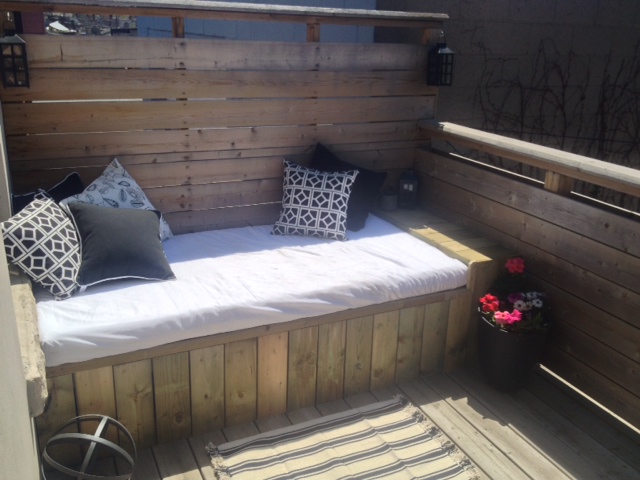
AFTER:
Here is how we did it:
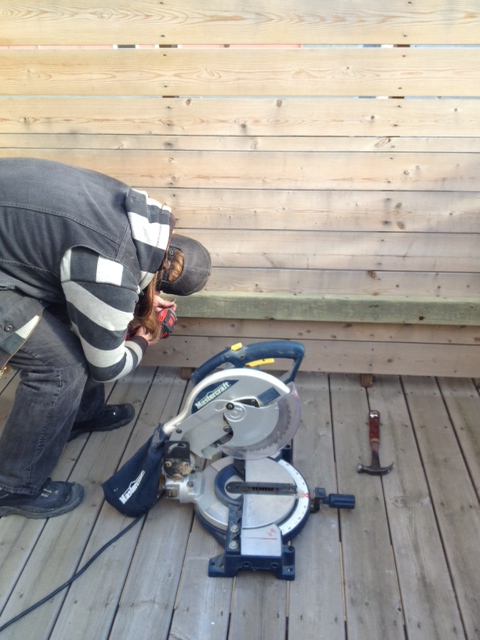
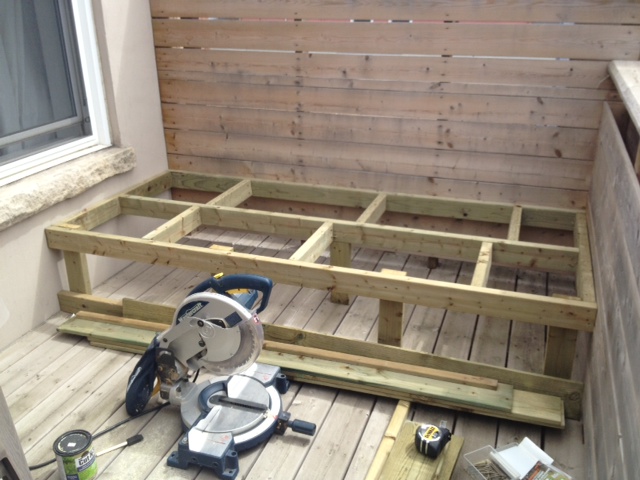
The structure for the daybed was built using pressure treated 2×4’s. The back of the daybed was securely attached to the deck support posts, and the rest of the frame built as a box around it. (similar to how you would build a deck)
It was all assembled with deck screws. It was built to fit a twin size mattress, with a bit of room to spare at one end for a small built-in table.
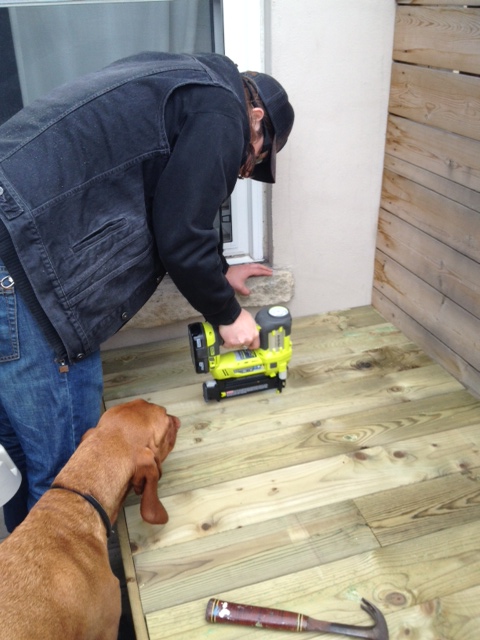
After the frame was built, it was clad with 1×6 fence board. We broke out our new Ryobi cordless brad nailer, and it made quick work of the job.
Even Odin likes new tools
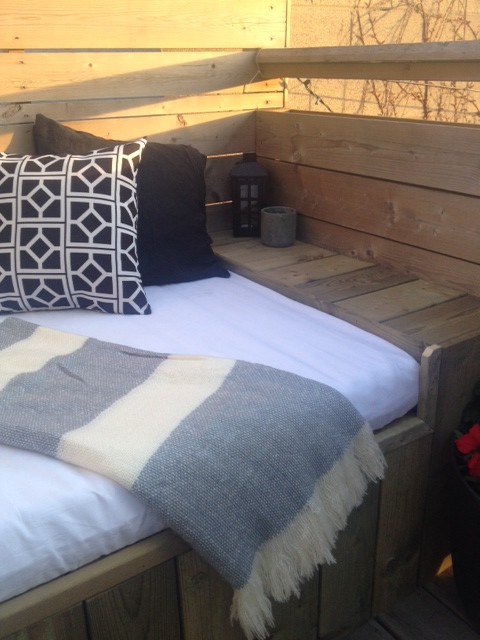
We trimmed the edge where the skirt met the seat of the daybed with a 1×2. This way you would not see any unfinished boards and the edge of the daybed would not be rough against your legs. (Here you an see the trim in progress & Odin helping of course.)
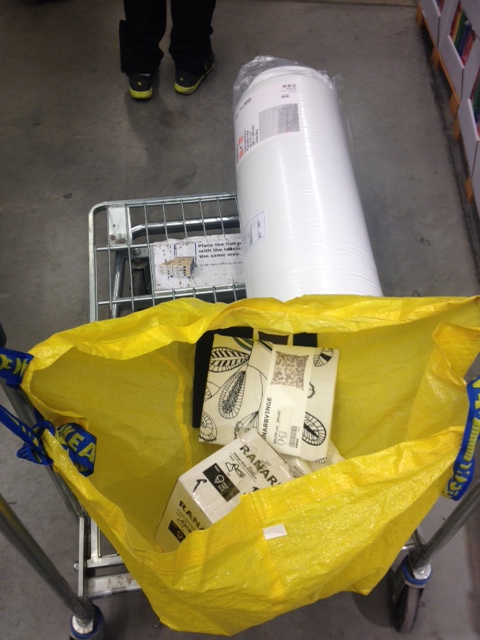
I had lots of trouble finding an economical cushion. So in the end, I headed to Ikea and picked up a twin size 4″ thick foam mattress.
I would love to have a custom cover made for it, but until then an inexpensive twin size fitted sheet works perfectly.
All the linens come in each night, and in the winter, the Ikea mattress can be rolled up for easy storage.
It is incredibly comfortable. Great for lounging or having a nap. It’s my new favorite spot for reading my book with a cold beverage in hand. We are going to get a lot of use out of the daybed this summer!
Do you have an outdoor daybed? Would you try your hand at building one?
SOURCE LIST:
Materialst:
8 – 2×4 8′ pressure treated c/o Home Depot Canada
14 – 1×6 6′ pressure treated fence boards c/o Home Depot Canada
1 – 2×2 8′ pressure treated (cut in half to make a 1×2 as a trim piece) c/o Home Depot Canada
Deck screws
Galvanized brad nails (1 1/2″)Twin size foam mattress
Twin size fitted sheet
Decorative pillows
[Plant Pot – Home Depot, Candle holders – Dollarama, Concrete Candle – Loblaws, Mattress – Ikea, Sheet – HomeSense, Pillows – Ikea & HomeSense, Blanket – West Elm]
I’m currently balancing two projects. Finishing the basement when the weather is terrible, and working outside on the daybed when the sun is shining. Oh and shopping when it’s just too miserable to do either.
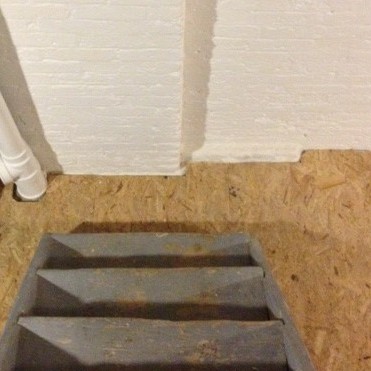
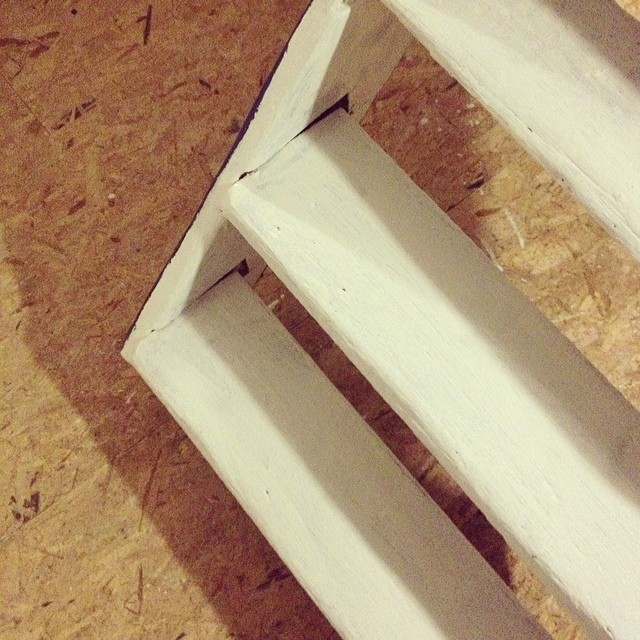
I made a stab at painting the stairs to the basement a few weeks ago.
The staircase is slightly sketchy looking, held together by magic, physics and luck. The stairs were made with what appears to be the left over rough sawn douglas fir floor joists. They were old, dirty, full of charcter and needed a little tlc.
They would never be pristine, but hey, they could be a bit better. I scrubbed them down, gave them a sand, pulled out the errant nails on the stair treads (who puts nails on stair treads?!), and gave the whole staircase 2 coats of BIN primer.
As I put the primer on the last step I realized I had painted myself DOWN the stairs, and had effectively trapped myself in the basement until the primer dried. Have I mentioned lately how awesome I am?
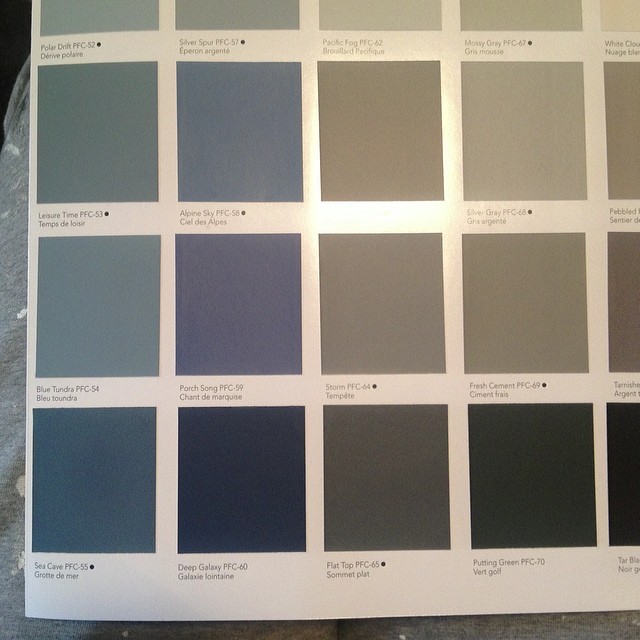
After I watched the paint dry (about as fun as it sounds), it was paint time. I picked up the color chart for Behr flooring paint, and said to myself: “Self, I know you want to pick grey, but maybe you should step outside of your comfort zone and pick something a little different”.
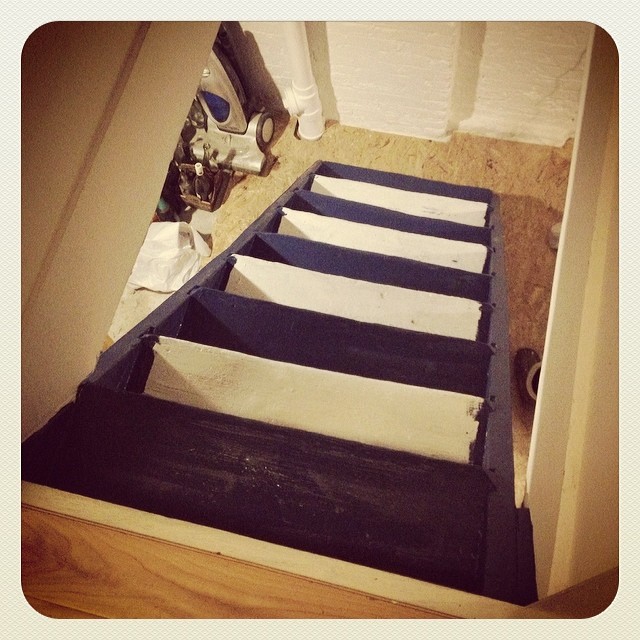
I jumped out of that comfort zone and went with the nice rich navy blue of Deep Galaxy.
With paint in hand, I started to paint the stairs, this time painting every other step so that I could escape and not have to live in the basement indefinitely.
What do you think of my color choice?
Cause I HATE it.
I looked at it for weeks contemplating finishing the blue paint job and seeing if it magically grew on me.
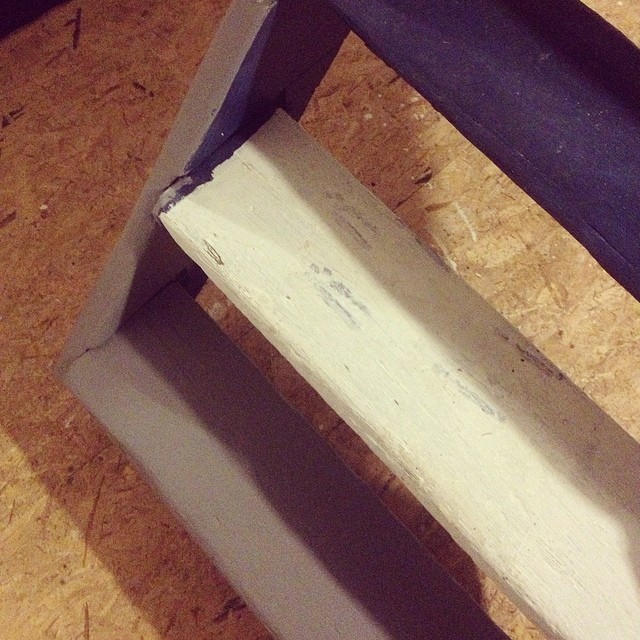
Weeks later…It still sucks. It’s too dark, it makes the steps hard to see, and the color matches nothing in the rest of my plan for the basement.
I bit the bullet, headed back to Home Depot, and picked a new color.
Any guesses?
Yep…grey.
My old friend. My standby. My tried and true companion. My Amy Pond*.
Now. Anyone want to come over and paint my stairs? Cause painting stairs kinda sucks.
* That’s a Dr. Who reference for any non-nerdy (aka non-awesome) people out there.