
Easter in our house means an excuse to spend time with family, eat way too much yummy food and chocolate, and dress the dog up in stupid bunny ears. Continue reading “Happy Easter!”
Month: March 2013
Big Box vs. The Little Guy
It’s time to buy some lumber for the printmakers media cabinet we’re building. As you know, I am a cheap ass frugal girl, so I went price hunting to find the best deal on lumber. I got quotes from our local lumber yard as well as the big box stores. Continue reading “Big Box vs. The Little Guy”
Printmakers Cabinet – Frame Supplies
It’s starting to get warmer out again. Do you know what that means? It’s finally warm enough to stand out in our unheated garage for more than 30 seconds, and be able to operate saws and equipment without mittens. Yep kids, that means it’s project time.
I have had my eye on a new media cabinet for the living room for a good long time. There’s nothing wrong with out current cabinet per see, it has just seen better days, and its not really our style. The little cabinet was a big box purchase of El Granto’s from his college days. It has done us well, but its not really big enough for all our electronics, and its center shelf is sagging a bit from the weight of our receiver.
So a new cabinet it is! As we love Restoration Hardware, I fell fast and hard for this fellow; the Restoration Hardware Printmakers Media Cabinet.
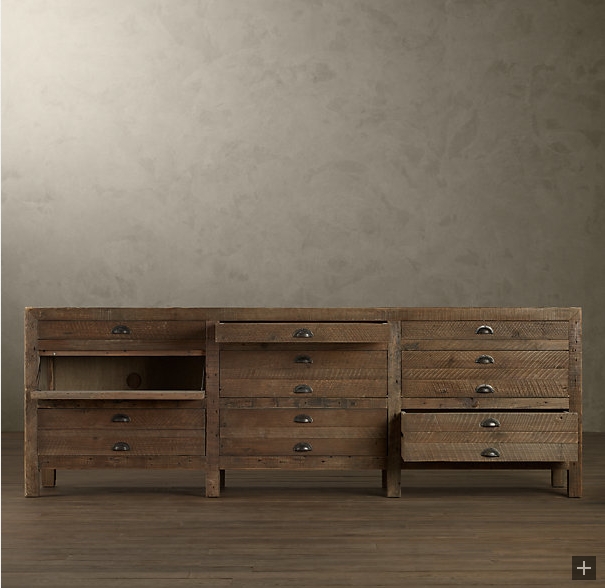
The cabinet has three shallow drawers for remotes, magazines and the like. Three fold down doors to hide your electronics, and three deep drawers for dvd and other assorted storage. There are two sizes available. We liked the 55″ wide one, as it would hold our 46″ tv and not be too big for our small space. The only problem is that the cabinet has a price tag of almost $1000. Not really in our budget, especially when we want to add a new sofa to the living room sometime in the next decade.
So we did decided to take things into our own hands, and looked into building a similar cabinet. I checked my go to spot for furniture plans; The Design Confidential, and low and behold they had plans for a similar cabinet. Awesomesauce.
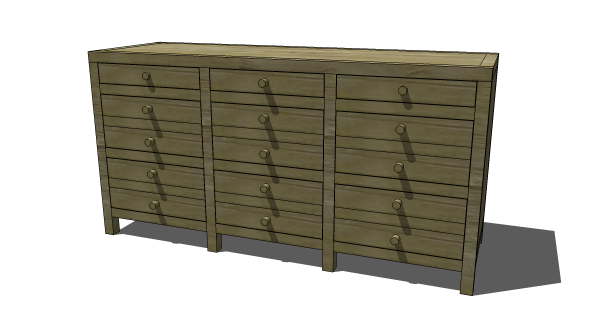
We printed out the plans, looked at the vast lumber and cut lists, cried a little, and then decided to nut up and take on this project. I had helped my dad make drawer boxes in the past (and by helped, I mean watched) and the rest of the cabinet was held together by pocket screws, so I felt confident that we could bumble our way through it.
The first hurtle was deciding on wood. I loved the antique pine finish of the RH cabinet, so I decided pine was the way to go.
Last weekend we walked the dog and our Ikea cart to my favorite place on earth; our local lumber yard Downtown Lumber. I love this place. I have yet to find a wood product they don’t have, and they’re happy to rip things down for me on request, which is awesome since we don’t own a table saw. I called ahead and confirmed that they could cut me 2×2 pine boards that we needed for the first step of the project; the frame.
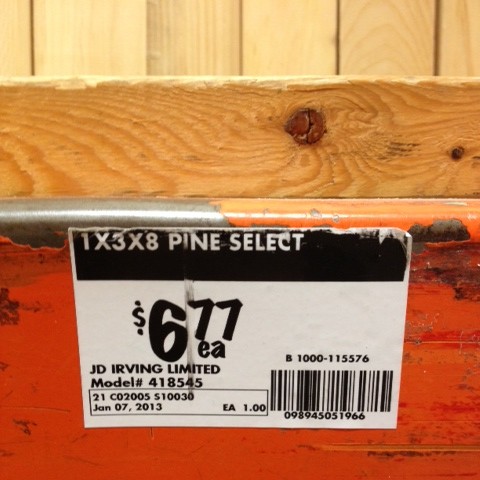
When we got to the lumber yard, paid for our order and went to the back to pick it up. We watched the yard worker pull beautiful solid straight as an arrow kiln dried pine 2×10’s down from the shelf, and rip them into our 2×2’s. Yep that’s right, they used 2×10’s to cut our 2×2’s. Now if you’re unfamiliar with wood, 2×2’s are like the lowest wood on the totem pole, and quality is usually crap. The 2×2’s are cut from the smallest pieces of wood, often young wood, and they are usually found twisted and turned like a corkscrew. That’s why a framing grade 2x2x8 will only cost you about $2 at the big box store. To have 2×2’s cut from 2×10’s is like making hamburgers with prime rib. Expensive, but amazing.
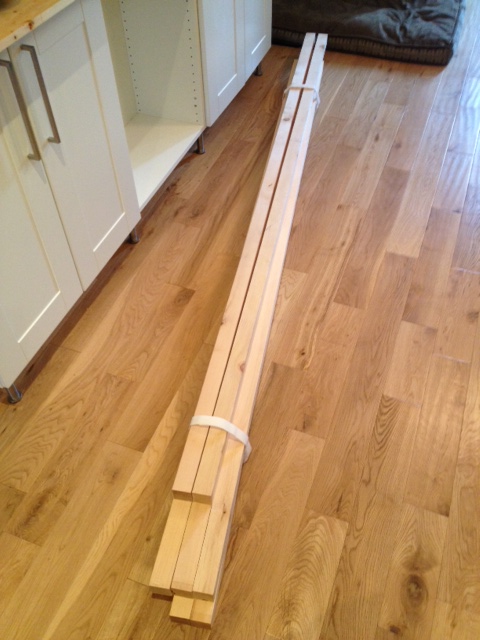
We watched in awe as they ripped down our lumber order and smiled like bank robbers as we carted it all home. (Yep, I say “carted” as we literally dragged it the 3.5km home on a cart. Hobo style.)

After we got the wood home, we set to making our cuts. I soon noticed that our 2×2’s looked a bit bigger than I was expecting. The big box stores 2×2’s usually measure in at 1 1/2″ x 1 1/2″ . Our fancy schmancy lumber yard boards were 1 3/4″ x 1 3/4″.
That was great news for us (who doesn’t like bigger wood, eh eh?) however it threw the plans a monkey wrench. After some quick math we opted to lengthen the frame by an 1″ to compensate (as to not skew the drawer sizes). However we didn’t want to futz with the height, as it was already quite high, and we didn’t want the TV to be any taller, and harder to see.
El Granto measured the cuts, I cut them on our new miter saw; Martha. (It’s named Martha because the saw is a Mastercraft brand, and Martha Stewart is the master crafter…see it makes perfect sense, right?)

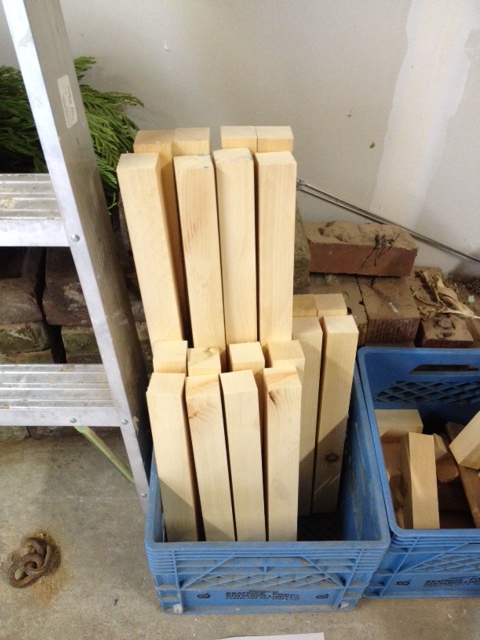
DIY TIP! We keep all the cuts for one project in a milk crate. This keeps your offcuts from mixing with your good pieces, and ensures you don’t forget anything.
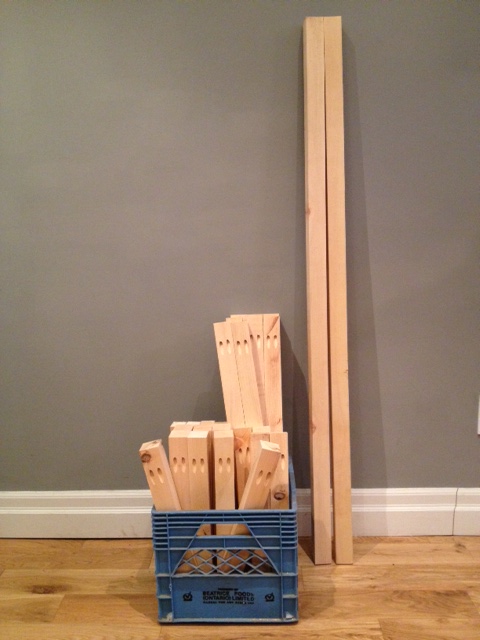
Then El Granto started drilling the pocket holes for assembling the frame. OMG there are a bucketload of pocketholes. We cut all the frame & supports, and drilled all our pocket holes. I counted them up and El Granto made a total of 104 pocket holes. This isn’t even counting the holes we’ll need for attaching the shelves, sides, back and top. Holy hell batman.
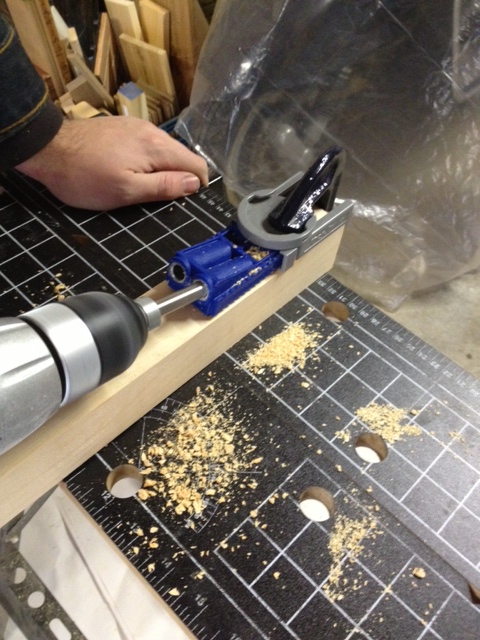
Here’s a video of El Granto drilling some pocket holes. He attaches the Kreg Jig with a regular clamp directly to his small work table. This makes the whole thing steady, and keeps the clamp from digging into the wood. Yep, that’s Green Day playing in the background. El Granto has his garage stereo hooked up to his phone so he can blast inspiration woodworking music, like punk rock or heavy metal.
We brought the wood in, and let it warm back up, and I laid out how the front of the frame is to be assembled.
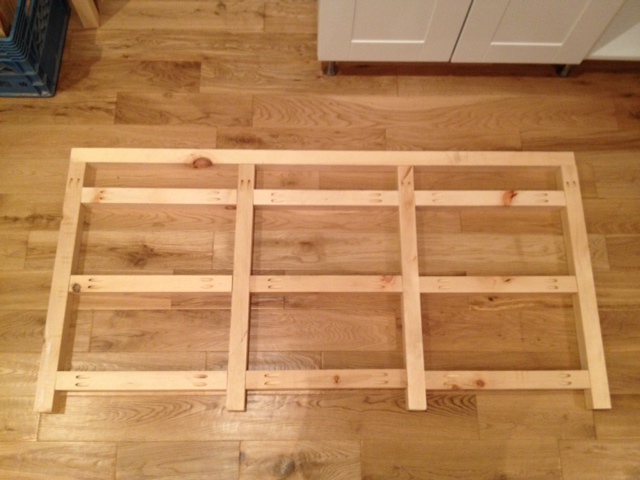
That was enough work for one day! The frame assembly will have to wait for next weekend.
What did you get up to last weekend? Any big woodworking projects you’re taking on this spring?
Bedroom Textiles Shopping
Our dog Odin is getting to the age where he’s starting to grow up, behave better, and thus is gaining our trust. We used to have to follow him room to room to ensure he wasn’t stealing things out of trash cans or laundry hampers. Now that he’s getting a bit more responsible, we’ve let him roam the house alone without worrying that the whole house isn’t puppy proofed. This was all going well until…

Last Saturday night I heard a ripping noise. I swiftly went to investigate and found this:
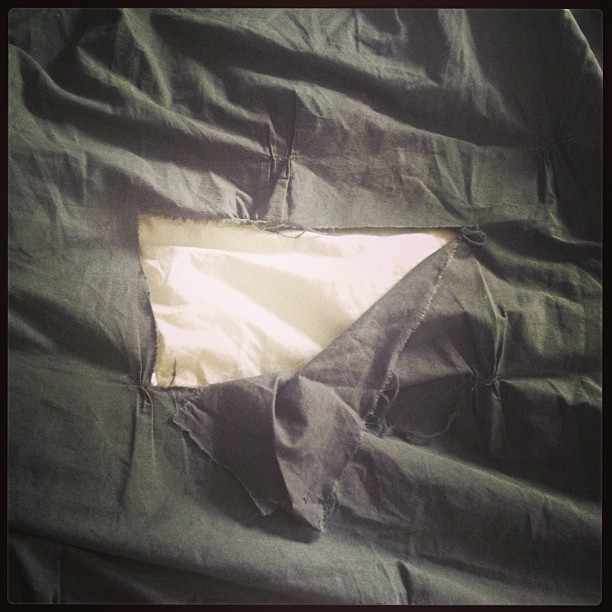
Odin had tried to “dig” in our bed. He often will paw at his dog bed to make it somehow more comfortable, apparently he tried to do the same thing to our bed, and ripped our duvet cover.
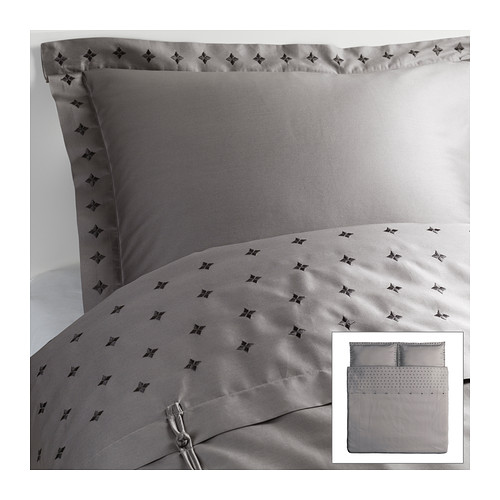
We’re not talking a little tear, this is a rip about a foot wide, by 6″ in a perfect little rectangle. In the MIDDLE of my beloved West Elm Organic Pintuck Duvet cover. I say beloved as I hemmed and hawed for months before settling on the West Elm Pintuck in slate. I wanted something that would hide wrinkles (I wrestle with the covers, and you can often find me holding half the duvet in a death grip when morning arrives.) As I hate the look of a wrinkled on one corner duvet, the Pintuck was the perfect arrangement. It was also the first time I spent more that $50 on a duvet cover, having limited ourselves to Ikea cheapies for all of our college & rental days. It was my first “big kid” bed, and my first foray at sheets that had a thread count higher than 50, and a duvet cover that wouldn’t fall apart in the wash.
So now I’m back to square one. Do I put out the $150 and just replace my West Elm duvet cover? Or do I go for something new?
It needs to be:
- Wrinkle resistant
- Sturdy (able to stand up to our active pooch)
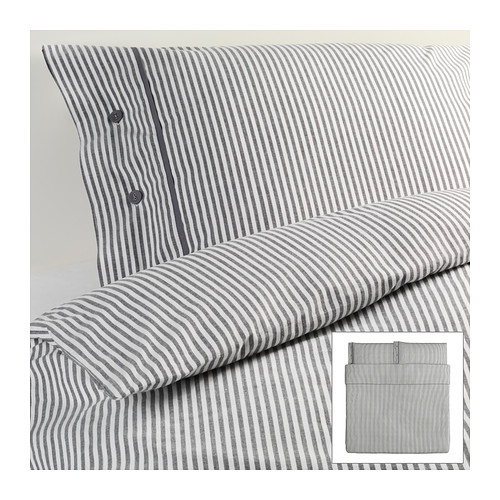
- Wont show every dog hair
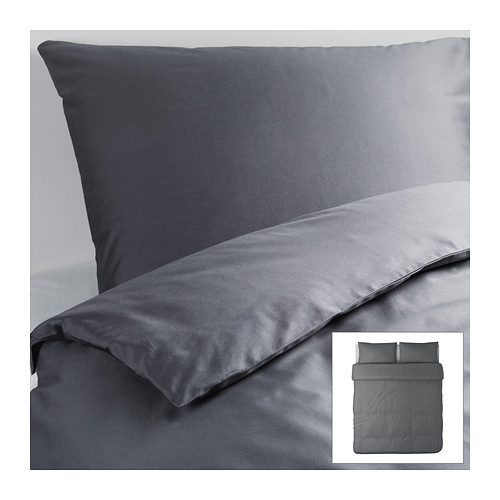
- Not white (I am terrible with keeping white duvet covers looking perfect after the first few washes.)
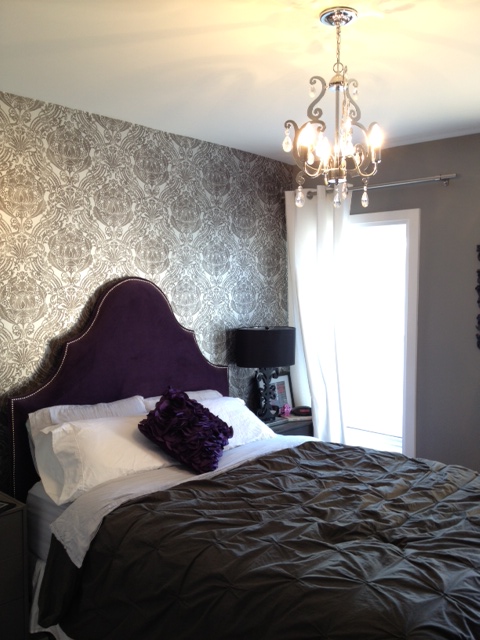
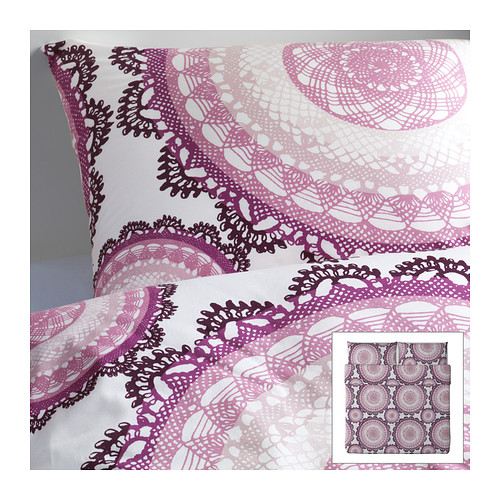
- Not too girly (this room is half El Granto’s and I already filled it with a purple headboard and damask wallpaper…)
- Machine washable (really, people actually dry clean their duvet covers? Anthropologie seems to think s0.)
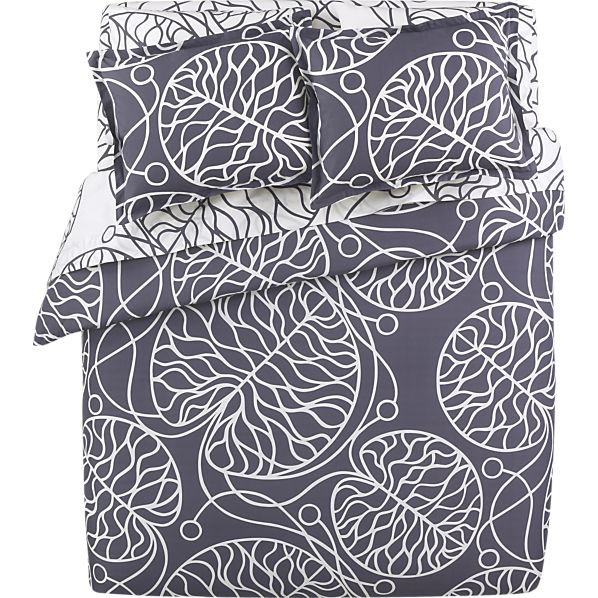
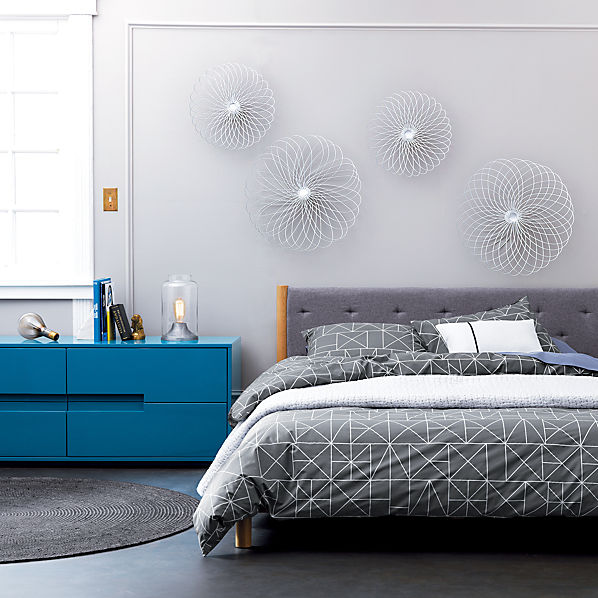
Here are some of my finds (although I don’t love any of them)


Any other suggestions? Or should I just replace it with another pintuck?
Glass half full: At least he didn’t eat my Louboutins…
Vacation Planning

This July El Granto has the great honor of being best man in the wedding of some very close friends. The wedding also happens to be in Las Vegas. Cool right? (well actually HOT, it will be July in Vegas!) We have just started planning our trip, and I thought I’d share some of my tips and tricks for trip planning. I don’t know if you’ve noticed, but I’m a bit anal retentive… I know, shocking. I am also well, frugal. I am not cheap. I like good things, I just don’t like paying more than I have to. This is especially so when it comes to travel. Continue reading “Vacation Planning”
Installing Ikea Kitchen Hardware
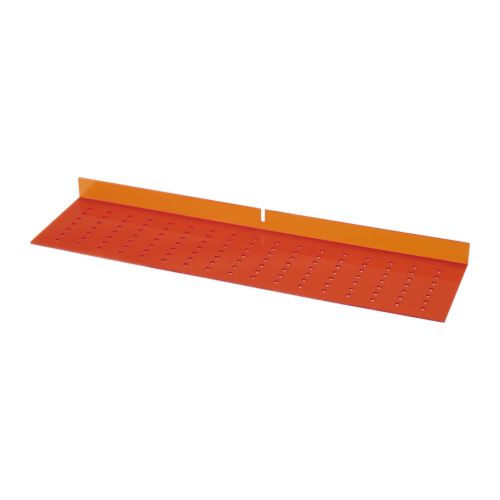
We needed to add hardware to the coffee bar that matches the rest of the kitchen. We found the hardware easily enough. The previous owners bought everything for the kitchen at Ikea, so its been super easy to add new cabinets etc. When we picked up the new hardware, we also purchased the Ikea Fixa Drill template. The template is supposed to make the placement and hole drilling of your cabinet hardware super simple. (I am all for making tasks simpler!) For the $3 price tag, we decided to give it a try.
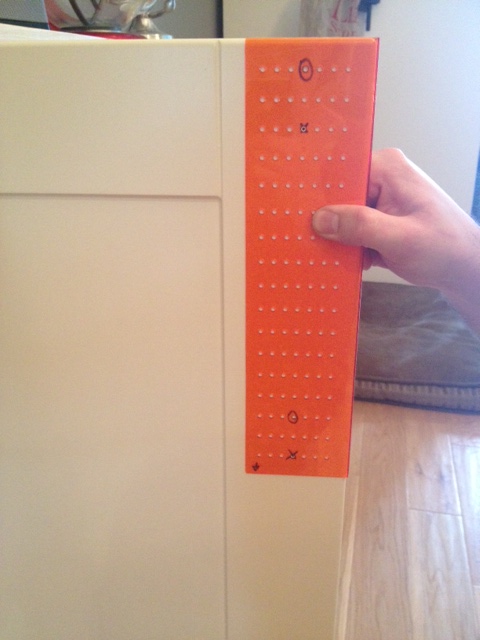
We brought it home and checked the template against the current hardware in our kitchen to find that the old owners used the same template. Score! We marked on the template where the current hardware is hung, then transferred the template over to our new cabinets.
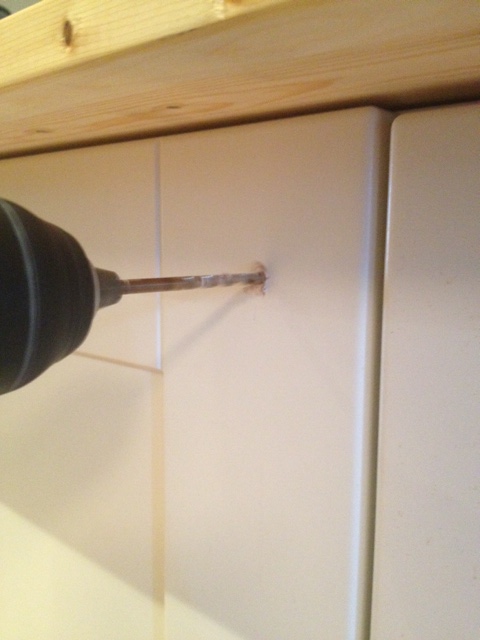
Using a small sharpie, El Granto marked the holes.

Then drilled them with a bit just slightly larger than the screws.
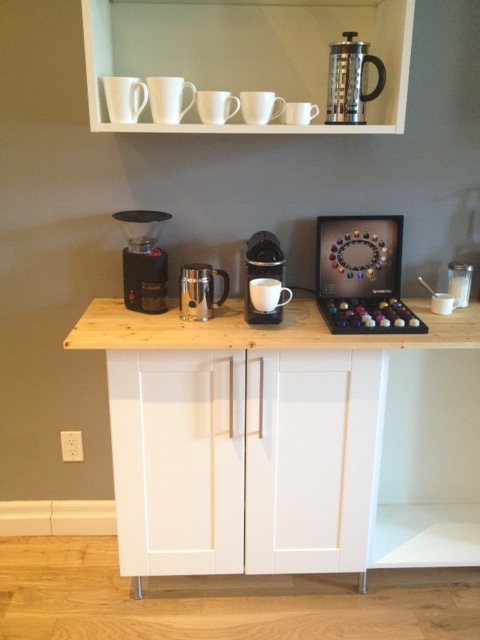
After El Granto drilled all the holes, he attached the handles in record time. For $3 Fixa Drill Template was well worth it, and we will definitely be using it next time we need to install hardware!
For more Ikea Kitchen tips, check out our posts on filling shelf holes, and how we installed our upper cabinets.
Ikea Hack – Vittsjo Laptop Table
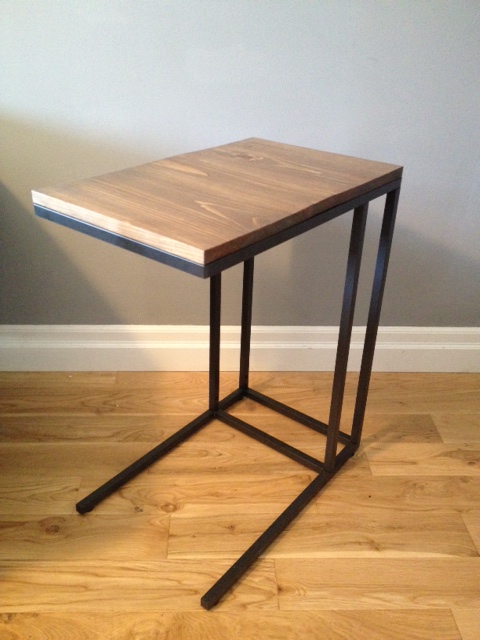
I was wandering through Ikea the other day, when I ended up in the office section. I didn’t need anything for the office (much less furniture!) but I browsed none the less. Out of nowhere, I spied this little table. Continue reading “Ikea Hack – Vittsjo Laptop Table”
In the Hood – Playa Cabana Cantina

Playa Cabana Cantina opened in the Junction earlier this year, and it is raking in the great reviews and has rocketed to become the #5 restaurant on Toronto Life’s The Dish this week. Continue reading “In the Hood – Playa Cabana Cantina”
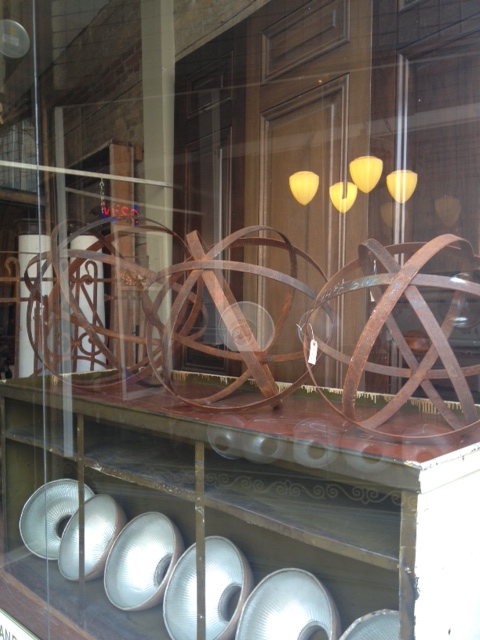
Window Shopping – Post & Beam Reclamation
I love nothing more than strolling around our neighborhood with El Granto & Odin. Coffee in hand, walking wherever our feet will take us. We like to stroll and visit new areas, window shop, and often come home with some new purchases.
One of my favorite places to window shop is the Junction. There are some great shops, and two of my absolute fave shops; Smash and Post & Beam Reclamation.
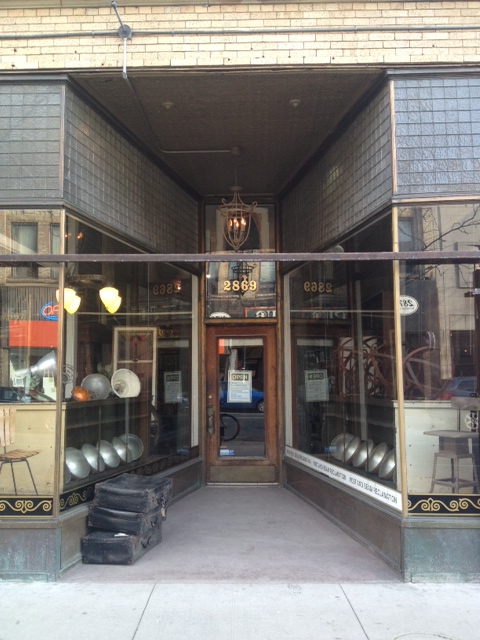
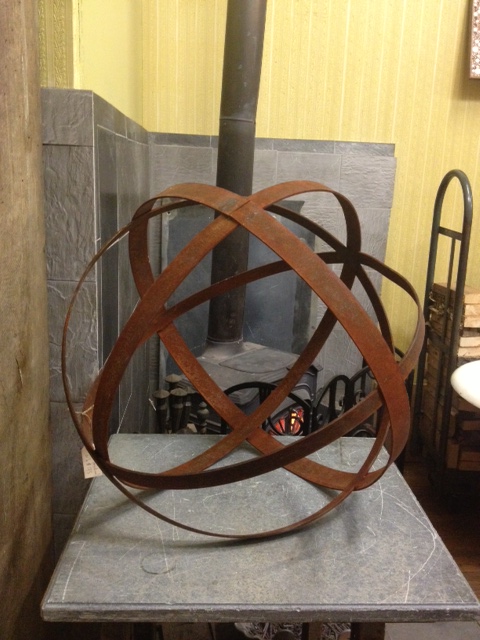
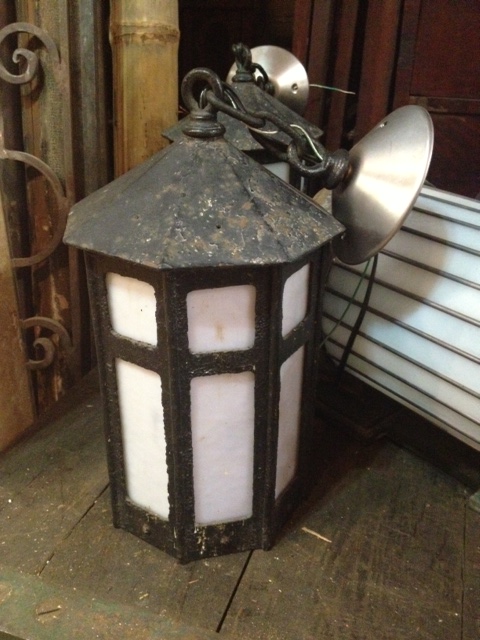
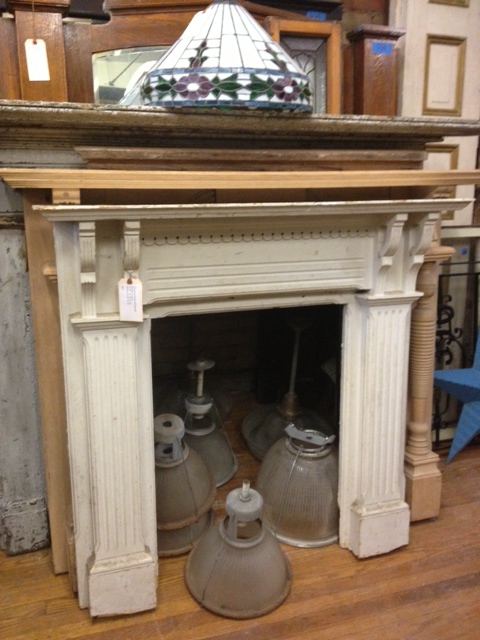
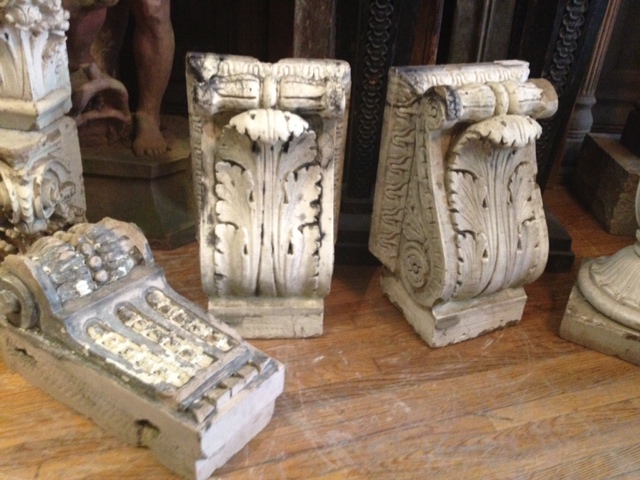
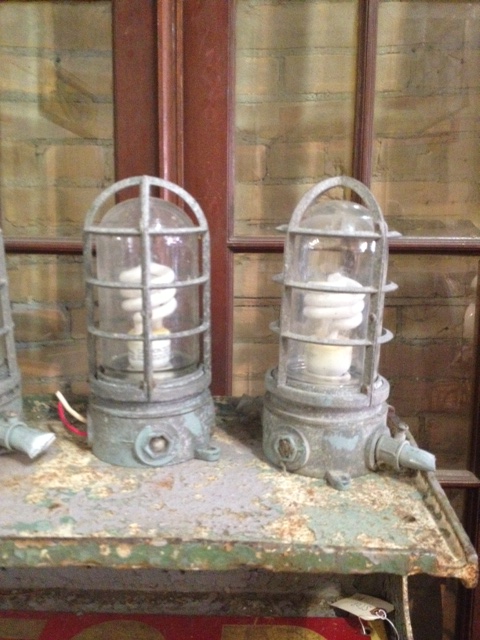
This past weekend I was wandering through Post & Beam and thought I’d share some of the awesome things I spied there. I would have loved to have brought home every last one of these pieces, but alas our budget is being directed at the coffee bar & backyard this spring.
So here are some of my picks.


Did you fall in love with any of these finds? Whats your favorite place to window shop?
DIY Tips – Fill Them Holes
***UPDATE! THESE DO NOT WORK WITH BILLY BOOKCASES***
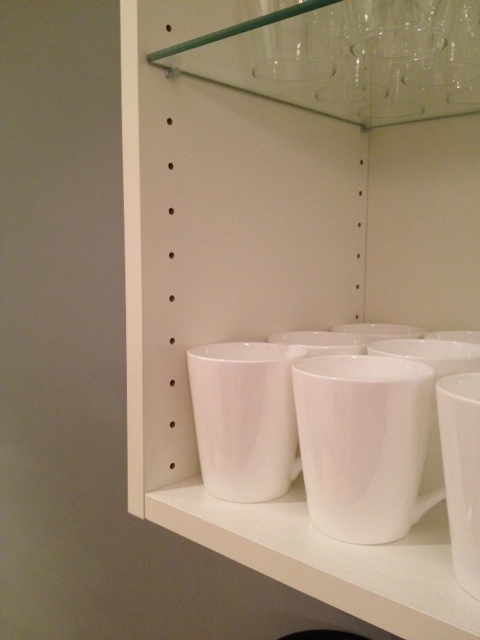
So you know how Ikea (or any prefab) cabinets & bookcases have all those shelf holes for allowing you to move your shelves around willy nilly? They’re super useful, but they leave unsightly dark holes that clearly give your shelving unit away as not being custom built. I happen to hate these holes. So much so, that I painstakingly filled them all with paintable caulking in my Custom Ikea Billy Built-In Bookcase project. This took me 6 hours to do, but well worth it. At the time I thought there could be no easier way…
This past weekend, the clouds opened, angels sang, and I found the answer to all your shelf hole problems.
While waiting in the Ikea Kitchen infodesk line last Saturday night, I spied a basket full of strange little objects. I picked one package up and regarded it curiously, then a light bulb went off in my head!
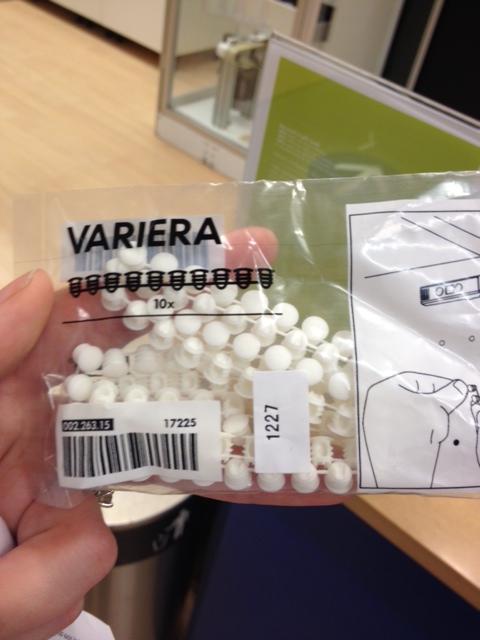
Yes, brilliant brillant Ikea has made SHELF HOLE FILLERS! They’re little plastic pieces that you pop into your unused shelf holes. AWESOMESAUCE! These little guys come in packages of 100 for a whopping $1, and in either black or white.
I swiftly grabbed 4 packages, and then insisted on telling the helpfull (but probably slightly scared) Ikea sales rep about how amazing this invention was.
As soon as I got home I set to filling all the holes in my upper cabinets in the coffee bar & the rest of the glass door fronted cabinets in my kitchen.
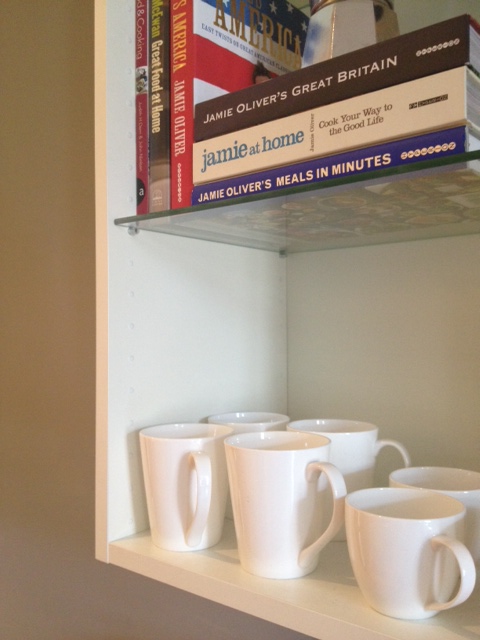
YOUR MIND IS BLOWN, RIGHT?! (or am I the only person in the world who gets this excited about filled shelf holes…)
Total Cost: $3 ($1 per cabinet) my fingers did get a bit sore after pushing in 300 of these puppies, but a small price to pay for sexy looking cabinets.
Go pick some of these up at your local Ikea, then send me tearful letters about how they changed your life.
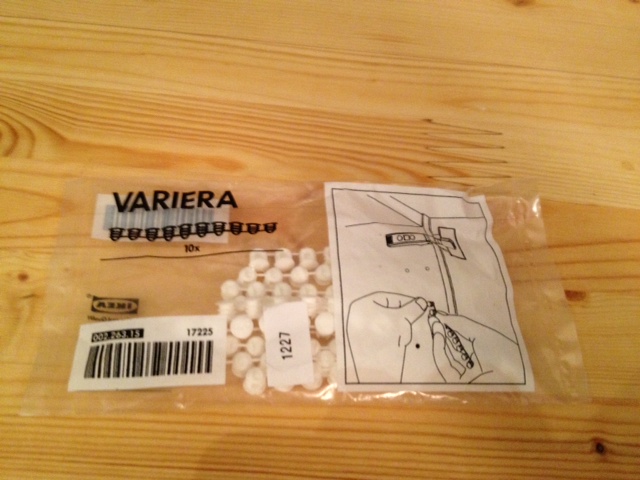
*UPDATE!* Variera Cover Cap’s are now available online at Ikea.ca