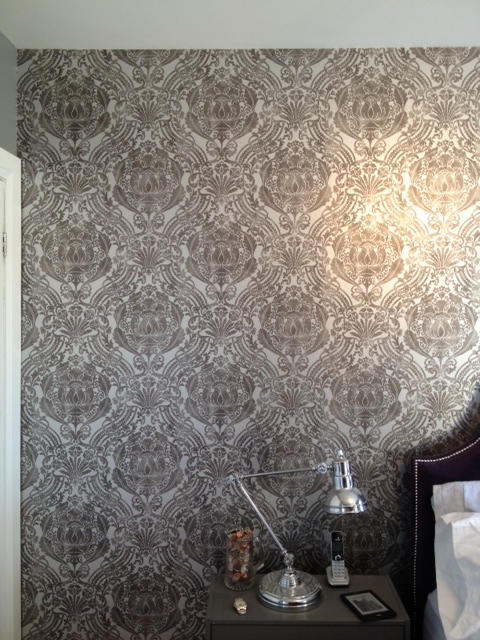
I love wallpaper (let me clarify: I love GOOD wallpaper). I am not a fan of fruit borders in kitchens, faded laura ashley florals or anything with a sports motif. Good wallpaper can make quite an impact, even without being a bold colour. Continue reading “Wallpaper”
Month: January 2013
Staircase Lighting
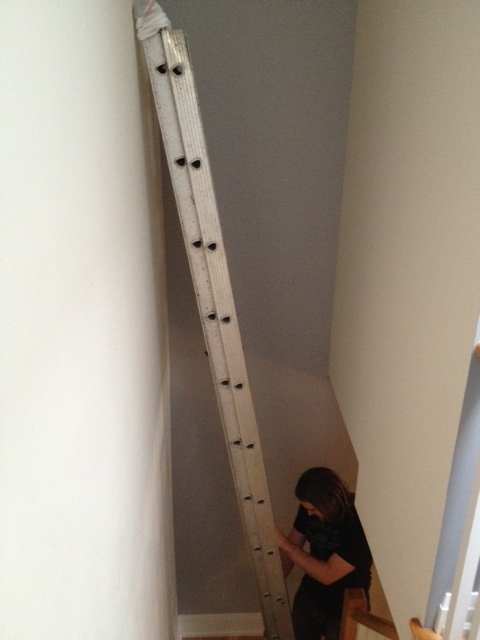
I have been on a quest to eliminate all the boob & spaceship lights in the storefront. There are only two remaining; in our guestroom and at the top of our staircase. The light in the staircase actually burned out a few months ago, and we have not yet replaced it. The ceiling is 25 feet tall in the staircase, and we didn’t have a ladder tall enough to reach it.
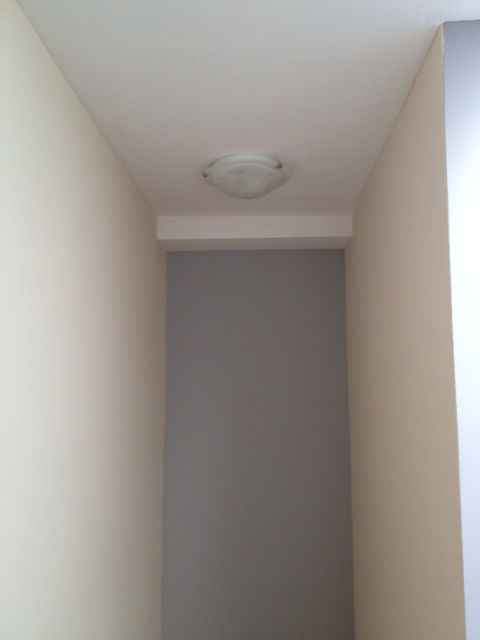
We decided we’d replace the light fixture & bulb at the same time and borrow or rent a ladder to get it done. Problem is, we just haven’t found the right light. We wanted something that looked nice from the top of the stairs, wasn’t too overpowering. We wanted something light but pretty, and that hung down a few feet. We also needed a fixture that wouldn’t break the bank.
While browsing through HomeSense the other day, I spotted this light in the center isle.
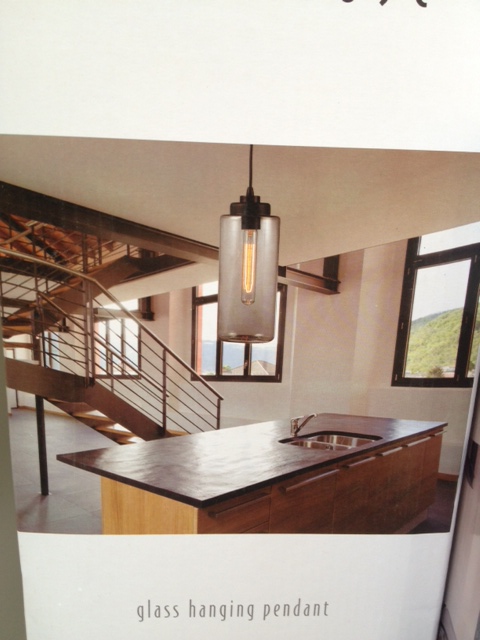
It’s almost exactly the same as a West Elm Glass Jar Pendant but for half the price. I scooped up the light and headed for the checkout.
Now we had to deal with the issue of not having a ladder. Thankfully our awesome neighbors were home and let us borrow their ladder. Phew!
We delicately maneuvered the ladder up and over our staircase (this is the biggest obstacle in getting things up our stairs) and put socks on the end of the ladder so it wouldn’t bash up the walls.
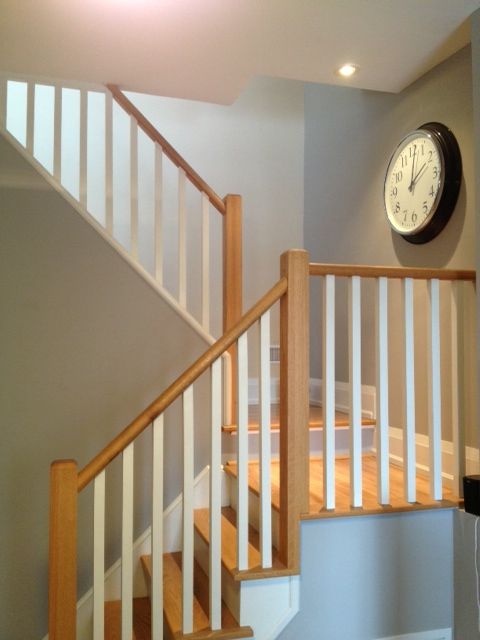
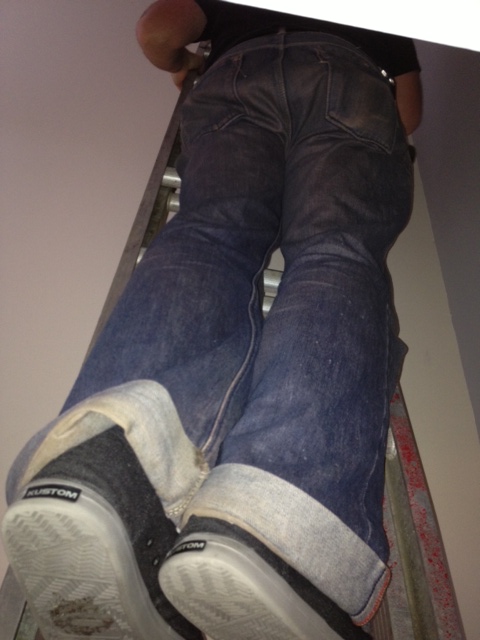
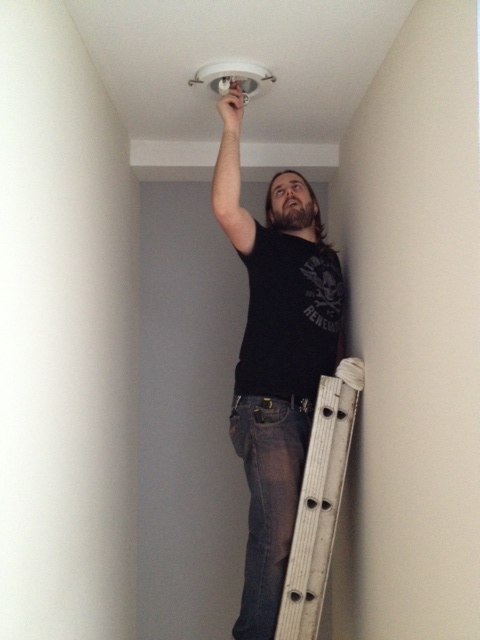
Once El Granto precariously climbed up the ladder, he realized that it wouldn’t work. The way the ladder was positioned he couldn’t reach the light. S%#t! So down he came, and we tried to move the ladder around to a better position. Thankfully we leaned it against the other wall and it worked. El Granto climbed back up and set to taking down the old light.
I stood at the bottom being the lackie handing El Granto things when he needed them and hoping he didn’t fall to his death.
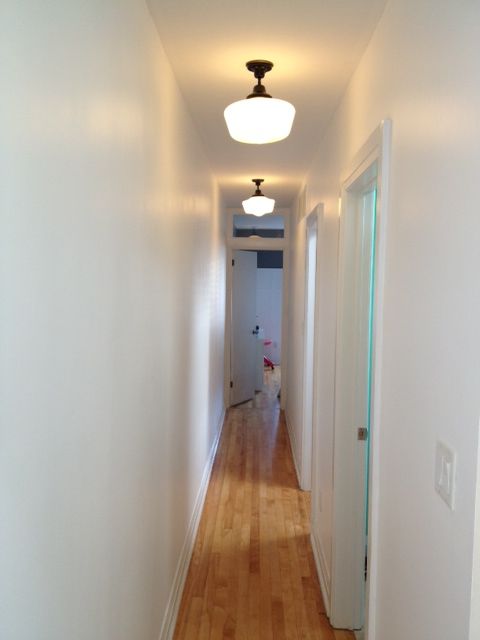
10 minutes later and we had a new light!
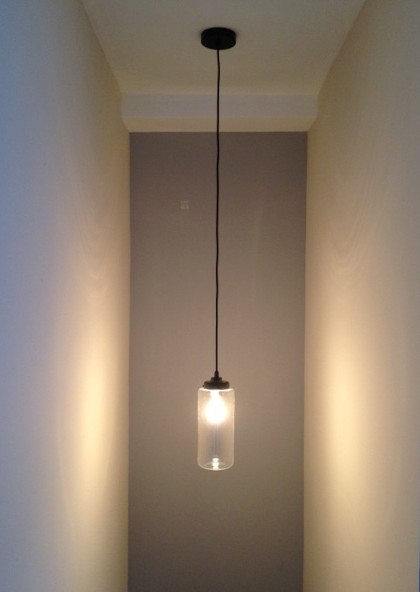
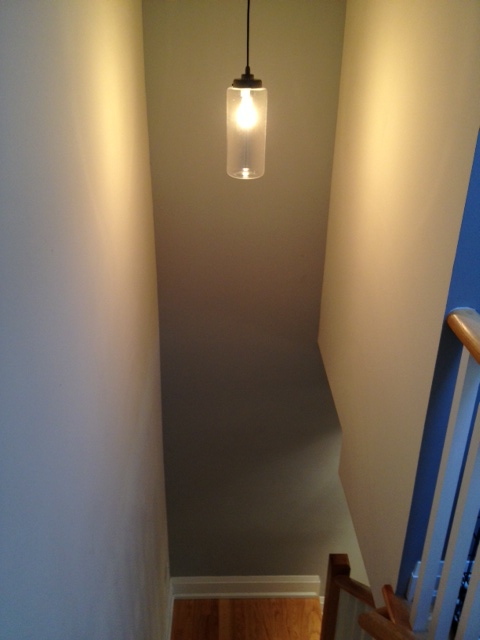
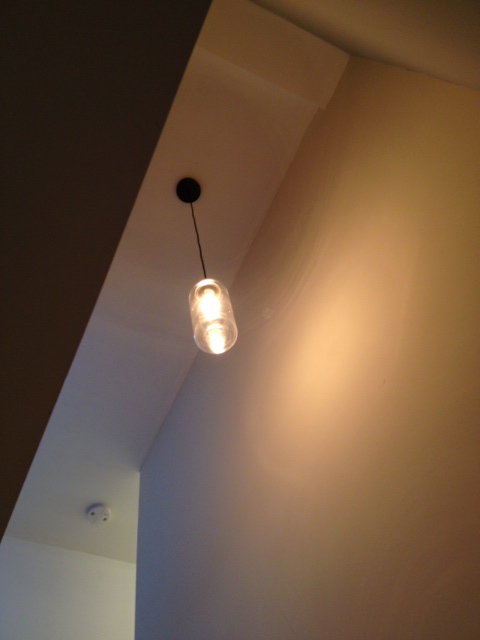
We purchased a 60 watt Edison Bulb from a (great) local shop Metropolis Living. It casts a beautiful warm glow in the staircase, and I love the look of the Edison bulb (will try to break out the tripod this weekend and get a better shot of the bulb for ya.) The light hangs down about 5-6 feet and its the perfect height.
Now I need to paint the staircase walls, frame & hang a gorgeous painting we have for the staircase landing wall, and perhaps a nice plant for the landing.
What do you think? Better than the big box lights?
SOURCE LIST:
Materials:
Glass Pendant – HomeSense
Edison Bulb – Metropolis Living
Tools Used:
Screw Driver, Ladder
Difficulty Level (on a scale of 1-5):
Three out of five
(extra hammer for being on a ladder 20 feet off the ground)
Total Cost: $80 ($60 for light and $20 for the bulb)
The Art of the Weekend
I love living in Toronto for about 10 months of the year. I love spring, summer, fall and early winter all the way through New Years. The problem comes about mid January. When I am wearing two pairs of socks and long johns standing at the bus stop with my hands full of groceries, hopping up and down trying to stay warm while cursing my beloved city. I hate the end of January, all of February and most of March. I have had enough of the cold, the leaf-less trees, the shoveling, the wind, and the sun going down before I even leave work. I want to relocate to a warmer climate and say screw you to Toronto.
Then weekends like the one that just past happen, and I remember why I love this city; I love the people in it. So what did I do last weekend? Nothing spectacular, earth shattering or magnificent, I simply enjoyed the company of good friends. We had beverages, and laughs, and great food, cigars, oysters and wine. We even had a late night dance party. I had a wonderful walk in the sunshine with my husband and dog, I slept in and had mad cuddle fest with my puppy, I had not one but two delicious brunches (brunch is my favorite thing on earth!) In the midst of all that, I even managed to get some inspiration to do something around the house, and knocked two projects off the list.

So this my friends is my magnificent brilliant spectacular advice on How to Weekend:
FRIENDS + FOOD & BEV + LAUGHS =
The Perfect Weekend

*It’s math, so it must be true. You cant argue with math (or science). Except for Scientology, they just put science in the title, that does not make it true or scientific, or worthy of a couch jump fest for that matter. BUT MATH is awesome and right, and so am I. So apply my equation for an awesome weekend, no matter how horrible it is outside.
Painting the Hallway
The hallway is one of those slow & steady projects. It has never gotten our focus, but we keep slowly chipping away at it. I first showed you the hallway and my inspiration, then we knocked a few things off the list when we changed up the lighting and added a transom window.
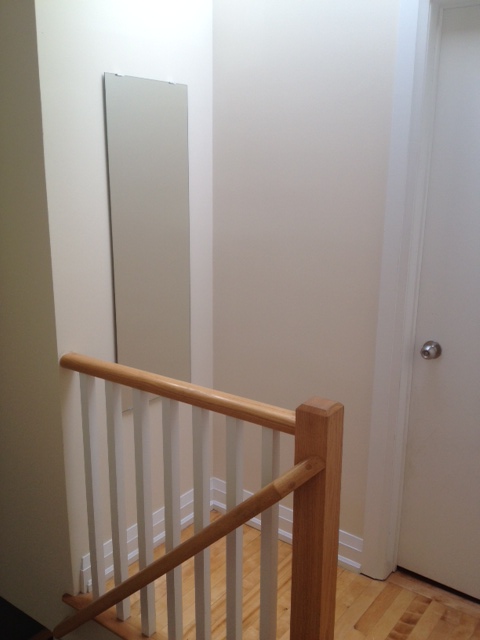
Here is what the hallway originally looked like
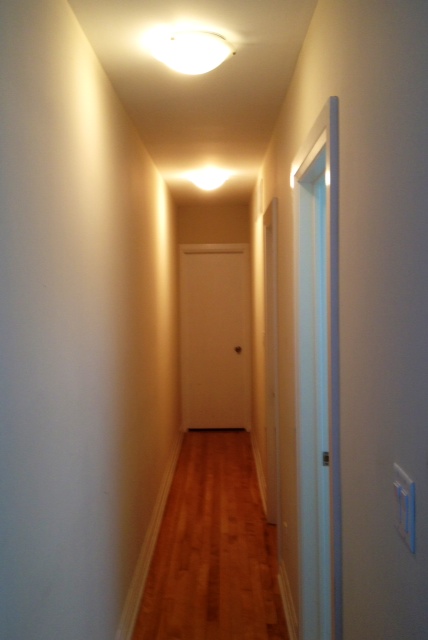
This was what the hallway was looking like after it’s lighting & transom updates.
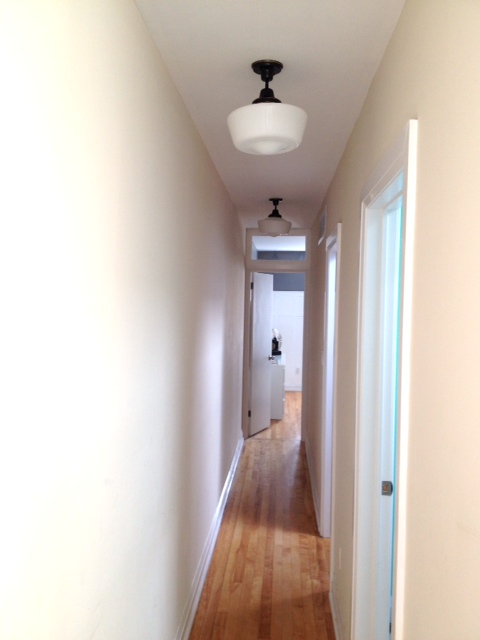
We knew we needed some new paint (the flat beige walls had seen much better days.) I decided they needed to change NOW, and one dreery Sunday afternoon I waded through our paint cans in the basement, and pulled out a can of white paint. I proceeded to march upstairs and paint one of the walls in the hallway white, then I ran out of paint. Oops. Apparently a 30 foot hallway takes a lot of paint…So I headed out to Home Depot and picked up another can of white, and this past weekend I painted the rest of the hallway.
After painting the 30 foot hallway bright white…it was starting to feel a bit stark, so when I got to the nook outside our Master Bedroom, I again raided the basement paint can supply and found some nice grey paint. I painted the little nook and the wall in front of our master this medium grey.
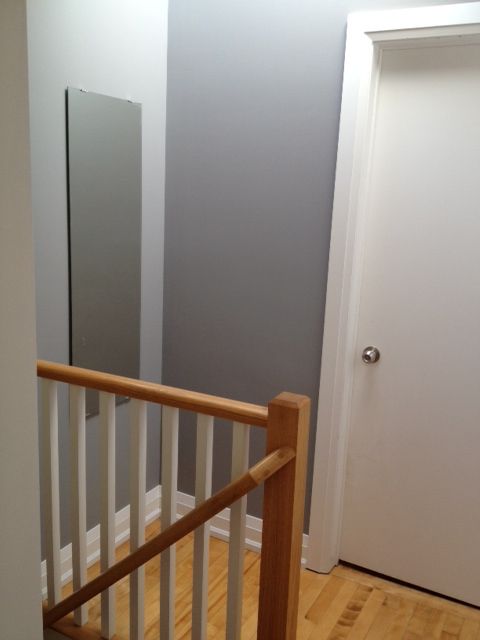
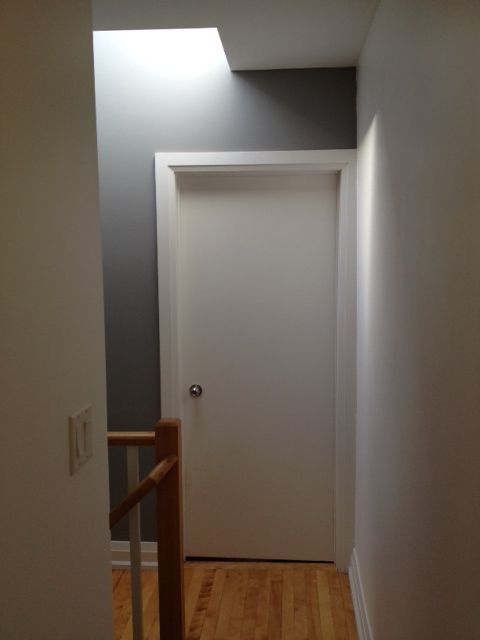
With $35 in paint (the grey was left over from the main floor) we had an updated hall. Now all it needs is a runner and some art. I am thinking gallery wall!
Vintage Hi-Fi Unit to Bar
El Granto always wanted a bar. Not just any bar, but a man’s bar. One to hold bourbon and cigars, mustaches and testosterone. One that smelled like rich mahogany and leather bound books.
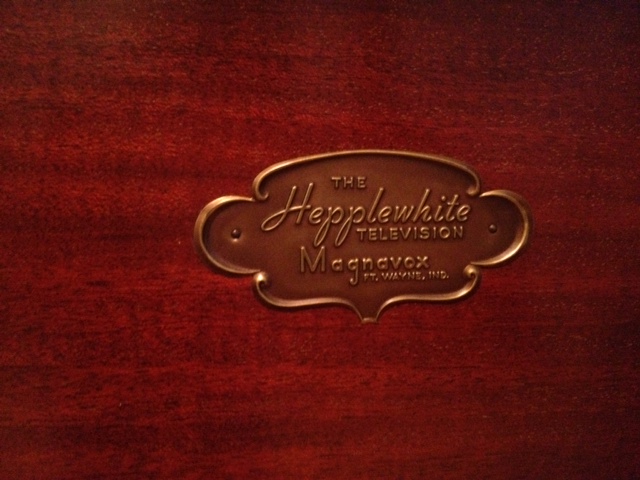
We were at Aberfoyle Antique Market one Sunday when El Granto spied a vintage Hi-Fi cabinet. It was solid wood, had two doors on the front, and a pop up panel in the top where the record player used to go. It had long been stripped of the electronics, but still had all the charm. El Granto saw the potential for this to be an amazing bar. He could already picture himself drinking a Tom Collins while smoking a Cuban. So we haggled, packed it into the (in-law’s) car, and brought it home.
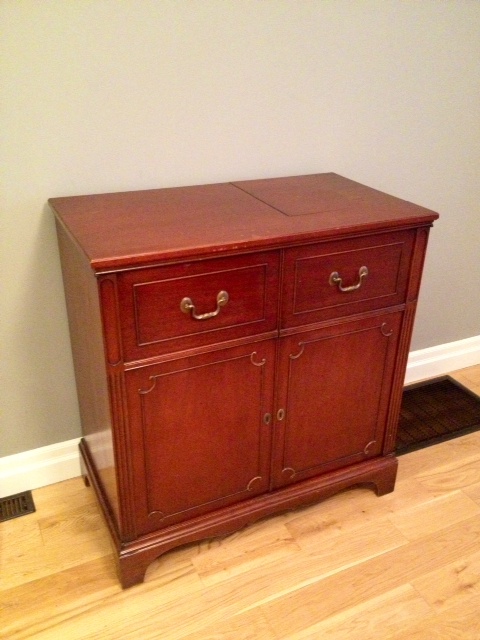
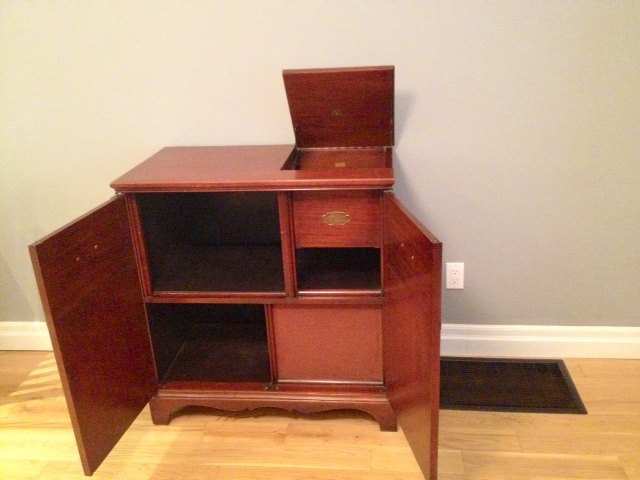
Problem was, the unit had no shelves (it needed 2), nor did it have a back. There were shelf cleats in the main cabinet where the TV had been held in place and a gaping hole where the record player used to be (it had a really cool mounting system where the record player just sat on four cleats that had springs on them so you wouldn’t skip your record while walking by or dancing around). So we just measured shelves to fit where electronics were previously. We knew we were not going to be able to match the wood and finish. So really the slate was blank for whatever kind of shelves we wanted. We purchased some 3/8” hardboard, had it cut to size at the hardware store and got to work. We bought some black faux ostrich leather fabric and wrapped and glued it on to the hardboard and dropped them in place. Easy Peazy Lemon Squeezy. We then gave another piece of hardboard a coat of black paint and nailed it to the back of the bar.
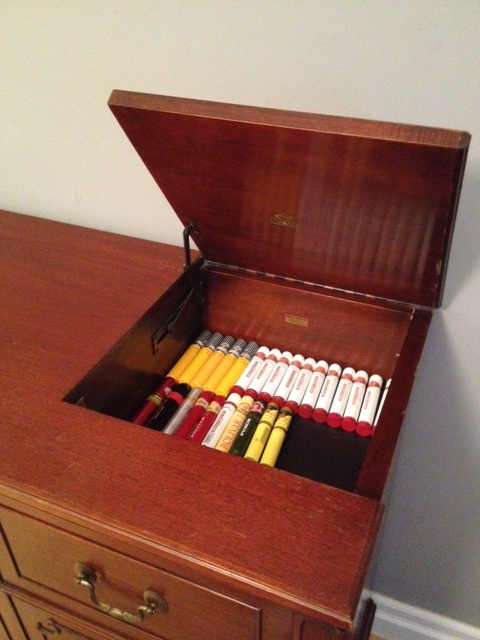
El Granto uses the pop up drawer to hold misc cigar items, his humidor sits on top, the inside is full of bottles and bar wear.
The top also has an antique silver tray, decanters and decorative items.
The bar used to live in our dining room, but after we added the big new table and the coffee bar, the poor bar had no home. Sad face.
So we emptied it out, and carried the HEAVY bar upstairs into the office. Now it resides under an antique painting, and beside the bookcase.
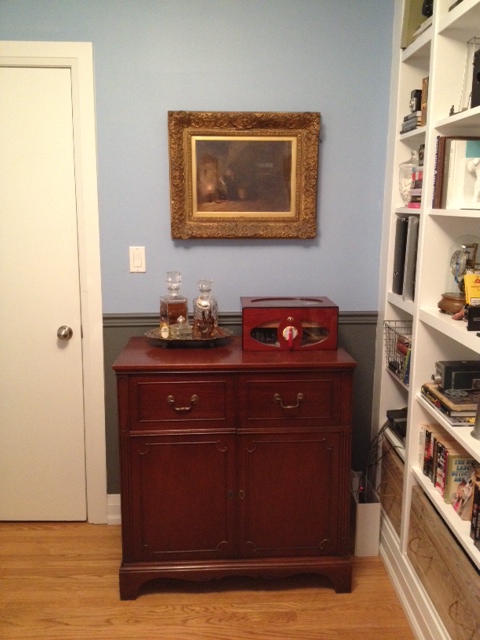
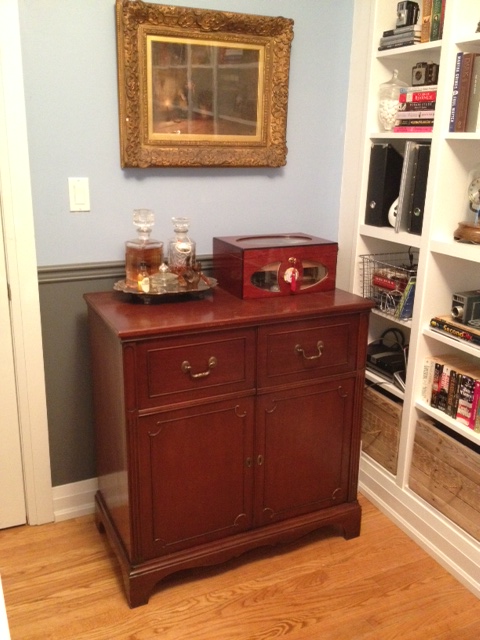
The office is becoming more manly. I am expecting it to grow chest hair any day now.
My Fave Gluten Free Picks

So its been two months since I was diagnosed with Celiac disease. I have been gluten free for two months and its not been without its challenges. You do not realize how much wheat/gluten is in well…almost everything. In medication? Yep. Hair & makeup products? Uh huh. In almost all chicken & beef stock on the market? Of course. Chocolate? Condiments? Soup? Spice? A resounding yes. So while I creep around the supermarket checking the backs of EVERYTHING I buy, I have found some great GF goodies. Continue reading “My Fave Gluten Free Picks”
The Basement
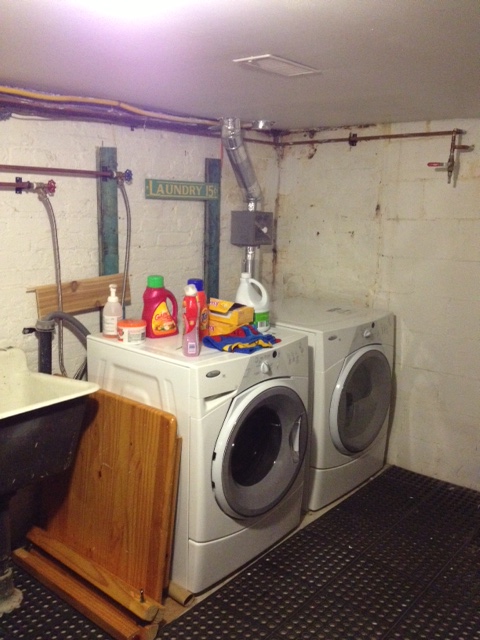
The entrance to the Storefront is level with the street. What that means for our basement is that it is completely underground and has no windows. At all. Most basements at least have some tiny windows. Not our house. Our basement is dark, damp, and the ceilings are about 6 1/2 feet tall. Continue reading “The Basement”
Window Coverings – The Result
A few months ago, I discussed our options for super tall window coverings.
Wanna know what we went with?
Curtains.
I know. You’re underwhelmed. So are we. Truthfully we were hoping to do privacy film of some sort, and then curtains as well. I contacted 3M trying to get some information on their Night Vision film, if it would work for us, and where to get it in Canada. No one ever responded. Why do companies have contact forms if no one gets back to you?! I WANT to buy your product, just tell me where to get it!
So window film didn’t happen. Truthfully, curtains didn’t even happen until a couple days ago. We were at Ikea getting the shelves we forgot for the coffee bar when El Granto insisted we get new curtains. He had driven past our house the other day and was embarrassed by our stupid ass patterned curtains that were not double sided, and looked like butt from the street.
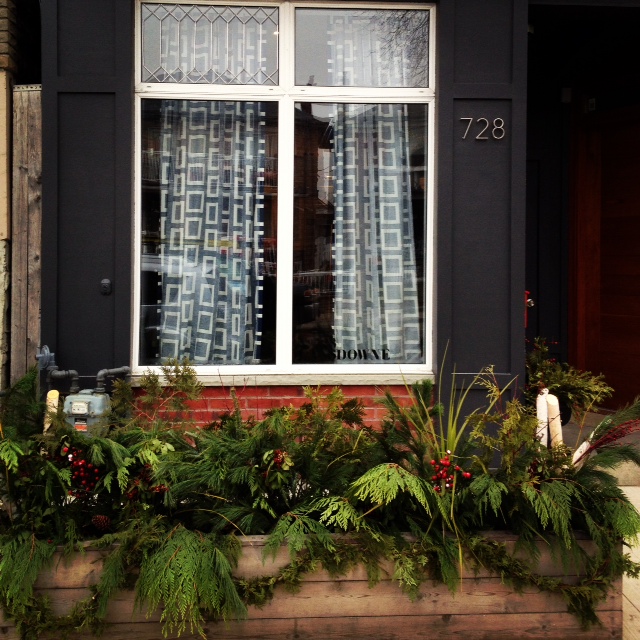
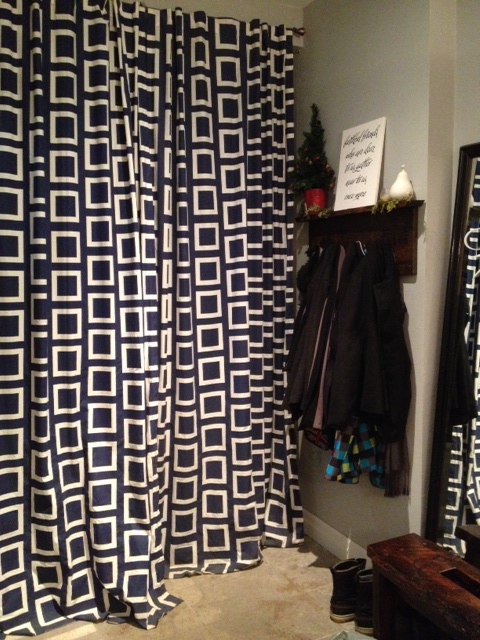
Its an area we have severely lollygagged in, and we really needed to get some different curtains up pronto. So we looked through our options of Ikea 118″ length curtains, and picked the simple medium gray Ritva curtains. (White would have been my first choice, but Odin loves looking out the front window. I do not relish having to wash the curtains every month, so grey it is.)
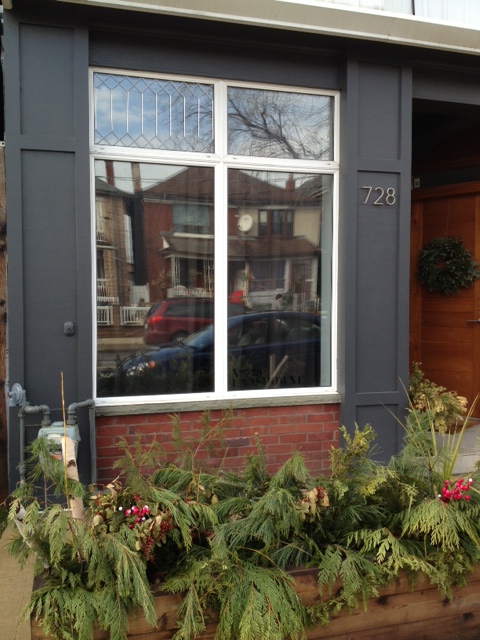
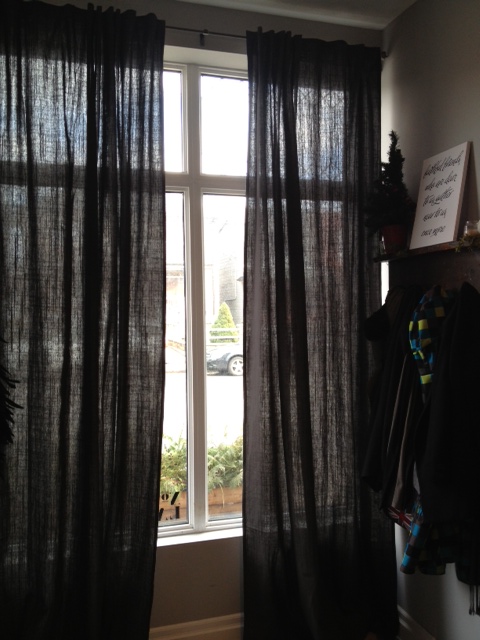
Are they revolutionary? No. Do they BLOW YOUR MIND? Not a chance. Do they look put together, grown up and not ridiculous from the street? Yep. They actually disappear from the street. It almost looks like there’s no curtains in the window, yet you cant see into the house. So its a win in our books.

(and yes I know I still have only completed one side of our leaded glass windows… I ran out of lead. I have more now, I just need a warm sunny day to put it up…)
Anyone used 3M Night Vision film? Any luck finding it in Canada?
Ikea Kitchen Installation Tip
So last week we taught you how to open an Ikea box without ruining your marriage.
Now we’ll teach you how to install an Ikea upper cabinet without swearing at your spouse, or dropping a 30lbs cabinet on their head. You’re getting marriage counseling and DIY all in one. You should thank me.
So when installing an Ikea upper cabinet, you need to hold the cabinet up to the wall where you want it, then mark for where the rail is going to go. This can be a bit of an awkward process with two people. One person has to hold the cabinet over their head steady and level while the other person marks. This is the point where one of you is on a ladder wielding a level and a pencil, directing the other one who is trying to brace the cabinet on their shoulders and keep it steady while you tell them to move it “a little to the left, no your other left dumbass”. This is the point in time when things are about to go oh so wrong. So here’s what you need to do.
You installed your lower cabinets already, correct? They’re nice and level and secure and wonderful? (Level is the key here!)
Measure the distance between the top of your lower cabinet, and where the bottom of the upper cabinet should be. Now go to the garage and cut two 2×4’s to exactly that length (I am gonna call them stilts). Come back inside, and place them standing up straight on your lower cabinets.
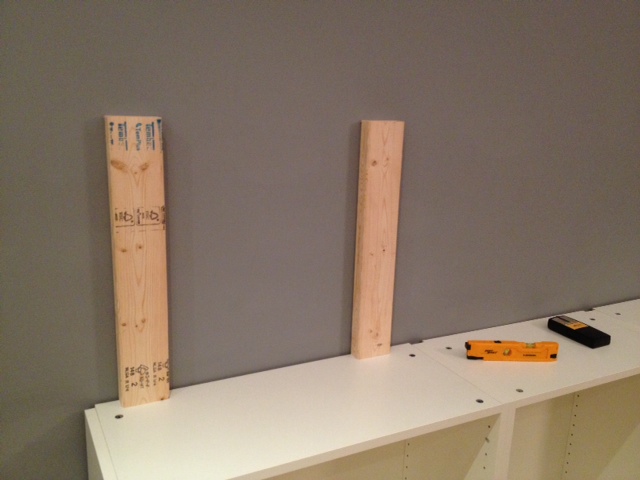
Now lift your upper cabinet up and rest it on the stilts. You still have to hold on to the cabinet, but now the entire weight isn’t fully resting on your shoulders, and your cabinet is prolly pretty damn close to level. Mark your holes, then take the cabinet down and install your rail. Once you are ready to install the cabinet, use your stilts again to give the cabinet some support while you screw in all the bolts.
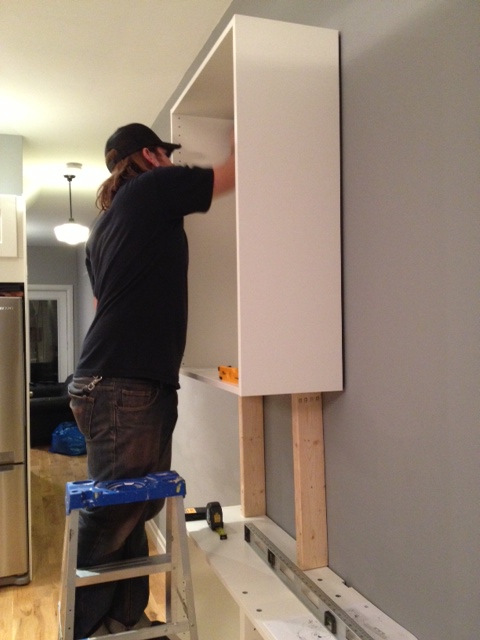
Yep, those two scrap pieces of wood just saved you from a black eye, dented cabinet and sleeping on the sofa.
You’re welcome.
And yes El Granto’s work pants are pink. He’s secure that way.
Kitchen Wish List

Here’s our kitchen before we moved in. It’s not bad right? It has new Ikea Adel cabinets, 4 stainless steel Samsung appliances, a laminate countertop and a glass tile backsplash. Continue reading “Kitchen Wish List”