I posted a little while ago about my hallway hopes & dreams. I have not yet convinced anyone that I should paint the doors black (I still think its an excellent idea, but thank you everyone for not having any faith in me.) 😉
While we havnt made tons of progress, there have been a few improvements. We completed the transom window from the guest room, and it adds a ton more light to the hall, especially in the mornings.
Transom!
We also replaced the ugly cheapo hallway lights with new school house lights that match the downstairs hall.
I got the best deal ever on these schoolhouse lights. The one for the downstairs hall was on clearance for $36 (which was amazeballs all on its own.) I went back to get another two for the upstairs hall but they were sold out. Sad face. Instead of giving up, I set the Mom’s on the task to check their local Home Depots. My Mom struck out, but my Mother in Law struck it rich when she landed on a stach of the at a HD in Brampton. She picked up two and guess what, they were reduced further to TWENTY FOUR BUCKS. Yep, you heard me $24. Holy effing awesomesauce.
So heres what it looked like before:
Hallway BeforeHallway with new transom but old lights
And heres what we’ve got now.
AfterAfterAfter
The one big thing is how much more neutral colour the new lights put off. The old ones were soooo warm, they made the whole hall feel crowded and tight. The new ones are much cooler (in every sense!) There is one small thing that is driving me a bit nuts, the ceiling isnt level, but the lights are made to sit level. This makes them look a smidge crooked. Which drives my eyes nuts. Until I figure out a fix however, I will have to live with it.
We still have a long way to go. Need some paint, art, a runner and a plant & mirror for the nook, but its a good start!
A few years ago, during a routine physical, my blood tests revealed abnormally low iron. My doctor prescribed iron tablets, which I took religiously. My next blood tests revealed that my iron had dropped considerably lower. My doctor upped my iron intake, and I changed my diet to ensure I ate as much iron as humanly possible, and that I did everything in my power to make sure my body absorbed it. Milk, fiber and caffeine can block iron absorption, whereas vitamin c can increase it. I worked so hard, and was so proud of myself only to find my levels had dropped even further. Also with the change in diet, and the massive amount of iron I was taking, my body had revolted and given me in exchange massive heartburn. Continue reading “The Diagnosis”
We are hosting my family’s Christmas at our house this year. We currently have a 4 person dining table. No way could we all perch around that table no matter how many chairs we pushed against it. We needed to scrap the kids table, and nut up and get a grown up table.
INSPIRATION:
Restoration Hardware’s Flatiron Dining Table
We put pen to paper and designed a simple tabletop with industrial black pipe legs. I had taken inspiration from this Restoration Hardware Flatiron table. Except we went with a basic “H” leg construction with a cross beam near the bottom of the legs.
We had originally wanted a nice thick reclaimed wood top, and had sourced a supplier, however that fell through and everything else we could lay our hands on was “city priced” (you know when you go to an antique store in the city and a simple item is priced 10 times higher that you ‘d find it at a flea market in the country? That’s “City Priced”.) So the cheap ass me wasn’t gonna pay city price for wood, so I nixed that idea and instead we decided to use 2×12″ construction lumber. We don’t have much invested in the tabletop, so if we get our hands on some nice reclaimed wood in the future, it won’t hurt our pocketbooks to swap it out. The legs are hardware store “black pipe” gas line pipe and fittings. These can be sourced at any large hardware store (orange & blue) and as they can cut and thread the pipe for you at the store, its super easy to work with.
We made a 72″ x 34.5″ table that is 30″ high. This is a standard 6 person table, but 8 can easily be squeezed around it.
Shopping List
1 – 3/4″x10′ black pipe $18.99
1 – 3/4″x6′ black pipe $13.80
4 – 3/4″x6″ nipple (heehee) $1.64/each
8 – 3/4″ Floor Flange $3.99/each
6 – 3/4″ Tee $1.64/each
1pkg 3″ felt furniture pads $4
2 – 2x12x12 spruce $17.50/each
Wood finishing materials (to be discussed in pt. 2)
Wood Cut list
3 – 2x12x6′
(Cut 2x12x12’s in half to make 4 – 6′ long pieces, and you can use the left over piece to make a bench.)
Pipe Cut list
The hardware store will cut and thread your pipe for you. There is a (substantial) fee for this. At our home depot it was $1 per cut and $2 per thread. We ended up having about $40 in cutting fees, which was actually more expensive that the pipe itself, but a necessary evil.)
1 – 3/4″ pipe 51″ long
4 – 3/4″ pipe 20″ long
4 – 3/4″ pipe 10″ long
The crazy machine that cuts and threads your pipe!
We got our pipe and wood cut, gathered all the rest of our supplies and like a strange hardware store parade, headed to the checkout. A word to the wise, the pipe is greasy and dirty and yucky. Make sure you put your nice wood on a separate cart, and bring a tarp to protect your car. Also have some dish soap and goo gone ready at home to thoroughly clean and de-sticker your pipe when you get it back. Be prepared to get little metal splinters that will hurt. A lot.
Pipe, and flanges, and wood stain oh my!
We decided to use the Kreg Jig for attaching our boards together to make the tabletop. This is quick and oh so very easy, and all the screws are under the table where no one other than the dog or a crawling child will ever see them. We laid out our three best boards on saw horses in the garage.
best three boards laid upside down ready to be Kreg jigged together
We decided on placement making sure to alternate the crown of the wood (the crown is the way the grain curves, look at the end of a piece of lumber and you’ll see the grain pattern). Once we were happy with how our board would be arranged, we flipped them over and aligned them, making sure they were square. Our saw guy at the local hardware store didn’t fare so well with making all the boards the same length, so we lined up one end, and let the other end overhang knowing we’d trim it down later. Then we marked our kreg jig screw placements.
We put two screws in 8″ from the edge of the boards, and about every foot for the rest of the table. We alternated which side the screws came from so that we would get a more stable and solid tabletop.
The Kreg Jig is super easy to use. We set the jig and drill bit to 1.5″ thick wood, clamped out the jig (with protection on the “good side” so the clamp wouldn’t mar the table top) and drilled. Easy-peasy lemon-squeezey.
Kreg Jig Clamped
After all the holes were drilled, we re-aligned everything, and got to screwin!
Screwing together boards using Kreg pocket hole system
After the tabletop was screwed together we trimmed off the scraggily cut edges using a circular saw. Then we gave the table a good sand with the palm sander. We wanted to leave a few of the rough wood’s imperfections, but ensure everything was nice and smooth.
After it had been sanded, we took it inside and got working on the legs. We thoroughly cleaned the pipes using a combination of citrus grease cutting cleaner, dish soap and goo gone. There was a lot of errant stickers and tape on the pipes along with the grease, so all these tools were needed. Be careful for any sharp metal or burrs, definitely wear protective gloves and eye protection.
To start out, attach each the 6″ pieces of pipe to flange. Next up attach a T to each of the 6″ pipes.
Flange + 6″ Nipple + T
Screw a 10″ pipe into the side of each T. Attach another T to 2 of the 10″ pipes. Attach two legs together by the middle T, then do the same to the other set.
Attach two feet together by 10″ pipes and a T
Now attach the 20″ pipe to the top of the T’s and another flange while the dog enjoys a peanut butter filled bone.
Forgot to take a good pic of this step! Oops, but you get the point.
Make sure all your legs are exactly the same height. You may need to tighten or loosen a few joints to get everything equal.
Here’s the tricky part. Grab a friend and attach the long 51″ piece to the two open T’s. One of you will have to spin a set of legs around to get this done. You will look like an absolute fool doing this, but its the only way to get it done. Once everything is screwed together, you’re ready to attach your legs to the table.
Legs AssembledLegs + Tabletop
Flip your tabletop over, and set the legs on top. Make sure everything is square, straight and level, and screw in your flanges using 1″ screws.
Apply your felt furniture pads to the bottom of the feet flanges, and flip your table back over. Now you’re ready for finishing! (we will be finishing the table inside due to the cold cold cold temperatures of our unheated garage.)
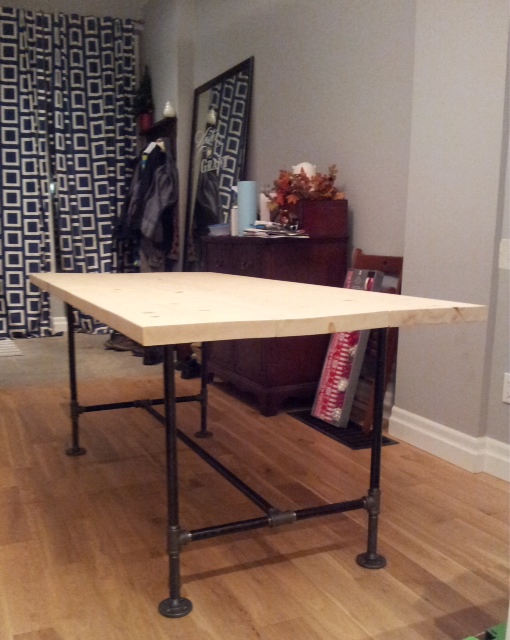
So here it with its legs attached and waiting for its finish work. Whatcha think?
Ta Da! Tabletable table table
One great thing we quickly found about this table is that if you have an uneven floor like we do you can unscrew certain parts to even the table out so it won’t wobble!
Promise, we’ll be back soon with how we finished the table, and a cost breakdown.
The themed latte’s at Starbucks, and the Christmas music at the mall may have given you an indication that the Holidays are soon upon us. I am a bit of a procrastinator, so I try to start early in my holiday to do’s and my gift shopping. So to get myself started, and to give you all a hand, I will be DIY’ing and shopping for you in the next coming weeks. Hopefully I can give you a few ideas on how to make your holidays extra amazeballs.
So first up, do you have a DIYing Handy Woman in your life? Need some holiday gift ideas. Here are a few of my best bets this holiday season.
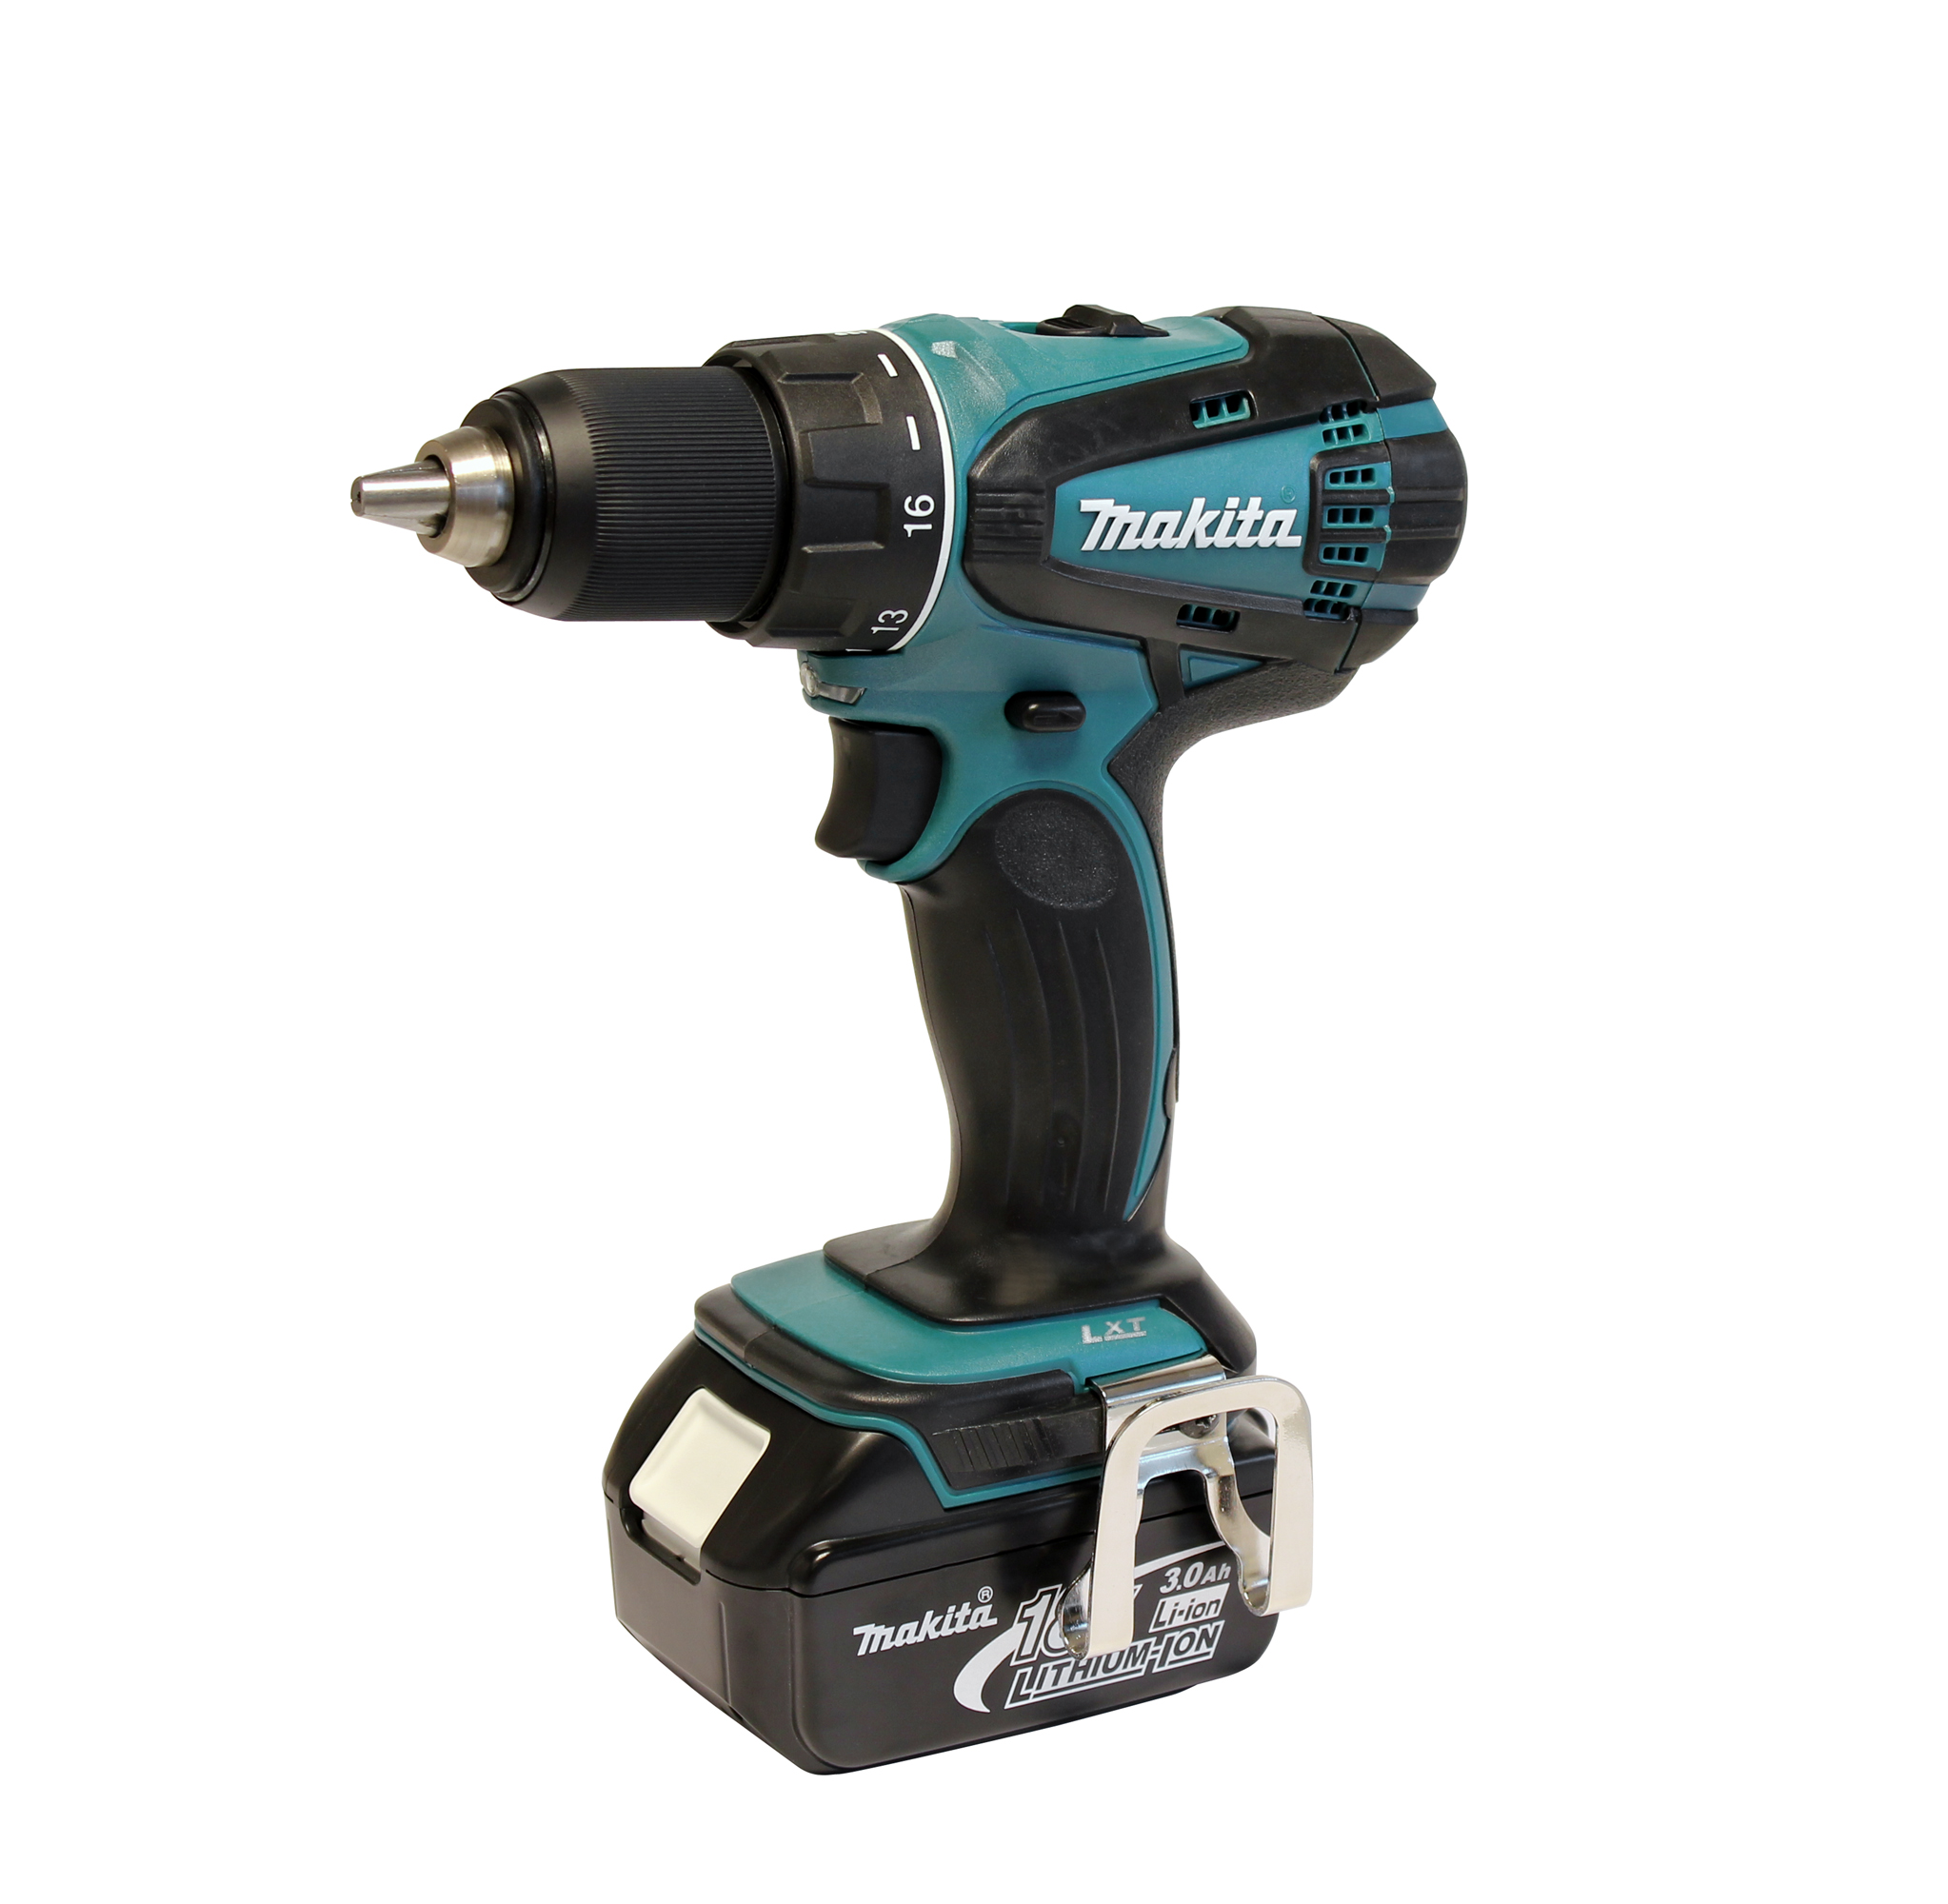
A small, lightweight drill. Just because we’re girls, doesn’t mean we cant use power tools! It does mean however that most tools just were not meant for our more petite hands and muscles. So treat your lady to a drill made for her, but for Gods sake, do not, under any circumstances buy her pink tools. You heard me. NO. PINK.TOOLS. We want to be taken seriously. No one takes a woman wielding a pink hammer seriously…
A small hammer. Just like my comments above on drills, I cant stand El Granto’s framing hammer. It’s giant, heavy and unwieldy. Years ago when I moved out on my own, my Dad sent me off on my own with a small toolbox packed with things from his own garage. Included in that was a seemingly Kristen sized hammer. I have used it ever since. Its the right weight, fits well in my hand and I can swing it like a lumberjack.
A Sewing Machine – This one is a bit stereotypical, but its oh so useful. You don’t realize how many sew-able items we have in our homes. If the lady in your life knows how to sew, but lacks a machine, buy her one! If she doesn’t know how to sew, include a few lesson in her gift. (I recommend the workroom in Toronto.)
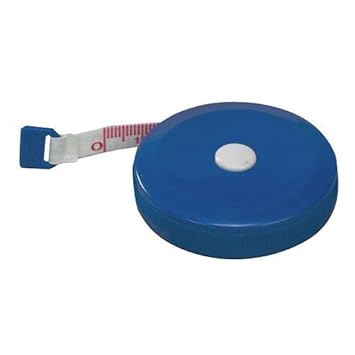
2 tape measures. Yep, that’s right two. One regular framing tape measure (although again make sure its a reasonable size and weight! The last thing a girl needs is a tape measure so heavy it pulls down their jeans when they attach it to their belt!) And secondly get a tailors measuring tape for her to keep in her purse (cause we’re always out at furniture stores asking sales people for measuring tapes so we can see if it’ll fit in the car or in the living room). Bonus points if you find a retractable tailors tape. That way it will stay neat and tidy in the bottom of her purse.
Her own work gloves. Oh I know, you handed her an old pair of yours last time you were working together in the garage, but they were giant, and terrible, and useless. So get your lady her own work gloves. They don’t even need to be work gloves, a (non dorky) pair of gardening gloves will work. Just make sure they’re made for women’s hands.
A set of commonly used tools that stays in the house. Do you like your flatware? Do you want to keep it looking nice/not have to buy a new set next year? Then make sure you have a set of easily accessible tools in the house, or your wife will be using that butter knife as a screw driver.
A Dremel. Why? Cause you can do a ton of stuff with that mini tool. You can cut, grind, sand, buff, polish etc. Buy a good accessory pack to go along with it, and she will get a ton of use out from it.
A staple gun. Useful for all sorts of upholstery projects, and a generally handy tool with a small price tag.
A palm sander. I don’t know why but sanding, painting and finishing tasks always seem to land on my plate (and my Mom’s plate from my childhood memories.) Make this easier and get her a palm sander!
What is your gals favourite type of DIY? Is she a painter, a tiler, a wood worker? I personally am the trim/detail person. I do all the finikity work, and finish and trim work. So my ideal gift would be a sliding compound miter saw.

")
")
")
")


")
")
")
")
")
")
")
")
")
")
")